Factory re-flash H-1
If your Apollo H-1 becomes unresponsive and you've exhausted the other troubleshooting methods, you can upload a fresh set of firmware to it by following this guide.
Before you start
- Use Chrome or Edge. The install utility needs to run from one of them.
- Already added this H-1 to Home Assistant? Remove it from Home Assistant first, then come back here.
Follow these steps to flash fresh firmware onto your H-1 and find it again in Home Assistant.
1. Hold the boot button, then plug your H-1 into your computer with a quality USB-C cable that supports data transfer. Let go of the boot button once the USB cable is plugged in.
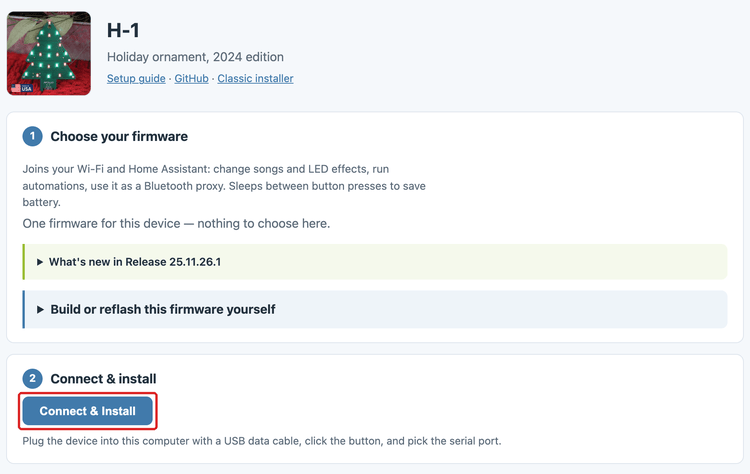
2. Open the Apollo H-1 installer and click Connect & Install. The installer has one firmware for the H-1, the smart Wi-Fi firmware.
3. Select your Apollo device and click Connect. It shows with a name similar to the one below. If you aren't sure which device it is, unplug the H-1 and see which one disappears.

No device in the list?
Click Cancel, then install the recommended driver that shows on the popup. If you've installed the driver and tried different cables and it still won't work, put the H-1 in bootloader mode and then retry step 3.
4. Choose to install the new firmware.

Shown with the MSR-1 installer; the H-1 installer looks the same.
Seeing the error below?
If the installer shows this error, complete the H-1 boot mode guide and go back to step 3.

Shown with the MSR-1 installer; the H-1 shows the same error.
5. Wait for the installer to finish. If you see "ERROR Logger is not configured!", that's expected: the logger is disabled to make more room for other components on the microcontroller.

Shown with the MSR-1 installer; the H-1 installer looks the same.
6. Unplug your H-1 and plug it back in to leave boot mode. Don't skip this step. The H-1 stays in boot mode until you do.
7. Check for the Apollo hotspot and connect to it. The hotspot might not show if your H-1 was connected to your Wi-Fi before.
8. Log into Home Assistant, go to the ESPHome app, and check whether you can adopt the device.

Your H-1 is now running a fresh set of firmware.