How To Change The Temperature Probe Update Interval
By default the TEMP-1 reports its Temperature Probe every 60 seconds. You can make it report faster, such as every 10 seconds, by overriding the sensor's YAML in the ESPHome Builder. This is useful for smoother graphs or quicker reactions when you are watching a fridge, freezer, fish tank, or hot tub.
This controls reporting while your TEMP-1 is awake
The update interval only changes how often the probe reports while the device is awake. If you turn Prevent Sleep off, the TEMP-1 deep-sleeps between wake cycles and reports when it wakes instead. See Sensor Definitions for how sleep and reporting work together. You can go as low as 1s, but every reading is written to Home Assistant, so a 1 second interval floods your database and grows it quickly.
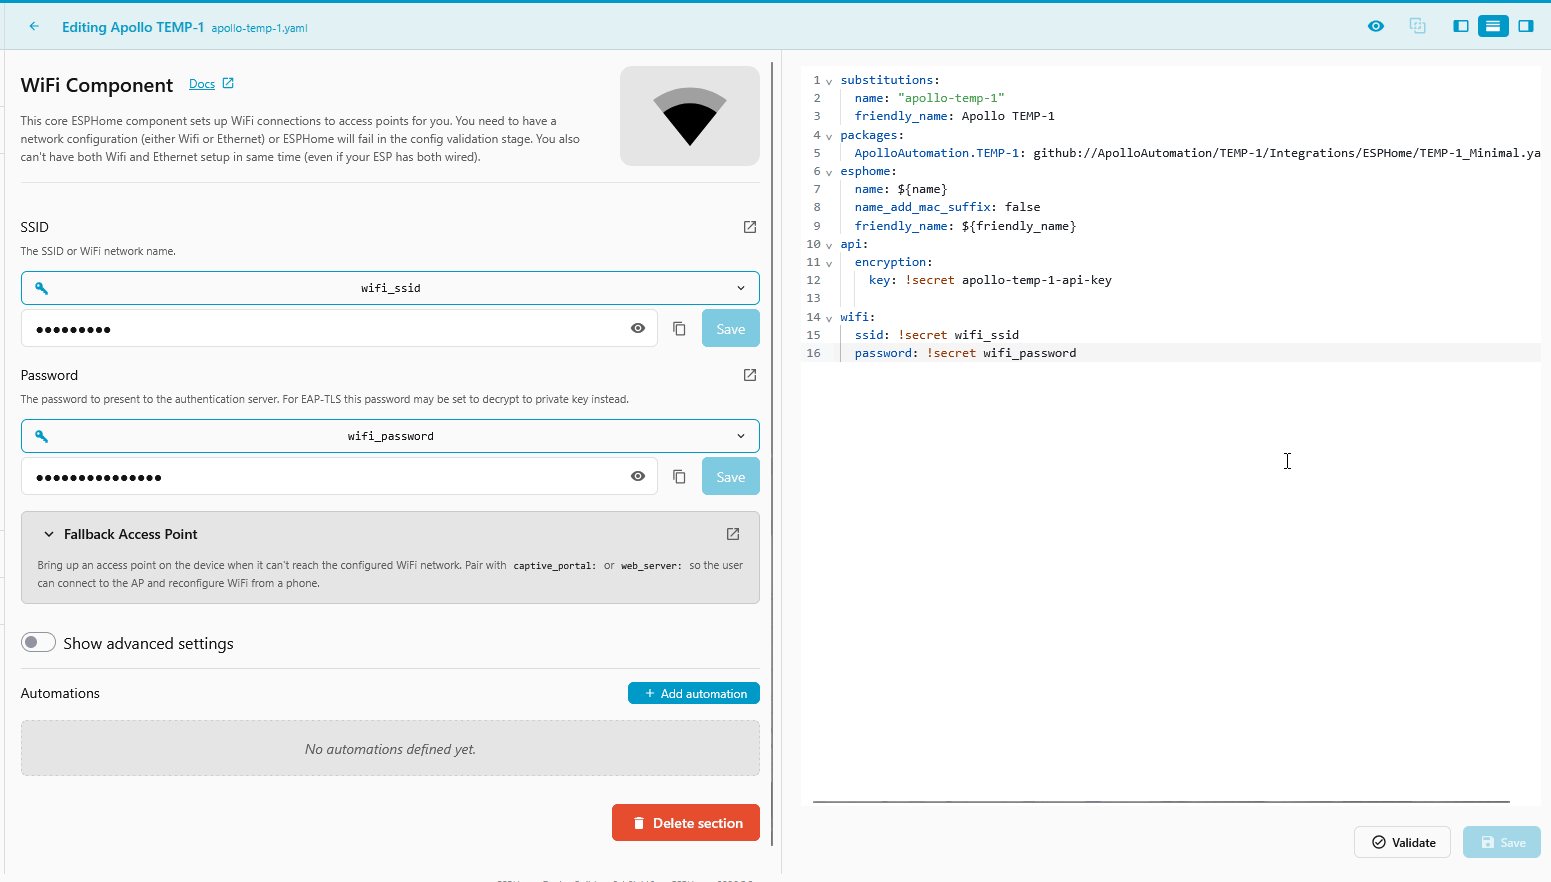
1. Select the ESPHome Builder in the sidebar then click "EDIT" on your TEMP-1.
2. Paste this YAML below your device's existing config. The !extend keyword edits the probe that is already defined in the firmware, so you only need the lines you want to change.
Start on a fresh line with no spaces in front
The sensor: line has to start at the very beginning of a new line. If you press Enter from the end of the wifi_password line, the editor indents your cursor one space, which makes the YAML invalid. The easy fix is to press Enter twice, then Backspace once. That drops you to a fresh line with no leading space.
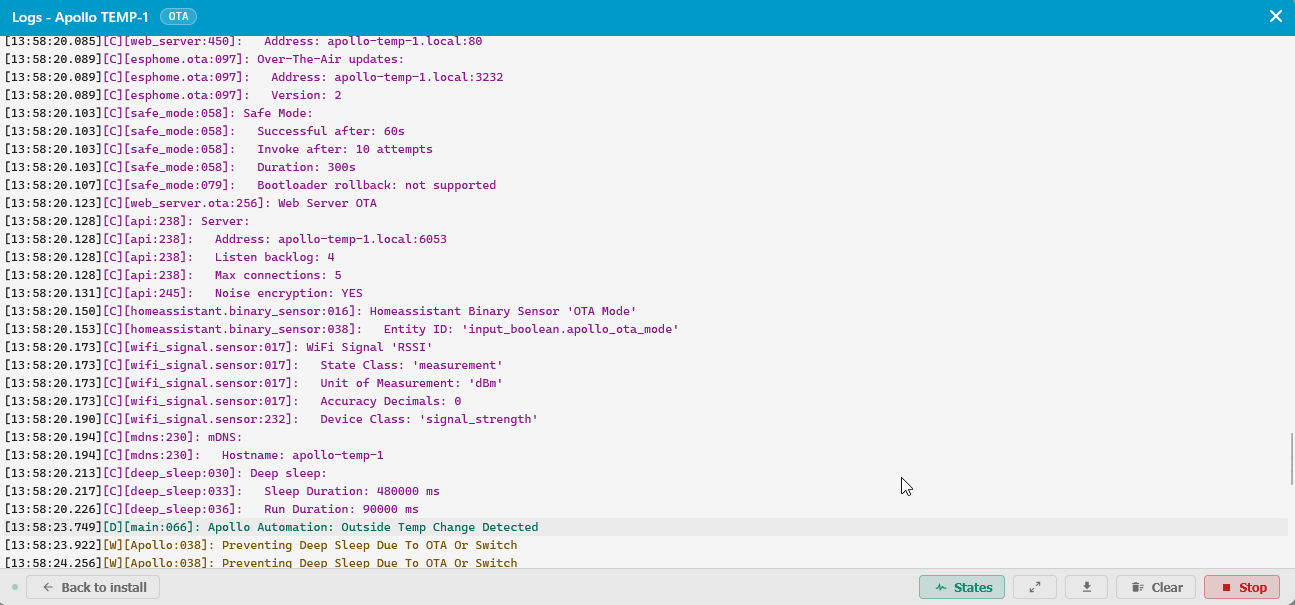
3. In the top right click "SAVE" and then "INSTALL". When the install options appear, choose "On the network".
4. Once you see the logs showing the new update interval of 10 seconds the flash has succeeded and you can click "STOP" to exit.
Your Temperature Probe will now report at the new interval.
Report only when the temperature changes
A fast interval reacts quickly, but it also writes every single reading to Home Assistant and grows your database fast. If you want a quick response without that flood, read the probe often and only report when the temperature actually moves. ESPHome's delta filter does this: it reads on your interval but only sends a value when it differs enough from the last one it reported.
The threshold is in the probe's native unit, Celsius. 0.5 means 0.5°C, which is roughly 0.9°F.
This reads the probe every second but only reports when the reading moves at least 0.5°C from the last value it sent. Steady temperatures stay quiet, and a real change shows up within about a second.
To think in percentages instead, pass a string with a %. The probe then reports when the reading changes by that much from the last value.
The delta filter on its own can stay silent for a long time when the temperature is stable, which can look like the probe stopped working. Wrapping it in or with a heartbeat guarantees at least one reading on a slower schedule, on top of any threshold reports.
sensor:
  - platform: dallas_temp
    id: !extend temp_probe
    update_interval: 1s
    filters:
      - or:
          - delta: 0.5
          - heartbeat: 60s
This reports the moment the temperature moves 0.5°C, and otherwise sends a reading once a minute so you always know the probe is alive.
1 second is about as fast as the probe can go
The DS18B20 probe needs around 750 ms to take a full-resolution reading, so 1s is close to its limit. If you see missed or blank readings, raise the interval to 2s.
Make sure the right probe is selected
The Temperature Probe only reads when Select Probe is set to Temperature. If it is set to Food, the probe reports nothing regardless of the update interval.