Set up scrolling text for the M-1
You can set multiple different custom scrolling text as presets in WLED.
The WLED firmware on your device will allow you to call these presets in automations or make buttons to control them on your Home Assistant dashboard!
There are two ways to do this. The Pixel Forge Scrolling Text tool is quicker and can insert live values like the time or temperature. The manual method below edits the segment directly, which is what you want when you are building presets to call from Home Assistant.
Edit the segment name directly, using the steps below. Pixel Forge is a stock WLED feature and is not in 14.5.1.
1. Open a web browser and navigate to http://<your-ip-address> or http://<your-device-name>.local.

2. Click the search box under Effect mode, type "Scrolling Text", and select it from the list.
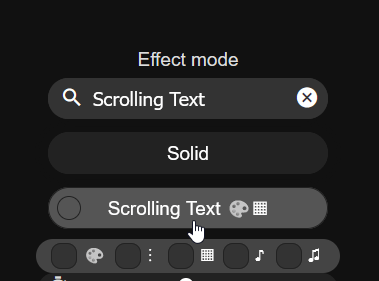
3. Once selected, your matrix will show the current date in orange text.

4. Look on the right side of the screen and click the pencil icon beside "Segment 0".
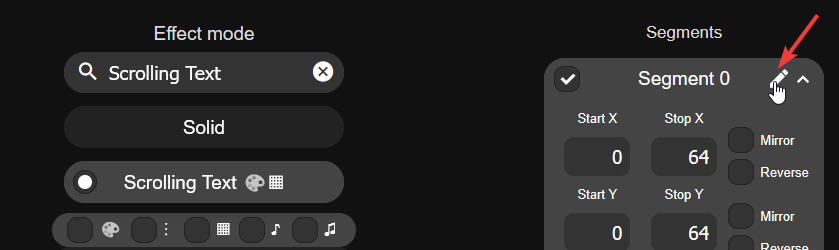
5. Type in anything you want to scroll on the M-1 such as "Apollo Rocks!". Click on the Check button when you're done and it will update the M-1 LED Matrix with your new text. WLED caps this at 64 characters, and WLED-MM at 32.
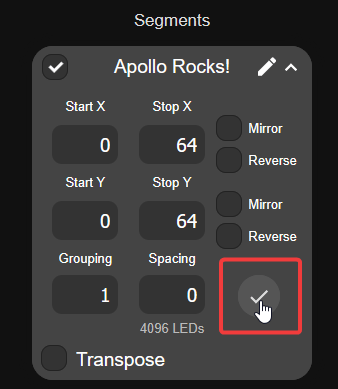
Edit settings to fully customize your M-1 with Scrolling Text!
There are four slider bars under the Scrolling Text effect. Here is what each one does:
1. Effect speed: how slow or fast the text goes across the matrix.
2. Y Offset: Moves the words higher or lower on the matrix. Defaults to the middle.
3. Trail: Trail length or Fade (sometimes called Decay or Trail depending on firmware version) to control how long the trail behind the text lasts.
4. Font size: Size of the font. 222 looks good!

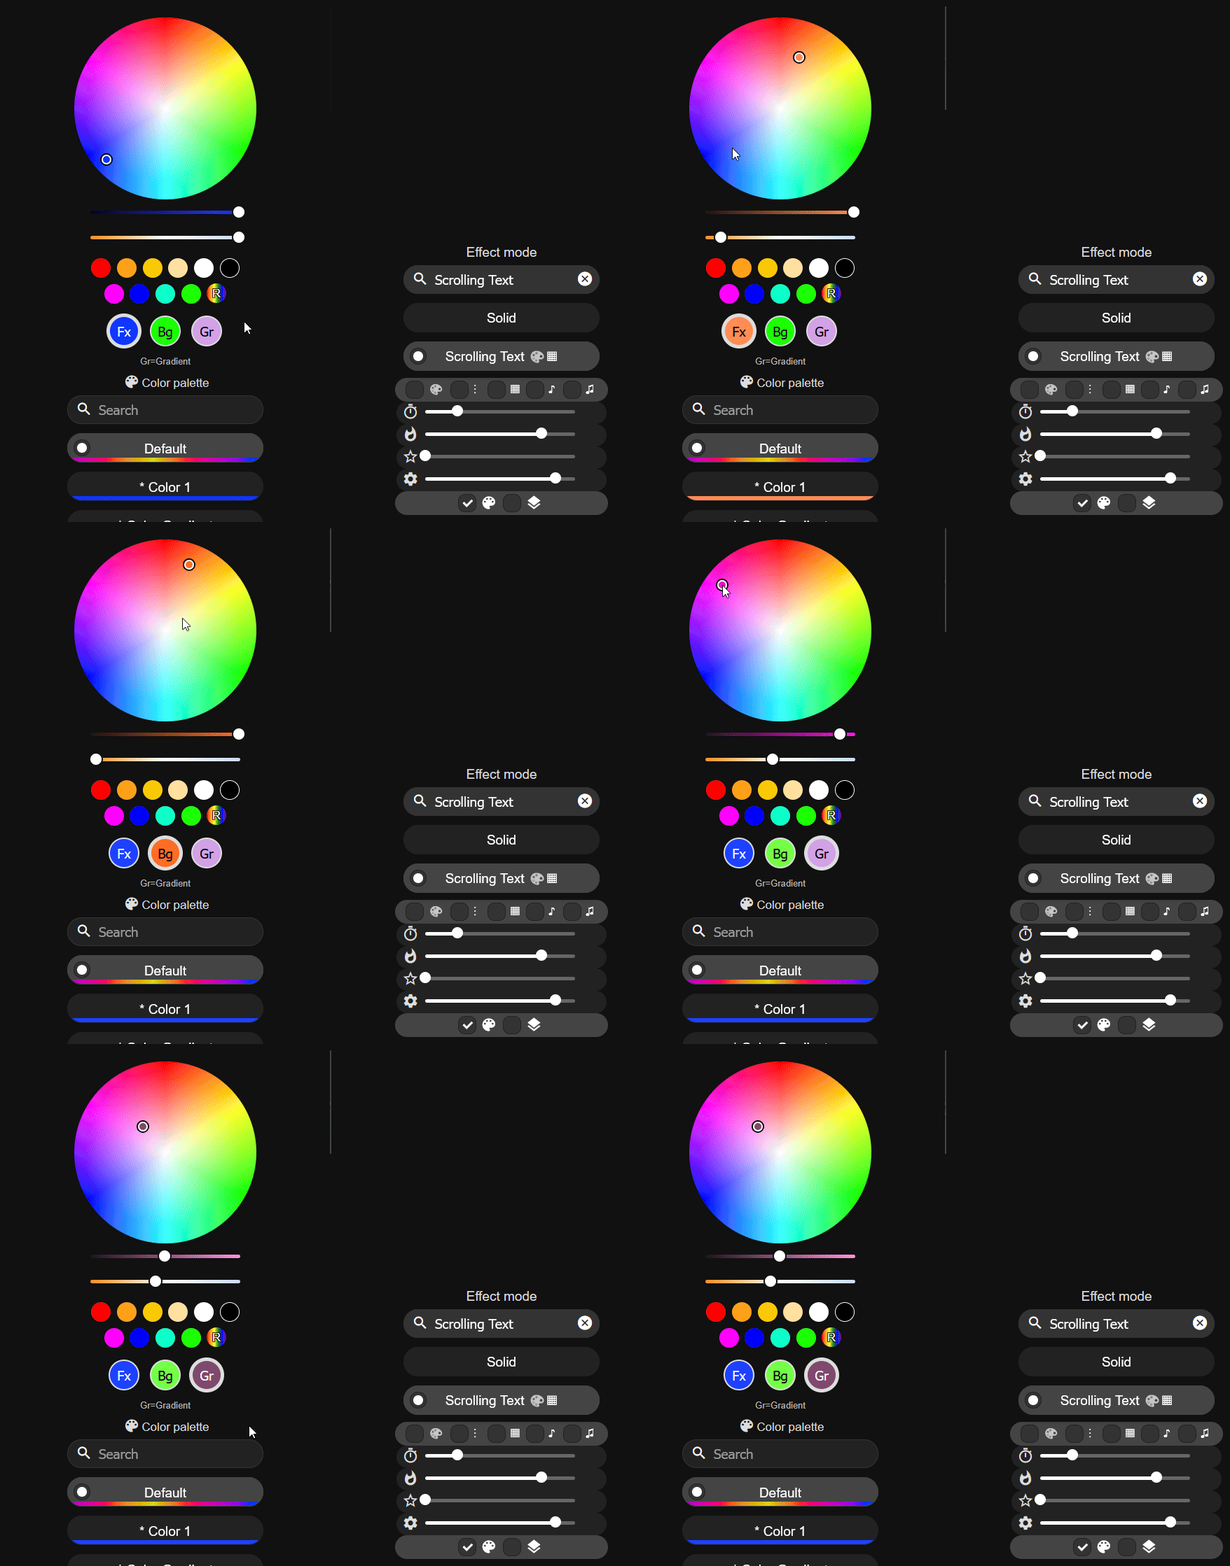
6. To customize the text's Color, Background Color, and Gradient, click the Fx, Bg, and Gr circles and choose your colors using the color picker!
7. Click on + Preset and write in a name for your new preset such as Apollo Rocks! then click Save.

8. Here's what your finished product looks like!

Want four lines at once instead of one? Split the display first with Segments, then set text on each one. To drive the text from your house rather than typing it, see Share Data From Home Assistant.