Factory re-flash AIR-1
If your Apollo AIR-1 becomes unresponsive and you've exhausted the other troubleshooting methods, you can re-flash the factory firmware by following the steps below.
Before you start
- Do the factory re-flash in Chrome, Edge, another Chromium-based browser, or a recent version of Firefox.
- If your AIR-1 has already been connected to Home Assistant, remove it from the ESPHome integration and the ESPHome Device Builder before continuing.
Re-flash the factory firmware
Follow these steps to put the factory firmware back on your AIR-1 from the Apollo AIR-1 installer.
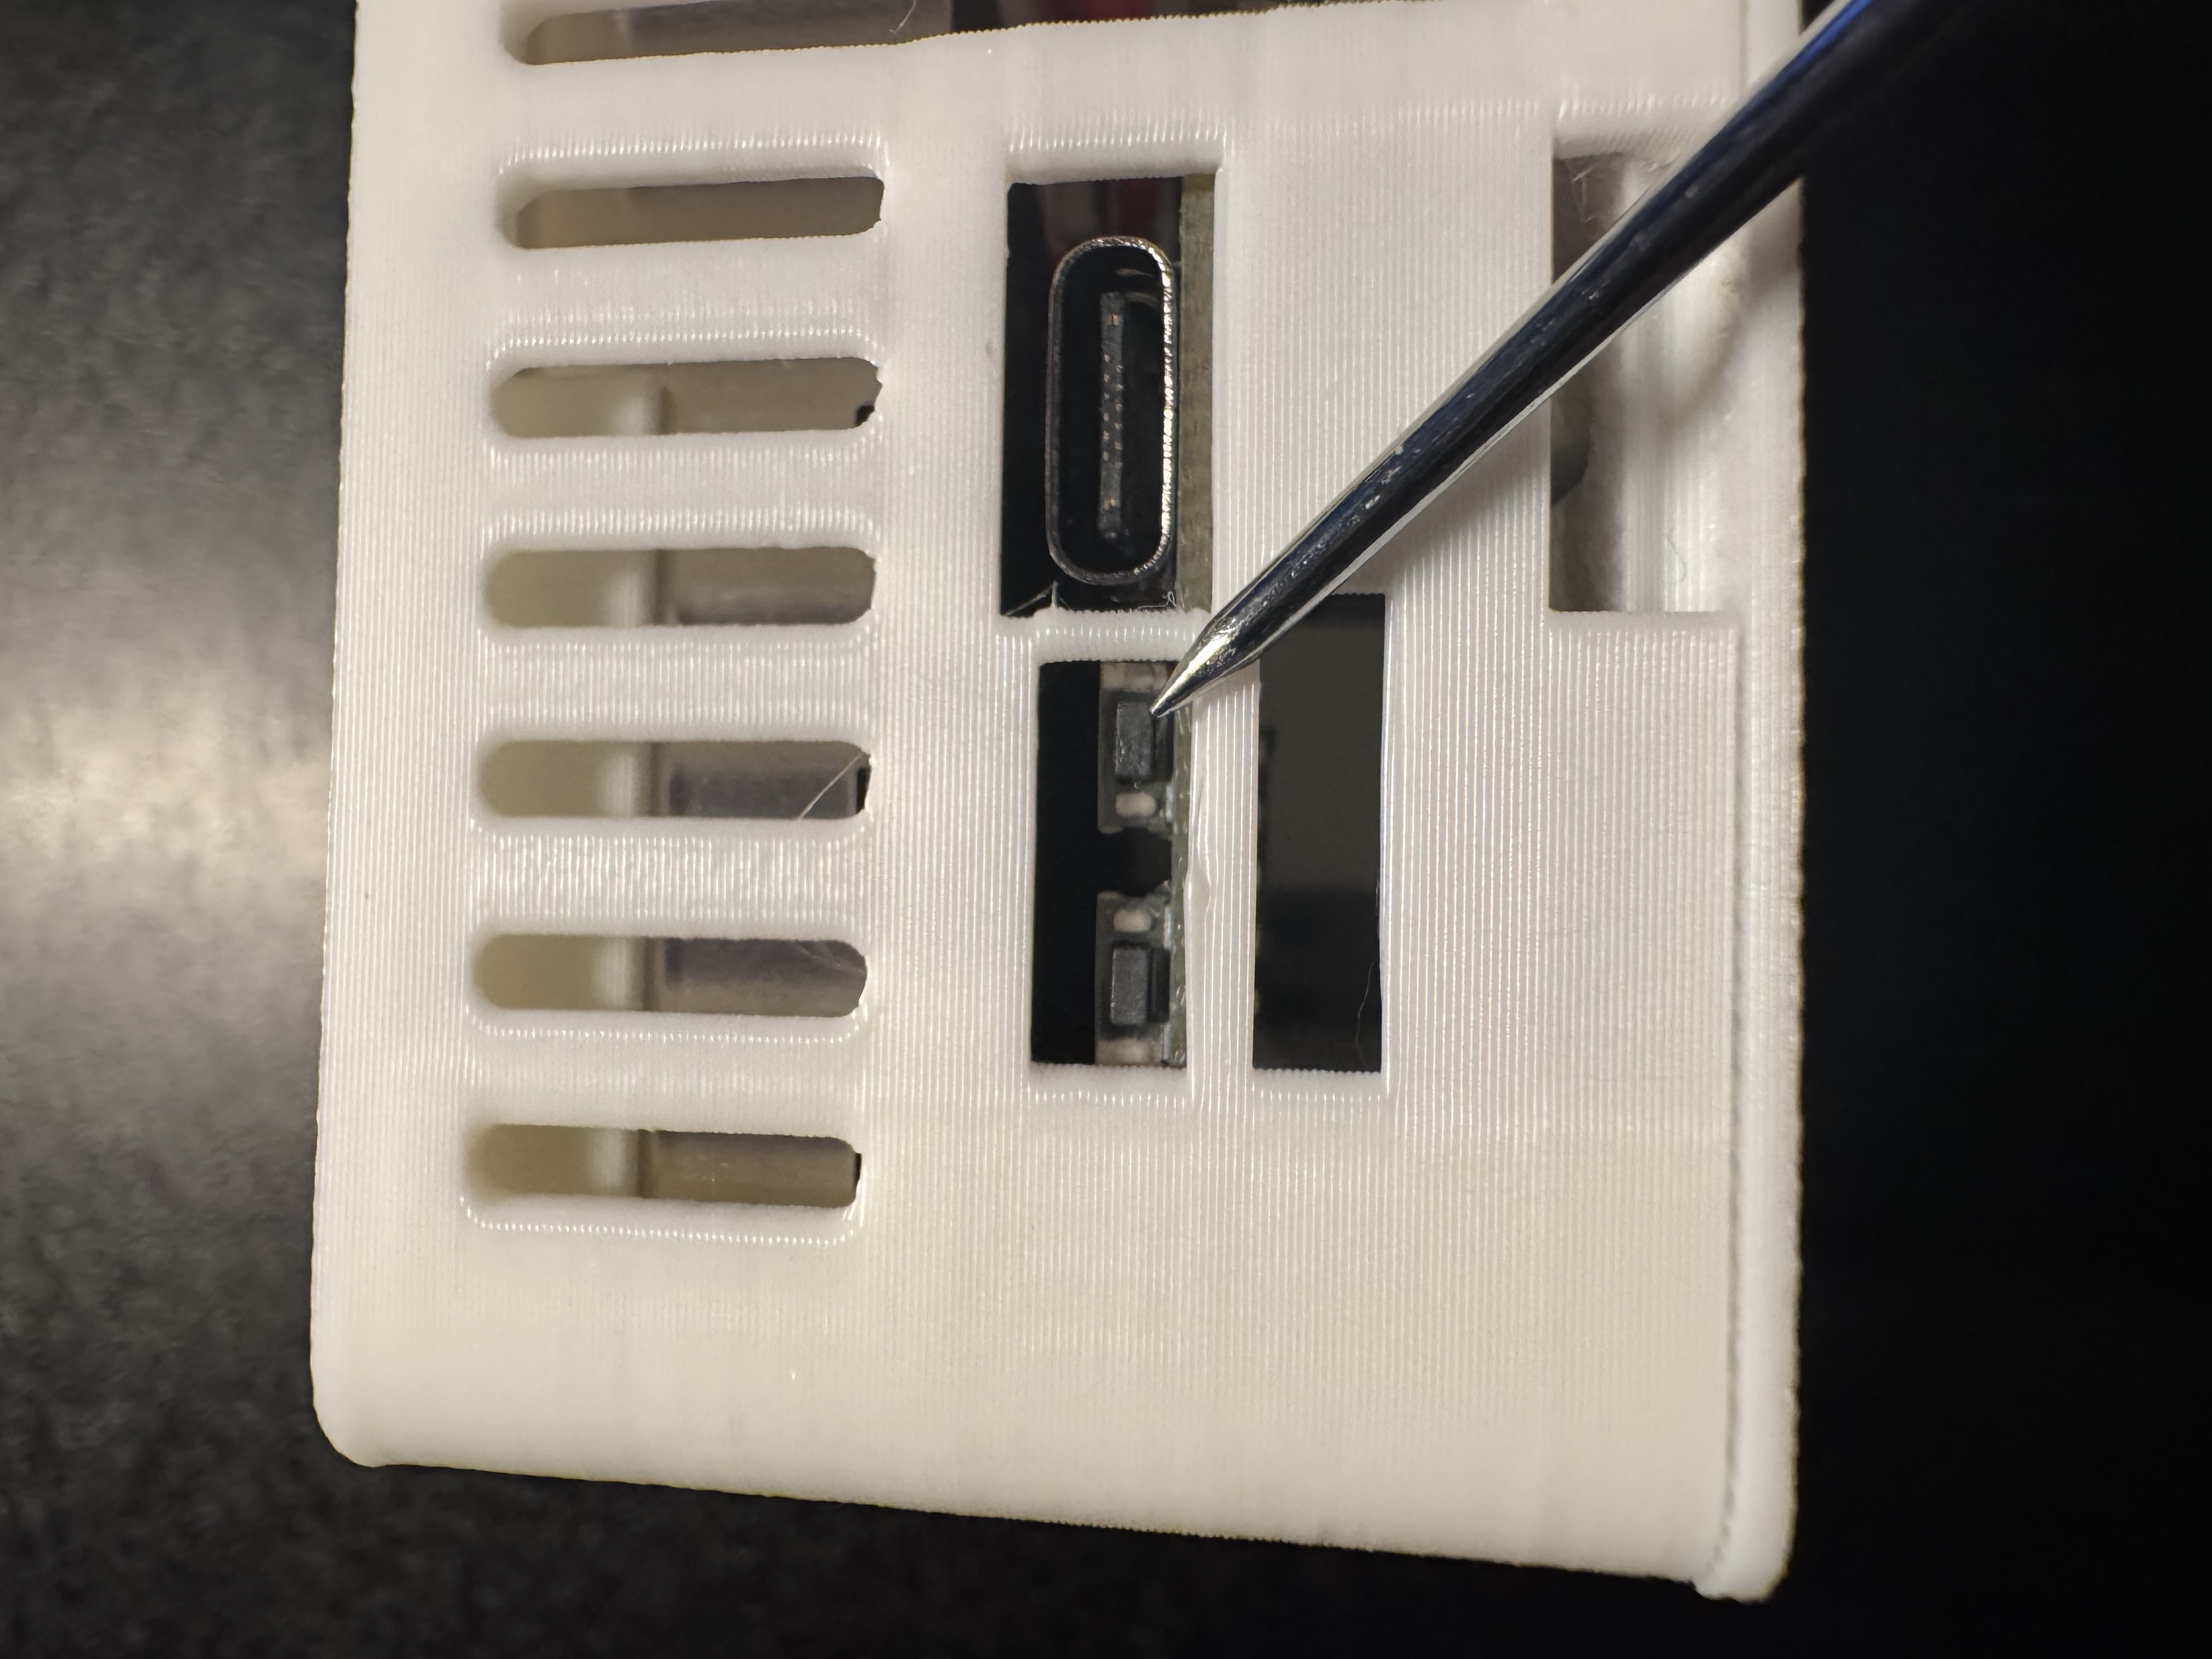
1. Put your AIR-1 in boot mode: hold down the boot button (the right of the two buttons beside the USB-C port), then plug in the USB cable. Let go of the button once the cable is in.
2. Open the Apollo AIR-1 installer.
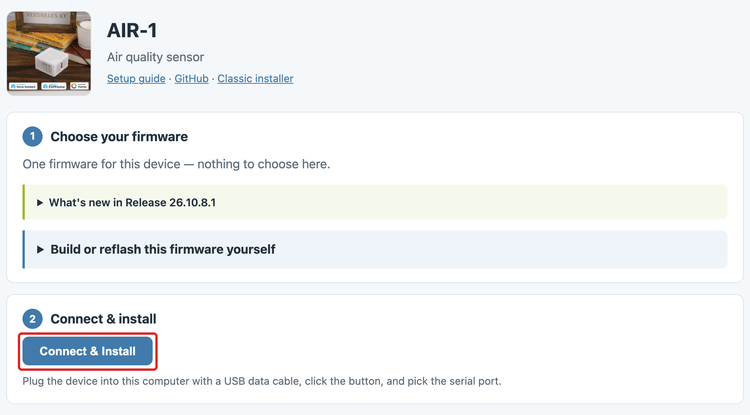
3. Click Connect & Install on the installer page.
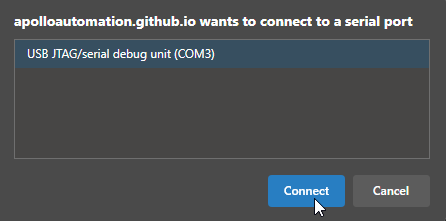
4. In the browser pop-up, select your AIR-1's open serial (COM) port, then click Connect. In the screenshot below, it's listed as USB JTAG/serial debug unit.
5. Click Install ApolloAutomation.AIR-1.
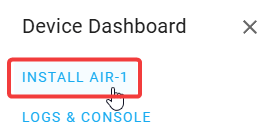
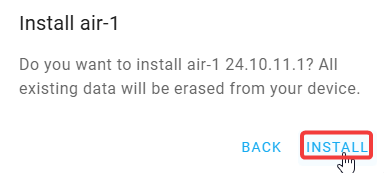
6. Click INSTALL.
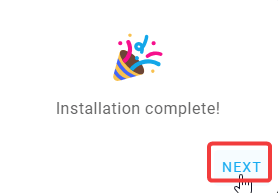
7. When you see Installation complete!, the factory firmware is installed. Click Next, then close the browser window.
Power cycle your AIR-1 before doing anything else
Your AIR-1 is still in boot mode. Power cycle it (unplug it to remove power, then plug it back in) so it boots in normal mode.
8. Go to the getting started guide and set up your AIR-1 as a new device.