Updating firmware
From Home Assistant
Most Apollo devices update themselves. Open the device page in Home Assistant (Settings → Devices & services → ESPHome, then your device) and look for the Firmware Update entity: it reports when a new version is available and installs it over the air, with no computer and no cable.

On a battery powered device, start the update and it installs the next time the device wakes.
Stable and Beta
Devices with a Firmware Channel select decide which firmware the Firmware Update entity offers.
Stable is the tested release, and it is what a freshly flashed device uses. Beta gets new features and fixes earlier, along with the rough edges that implies. You can switch back at any time, and the next update comes from whichever channel is selected. See Switch to Beta Firmware for the steps.
Updating with ESPHome Device Builder
Use this route to build the firmware yourself, or if your device has no Firmware Update entity.
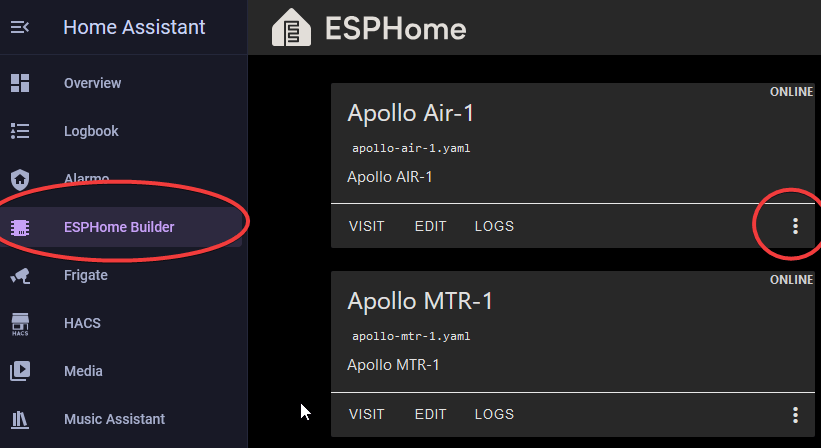
1. In Home Assistant open the ESPHome Device Builder.

Make sure you are running the latest version of ESPHome
You should be fully up to date with the ESPHome Device Builder before updating our sensors for ideal performance and ease of troubleshooting!
2. Find the sensor you want to update and click the three dots on the far right.
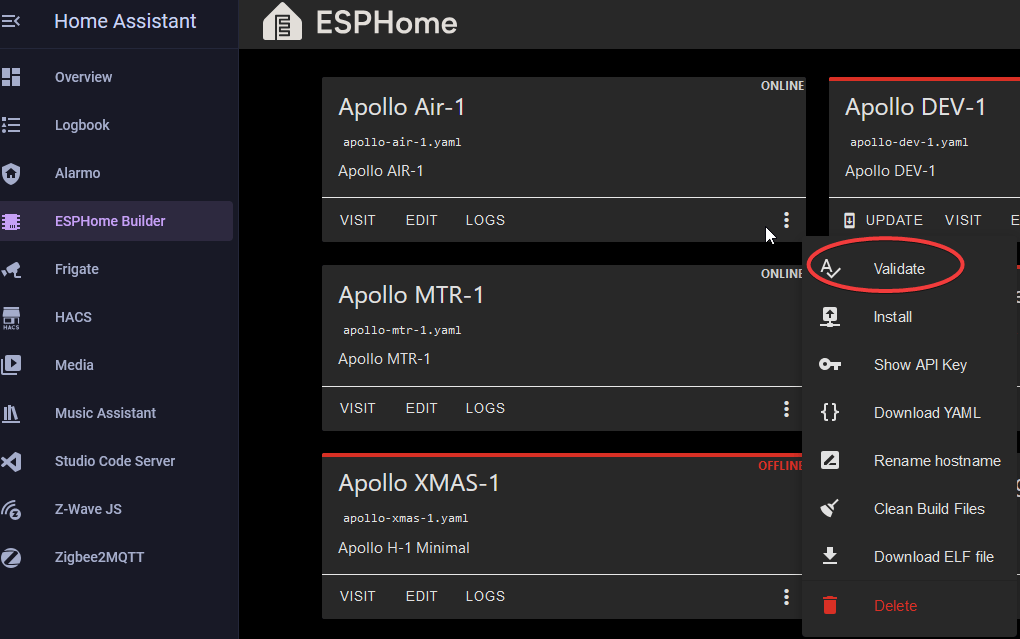
3. Select “Validate” from the list.
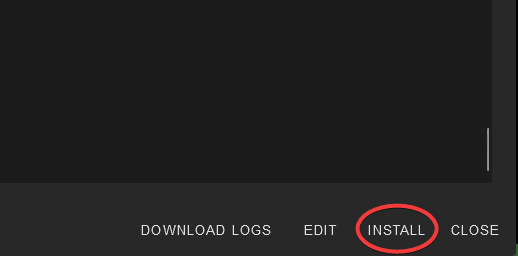
4. Once the validation completes, click “Install” in the bottom right.
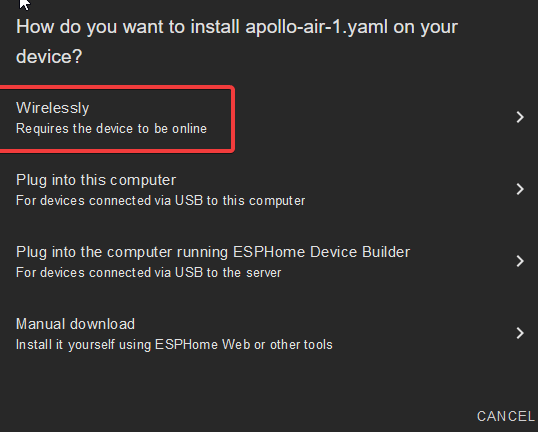
5. Click "Wirelessly".
6. Once you see "INFO OTA successful" you are done. Click "STOP" to exit.

If no update ever appears
The device checks for updates by fetching a manifest from apolloautomation.github.io over HTTPS. On a network that blocks outbound traffic from IoT devices, that check fails quietly and the Firmware Update entity keeps reporting that the device is up to date. Allow the device outbound HTTPS on port 443 to that host.
If a build fails to validate with a min_version error, update ESPHome Device Builder. Each release sets a minimum ESPHome version, and building the YAML yourself means meeting it.