Wall mounting your M-1 panels
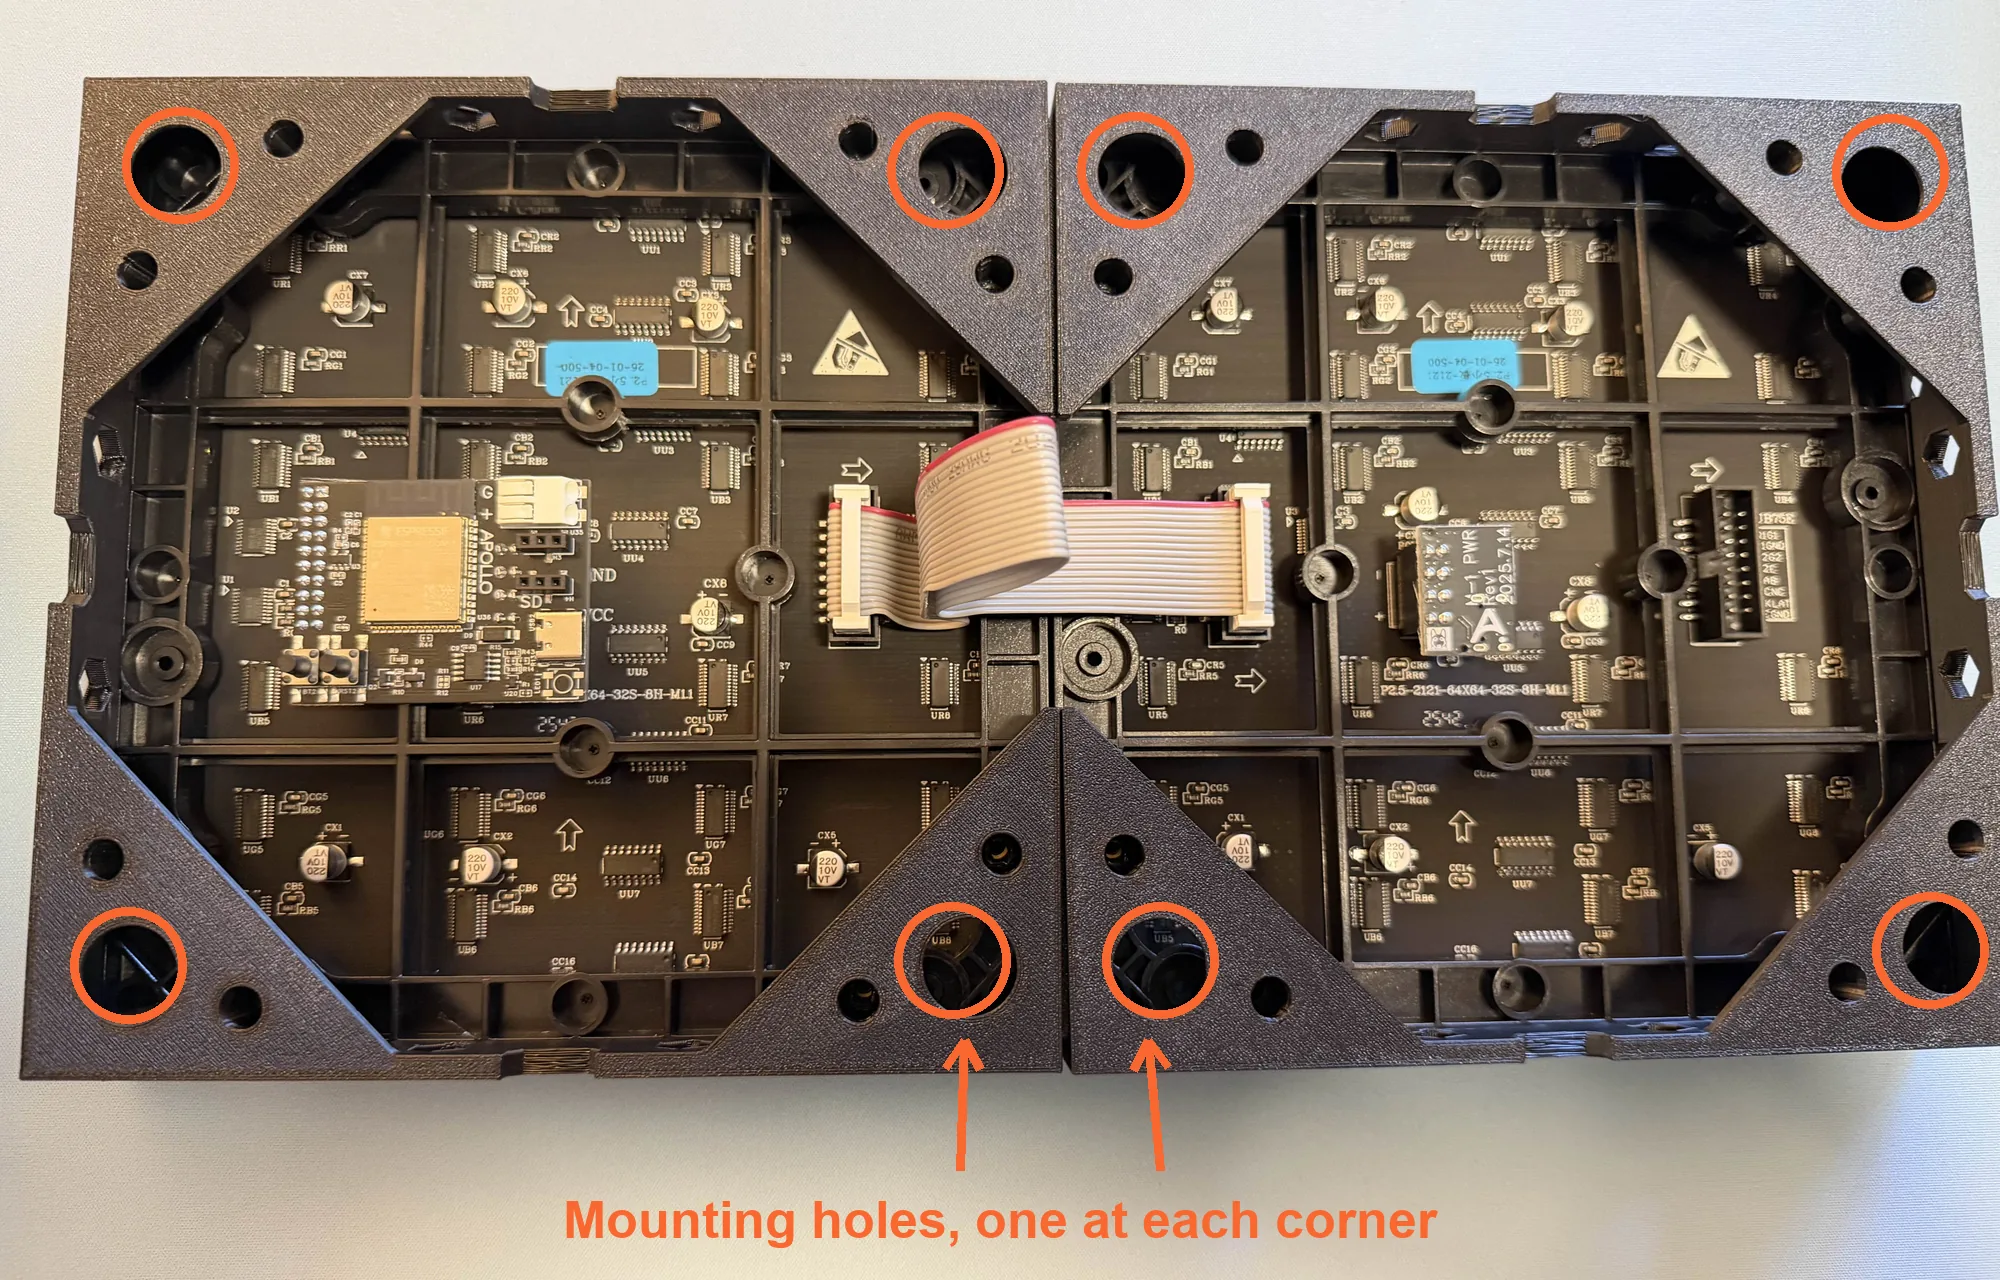
The printed frames wrap the edges of a panel and screw into the mounting holes on its back. Every panel gets its own frame, and small joiners bridge the seams where panels meet, so a row or a grid ends up as one flat piece you can hang on a wall.
Download the files from the M-1 LED Matrix Wall Panels model on Printables. Everything below comes from the M-1 Individual STL Files folder. (1)
- The other folders hold the combined CAD source files and the older stand brackets.
Choose your parts
During testing all parts were printed out of PETG. PLA will likely also work fine!
Which parts you need depends on your layout. Print one frame per panel, plus the joiners for each seam.
| Part | Used for | |
|---|---|---|
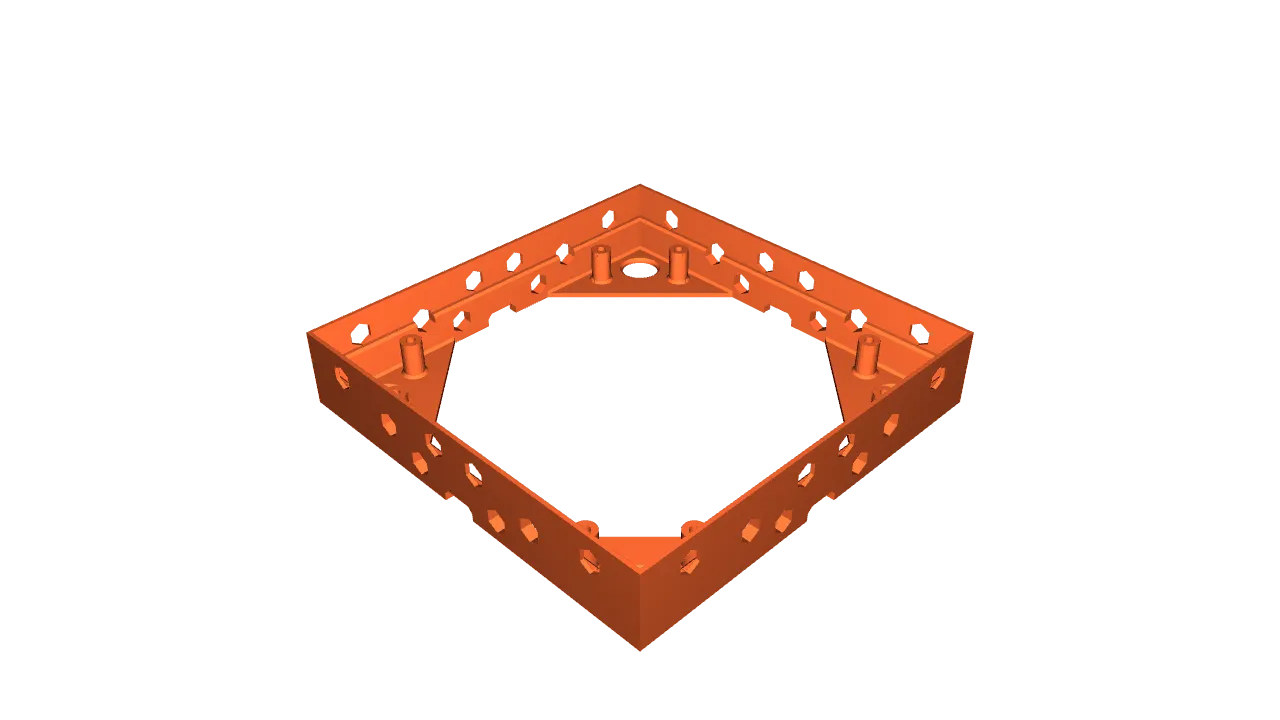 |
Single | a single panel on its own |
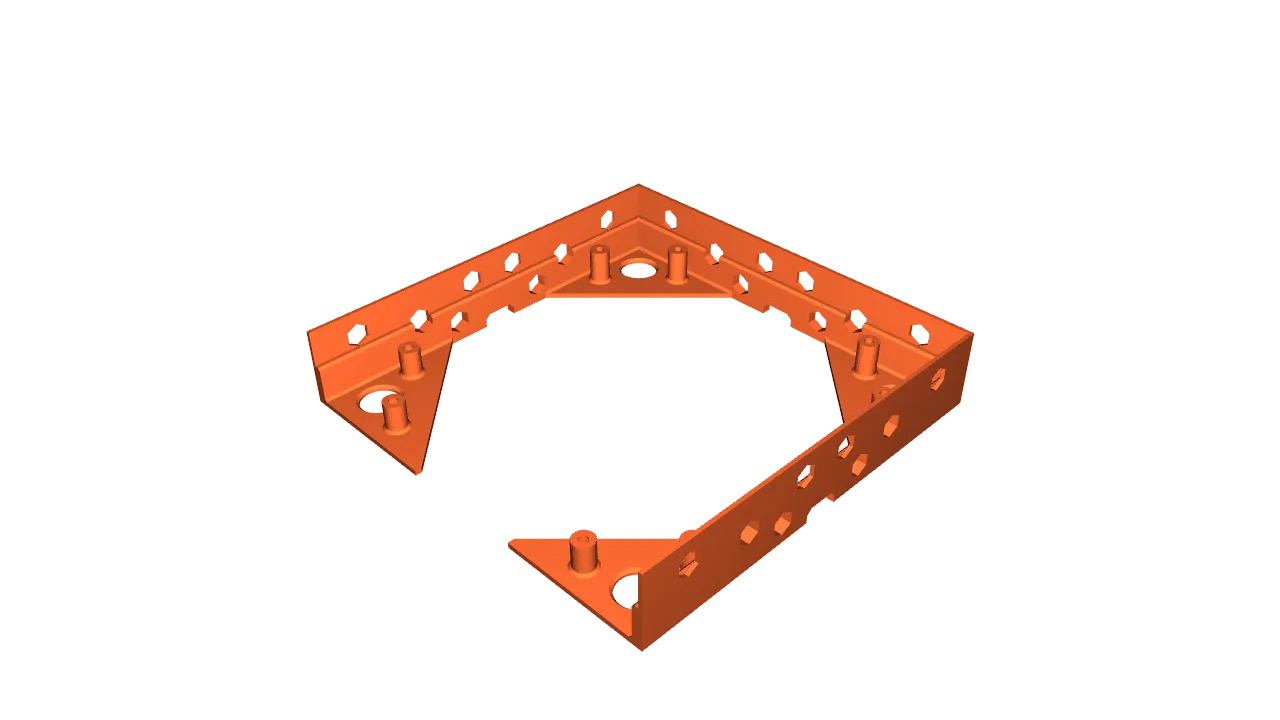 |
End 1xN | the two ends of a 1x2, 1x3, or 1x4 row |
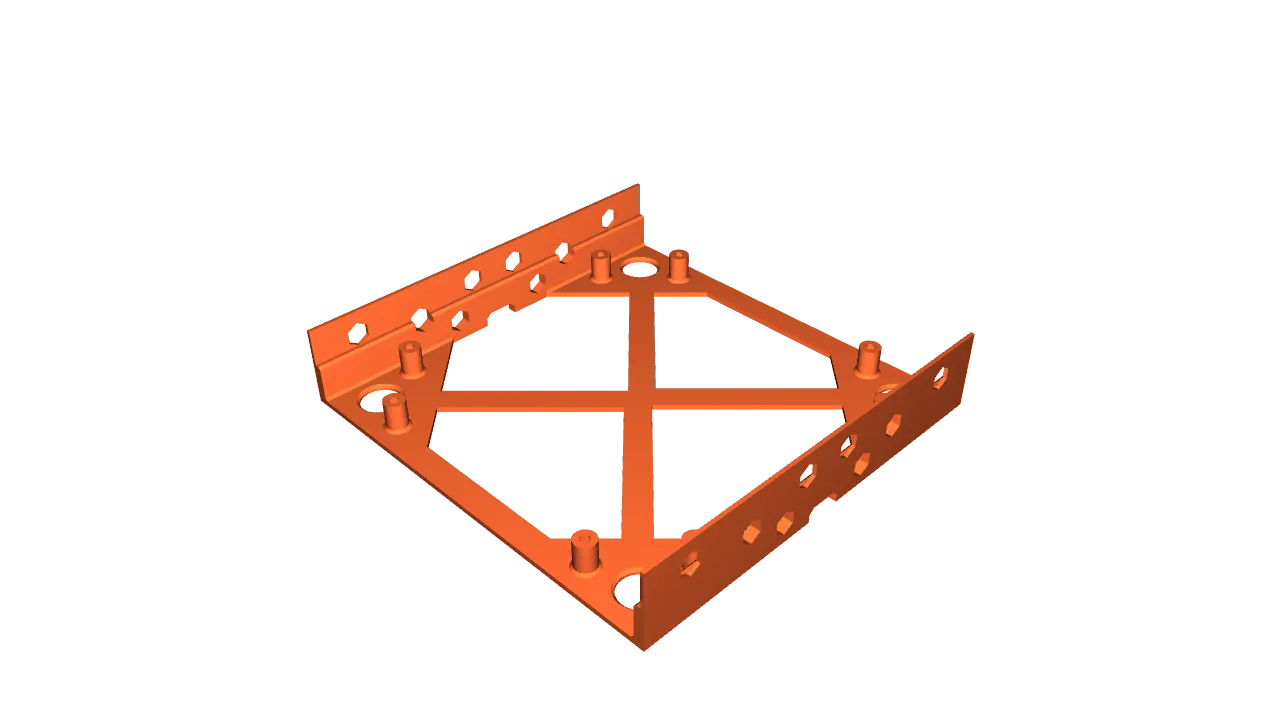 |
Middle 1xN | the inner panels of a 1x3 or 1x4 row |
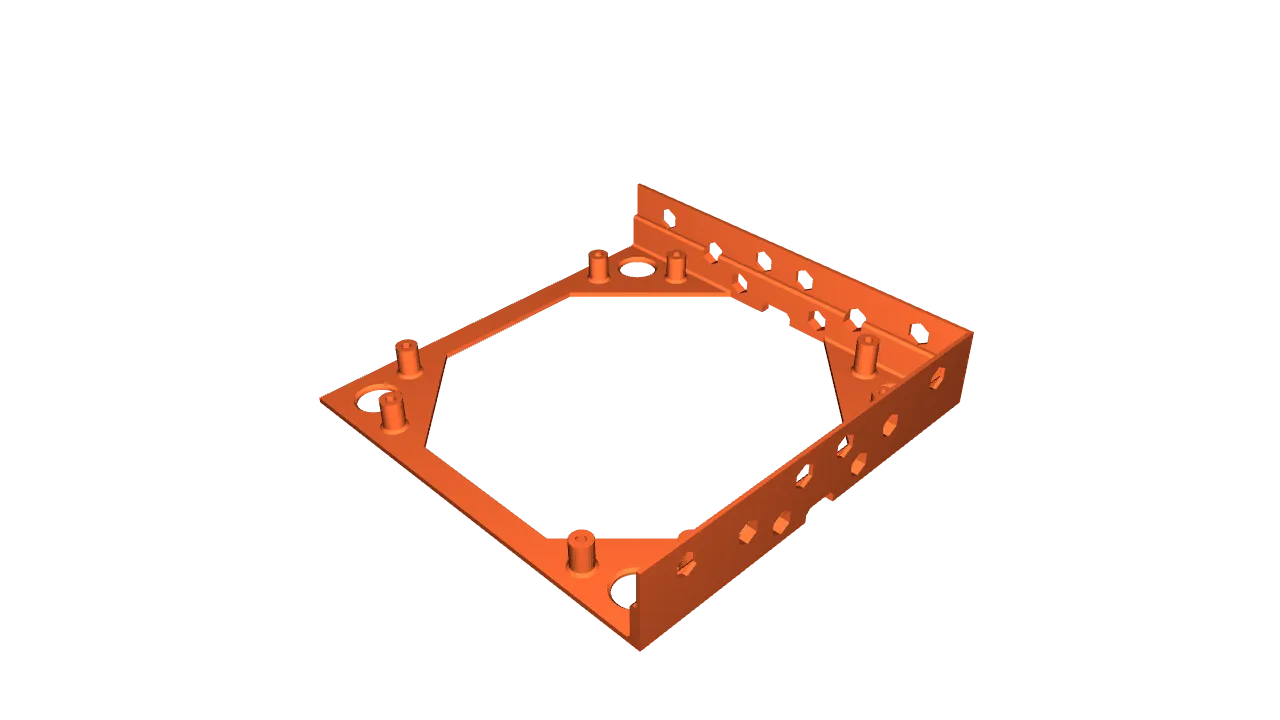 |
Corner | all four panels of a 2x2 grid |
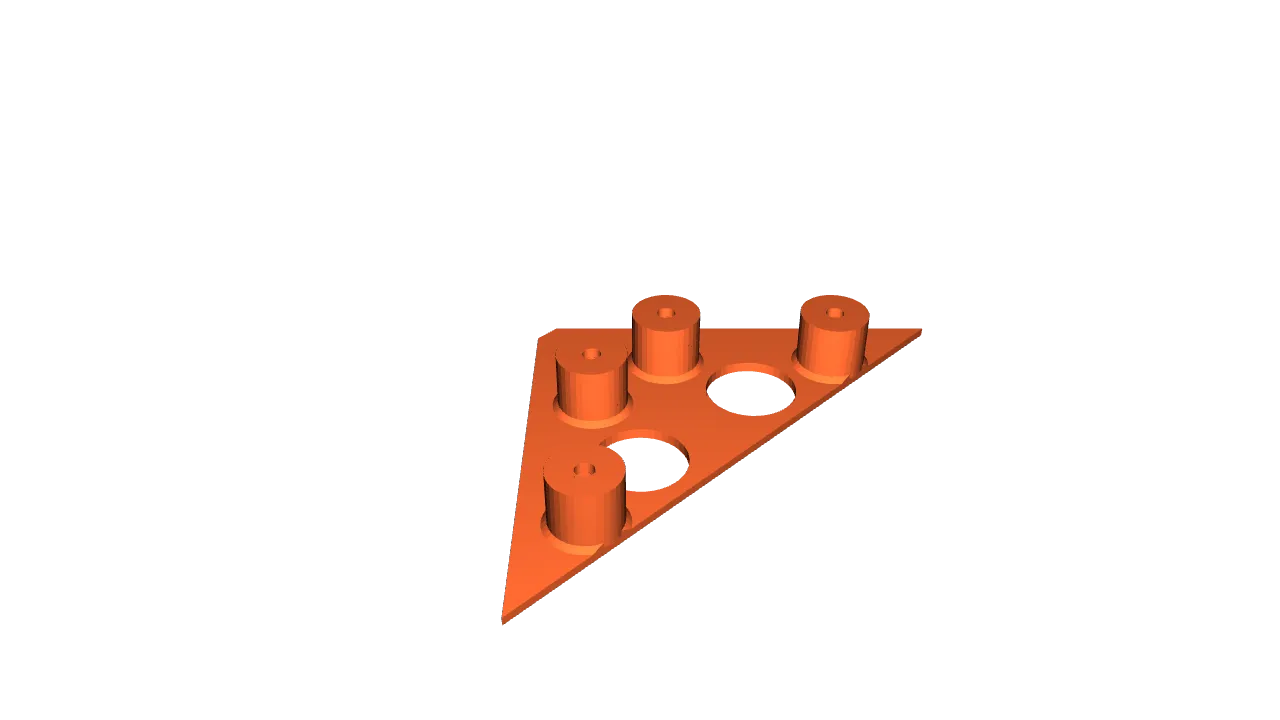 |
Joiner Side | binding two frames together at a seam |
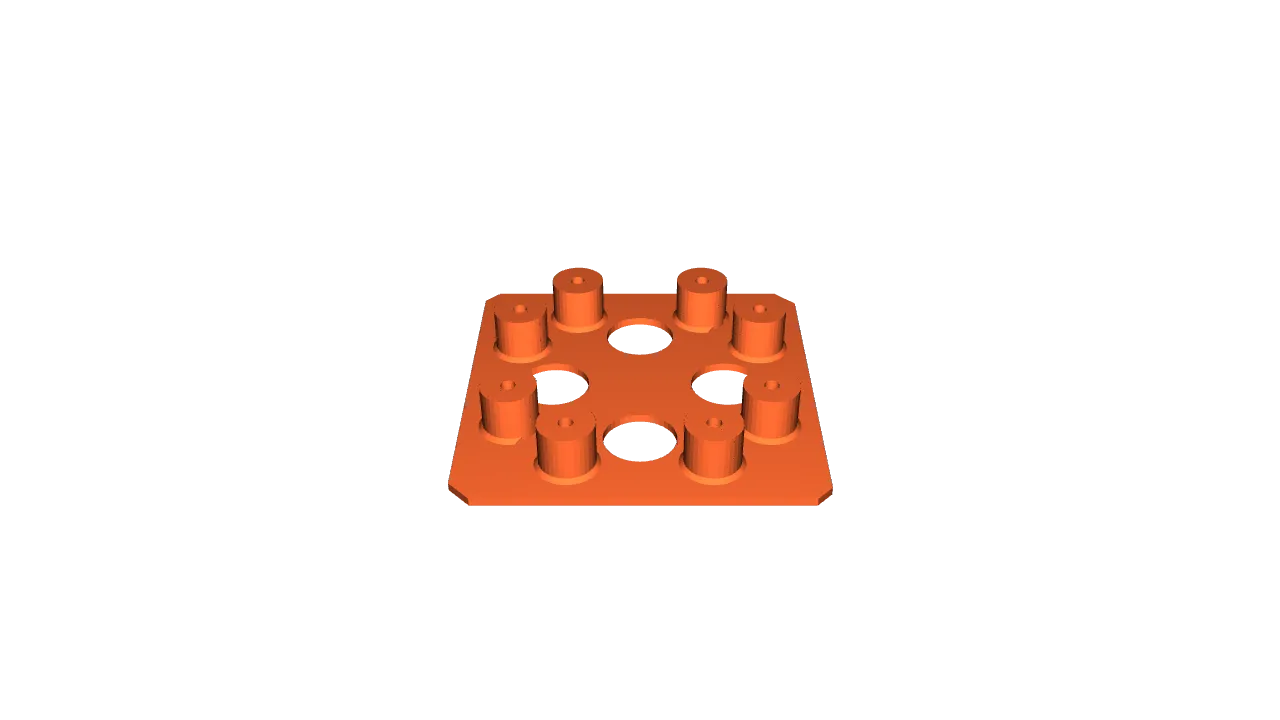 |
Joiner Center | the middle of a 2x2 grid, where four panels meet |
Two more parts, Side and Center, are in the same folder for grids larger than 2x2. Most people never print them. Four panels is the limit for a single M-1, so a bigger grid means more than one controller.
Screws
Make sure to use M3 8mm screws. These cheap ones off Amazon work great.
Never use a screw longer than 12mm
The panel sits directly against the frame posts, so there is very little room behind its mounting holes. Anything longer than 12mm reaches the back of the panel and damages it.
Assemble your panels
Work with the panels face down on a soft surface, LED side against a towel or the foam they shipped in. Set each frame over the back of its panel, line the frame posts up with the panel's mounting holes, and drive the screws in. Snug is enough. Overtightening strips a printed post.
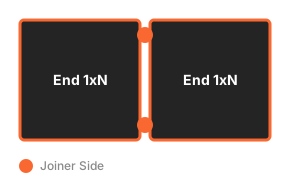
The orange dots in each diagram mark where a joiner goes.
You need: 1x Single.

1. Lay the panel face down.
2. Set the Single frame over the back of the panel and line up the posts with its mounting holes.
3. Drive the M3 screws in.
You need: 2x End 1xN, 2x Joiner Side.
1. Lay both panels face down, side by side, in the order you plan to chain them.
2. Set an End 1xN frame over each panel with its open edge facing the seam, then screw each frame down.
3. Bridge the seam with a Joiner Side at each end, screwed into both panels.
You need: 2x End 1xN, 1x Middle 1xN, 4x Joiner Side.
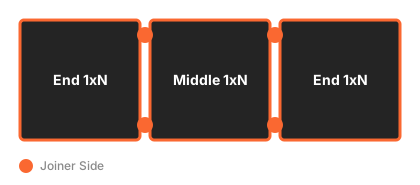
1. Lay all three panels face down in a row.
2. Set an End 1xN frame on each outside panel with its open edge facing in, and the Middle 1xN frame on the panel between them. Screw each frame down.
3. Bridge each of the two seams with a Joiner Side at each end.
You need: 2x End 1xN, 2x Middle 1xN, 6x Joiner Side.
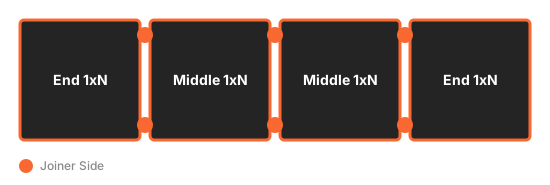
1. Lay all four panels face down in a row.
2. Set an End 1xN frame on each outside panel with its open edge facing in, and a Middle 1xN frame on each of the two inner panels. Screw each frame down.
3. Bridge each of the three seams with a Joiner Side at each end.
You need: 4x Corner, 4x Joiner Side, 1x Joiner Center.
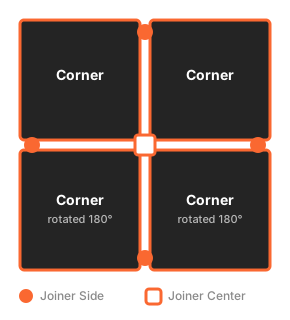
1. Lay the four panels face down in a square. Rotate the bottom two panels 180 degrees. The ribbon cables are short, and turning the bottom row around puts its ports next to the top row's ports so the cables reach.
2. Set a Corner frame on each panel, turned so its two open edges face the middle of the grid, then screw each frame down.
3. Fit the Joiner Center where all four panels meet and screw it into all four.
4. Finish each of the four seams with a Joiner Side at its outside end.
Wiring your panels
Leave the wiring until the frames are together, then do it before anything goes on the wall. It's much easier with the panels flat on a table.
The Multiple Panels guide covers the ribbon cables, the power modules, and the WLED settings that turn a row or a grid into one display.
Head to the Multiple Panels guide
Hang your panels
The printed parts have a mounting hole at each corner. Push a thumb tack through the holes along the outside edge of your finished panel and into the wall. A small nail or a picture hook works the same way.
Getting it straight is worth an extra minute
Stick a strip of masking tape across the wall where the panel goes, level the tape with a spirit level or the level app on your phone, then mark where each tack lands and push the tacks through the tape. Peel the tape away once the panel is hanging.