Getting Started
Congrats on your new M-1! Pick your firmware below and the rest of the M-1 wiki follows your choice.
New units ship with WLED. Units shipped earlier came with WLED-MM. Open your M-1 in a browser and tap Info to see which you have: 16.0.1 or newer is WLED, 14.5.1 is WLED-MM. Running ESPHome instead? Head to Set Up ESPHome.
Attach M-1 LED Controller

Your M-1 LED Matrix and M-1 controller were shipped separately to minimize damage in shipping. Gently attach the M-1 controller by lining up its power and data headers to the back of the LED Matrix panel as shown below.
Connect to Wi-Fi
1. Plug in USB-C power. The M-1 boots to a picture of Apollo, our mascot, then displays a setup card on the panel.
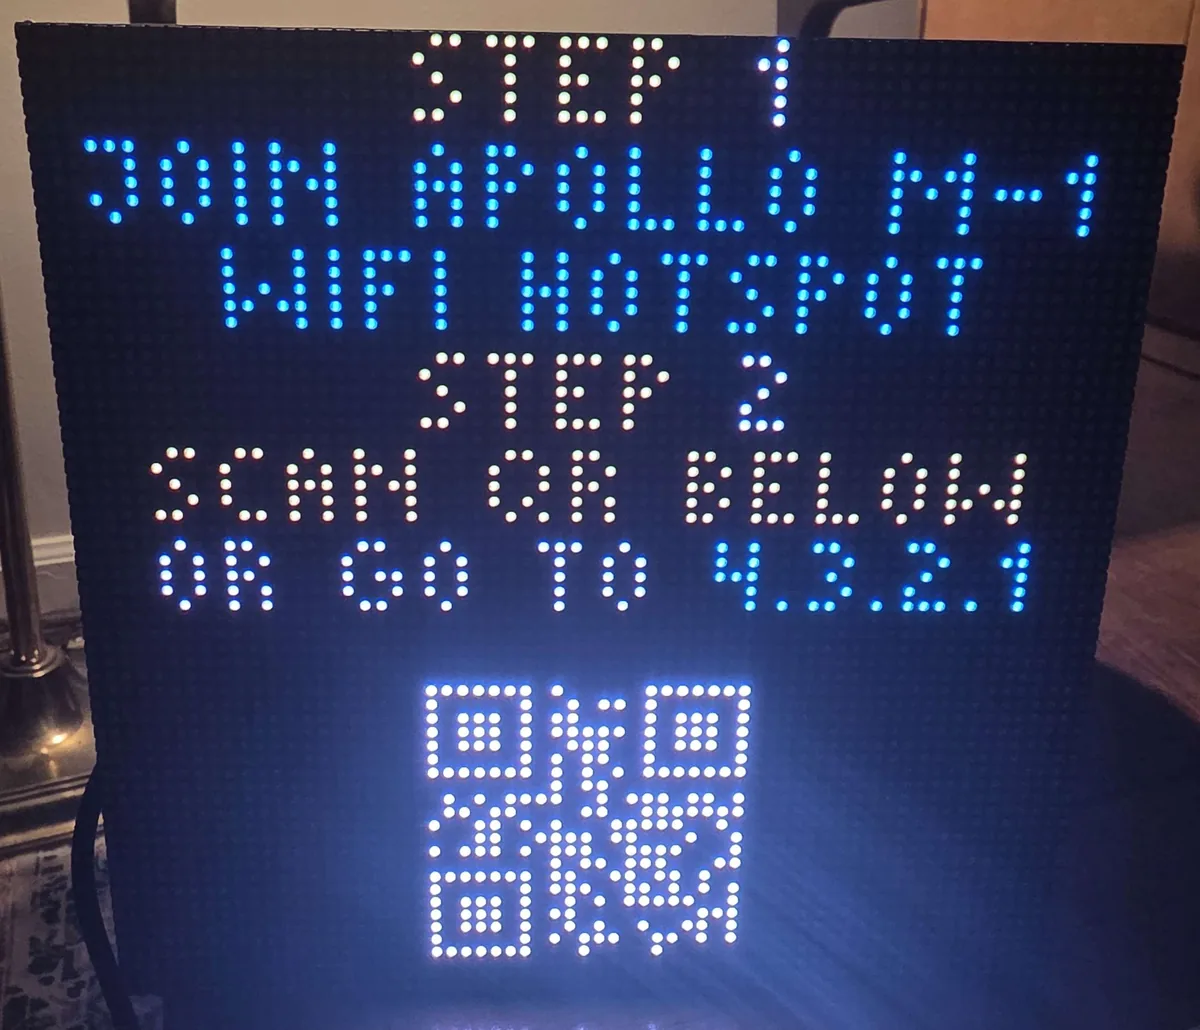

2. On your phone or computer, join the new Wi-Fi hotspot called Apollo M-1. If a Wi-Fi connection options box pops up then please select Always Connect. (1)
- Your phone or computer may open a small WLED window by itself. That is the captive portal, a cut-down browser your device uses for sign-in pages. Most of WLED works in it, but if a control is missing or does nothing, open http://4.3.2.1/ in a real browser instead.

3. Once you are connected to the Apollo M-1 hotspot, scan the QR code on the LED matrix or open http://4.3.2.1/ in a browser such as Firefox, Chrome, or Safari.
4. You should now see the Welcome to WLED page.
Your M-1 is ready to use right now. Select TO THE CONTROLS to start playing with it over the M-1's own hotspot, no home network needed.
Learn more about using your M-1 without Wi-Fi
Put the M-1 on your home Wi-Fi
Joining your network lets you control the M-1 from any device in the house and use it with Home Assistant. Select WIFI SETTINGS on the Welcome page, then:
- Select Scan. Nearby networks are found automatically.
- Select your network and enter your password. Passwords are case sensitive, so take your time here.
- Set the mDNS address to something like
apollo-led-matrix. This is the step that saves you from ever hunting for an IP address, so do not skip it. - Tap Save & Connect, wait a few seconds, then unplug the M-1 and plug it back in.
On the next boot the M-1 joins your network, and you reach it at http://apollo-led-matrix.local (or whatever you set the mDNS address to) from any device on that network. If it cannot connect it goes back to broadcasting the Apollo M-1 hotspot, so run through the steps again and double-check the network name and password.
http://4.3.2.1/ stops working once the M-1 joins your network
That address only exists while you are connected to the M-1's own hotspot. Once the M-1 is on your Wi-Fi it has a new address on your network.
If you set an mDNS address above, use that. If you did not, you will need the M-1's IP address, and the WLED app finds it for you.
Your device is ready to connect to your Wi-Fi and begin controlling via Home Assistant, the WLED app for iPhone and Android, or via a web browser!
1. Plug in the USB-C power in and the M-1 device will boot within a couple seconds. Head to the available Wi-Fi networks on your phone and select Apollo M-1. It should pop up saying "Welcome to WLED!". If this popup does not occur, please open a web browser and navigate to http://4.3.2.1/ or http://wled.me and you should be prompted with the same image seen below.
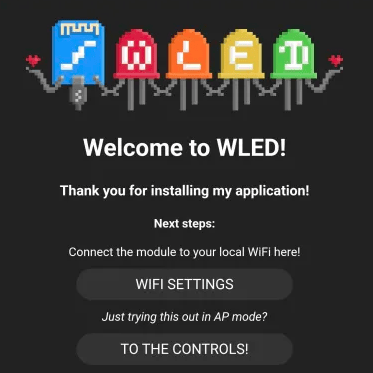
2. Tap on WI-FI Settings then input your Wi-Fi SSID where it shows Your_Network and input your Wi-Fi password directly below it and then click Save and Connect.
You can also set your hostname here such as apollo-led-matrix
Later, you can use this to access your device at http://apollo-led-matrix.local in a browser instead of using the IP address!
Post-Connect Setup
Please complete setup by changing a few settings!
The firmware we use currently does not support us pre-configuring a few settings but they are required to be set for you to use the M-1 LED Matrix successfully. Please follow the two steps below to finish setting up your device!
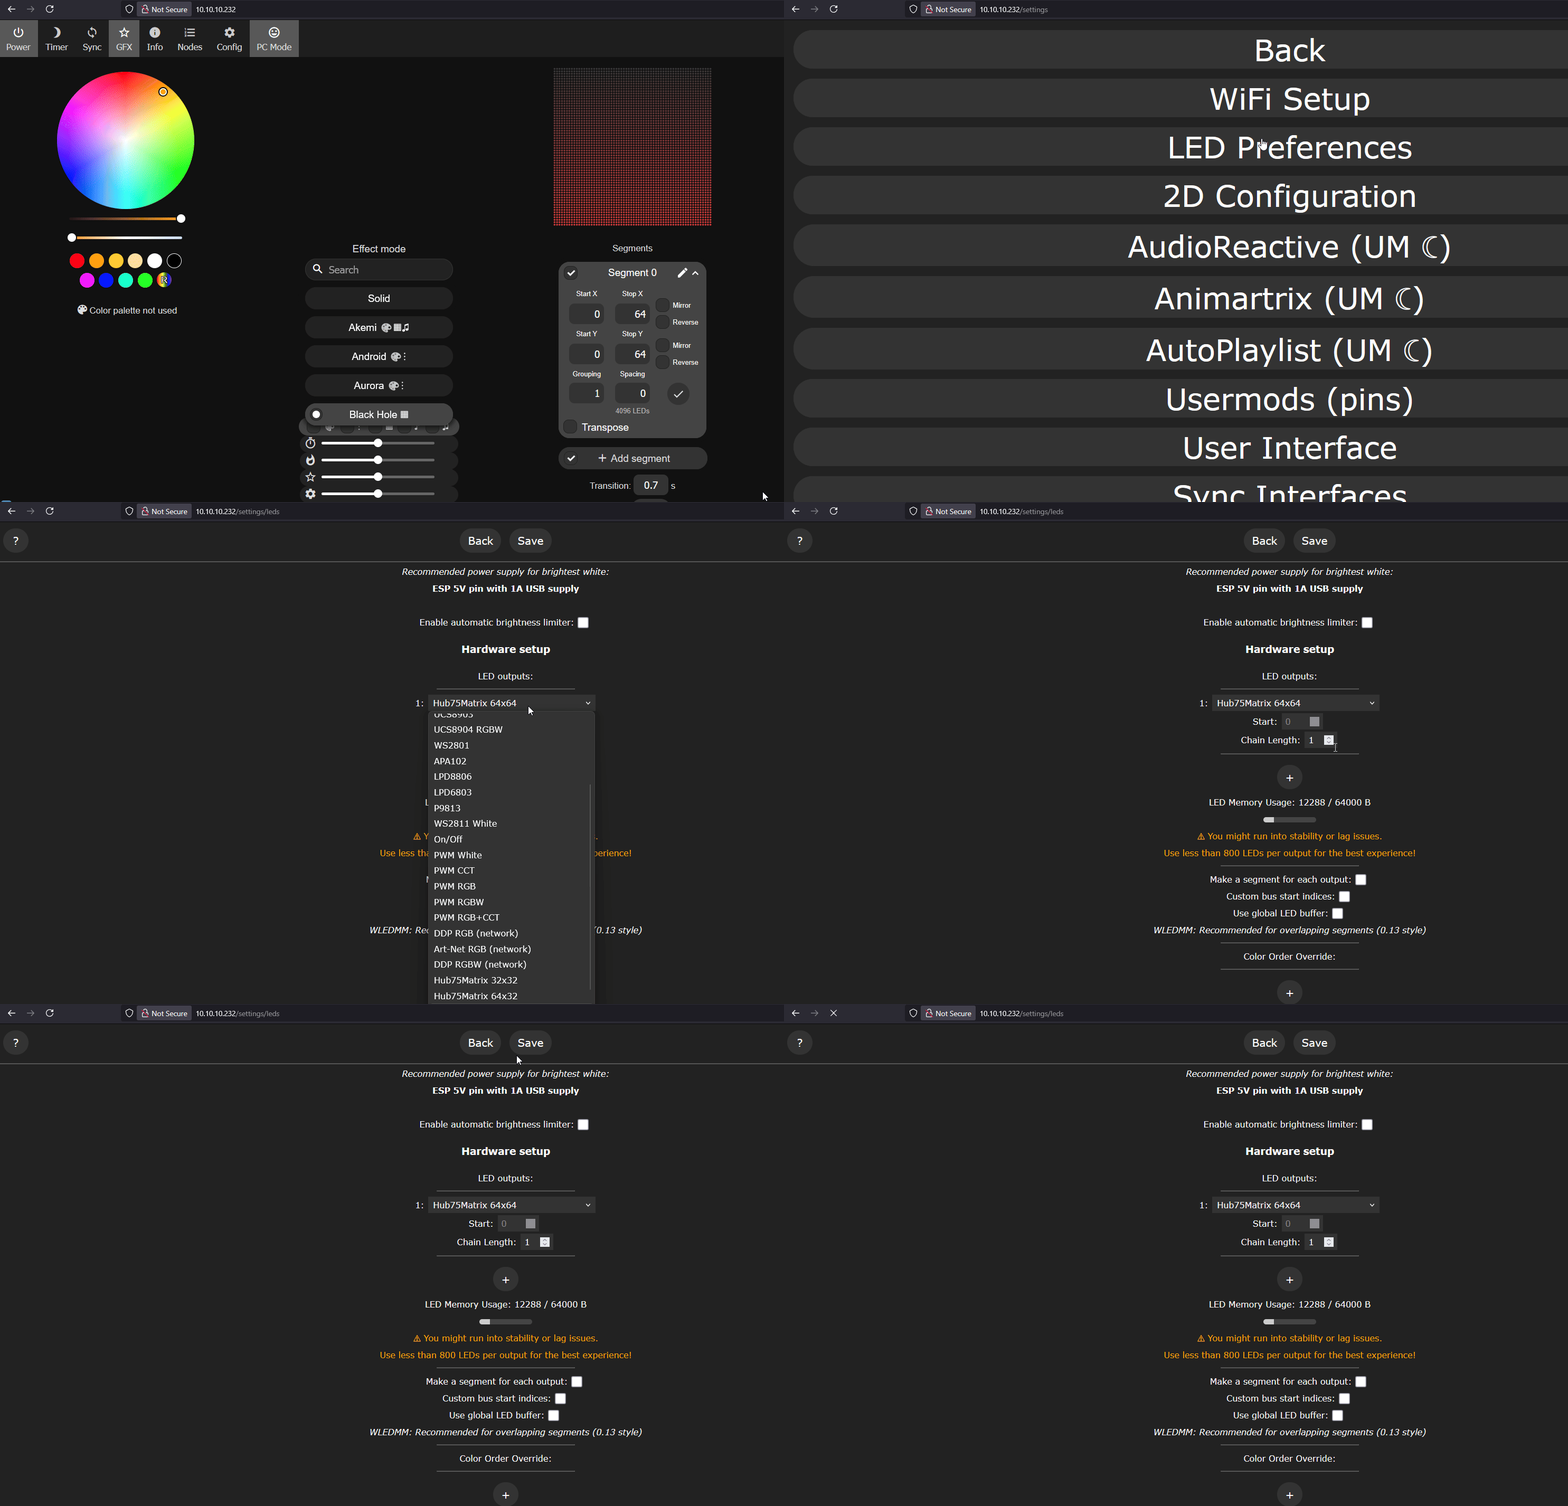
1. Click on Config, then LED Preferences. set Chain Length to 1 then uncheck the "enable automatic brightness limiter and click Save. Make sure to select Hub75Matrix is set to 64x64.
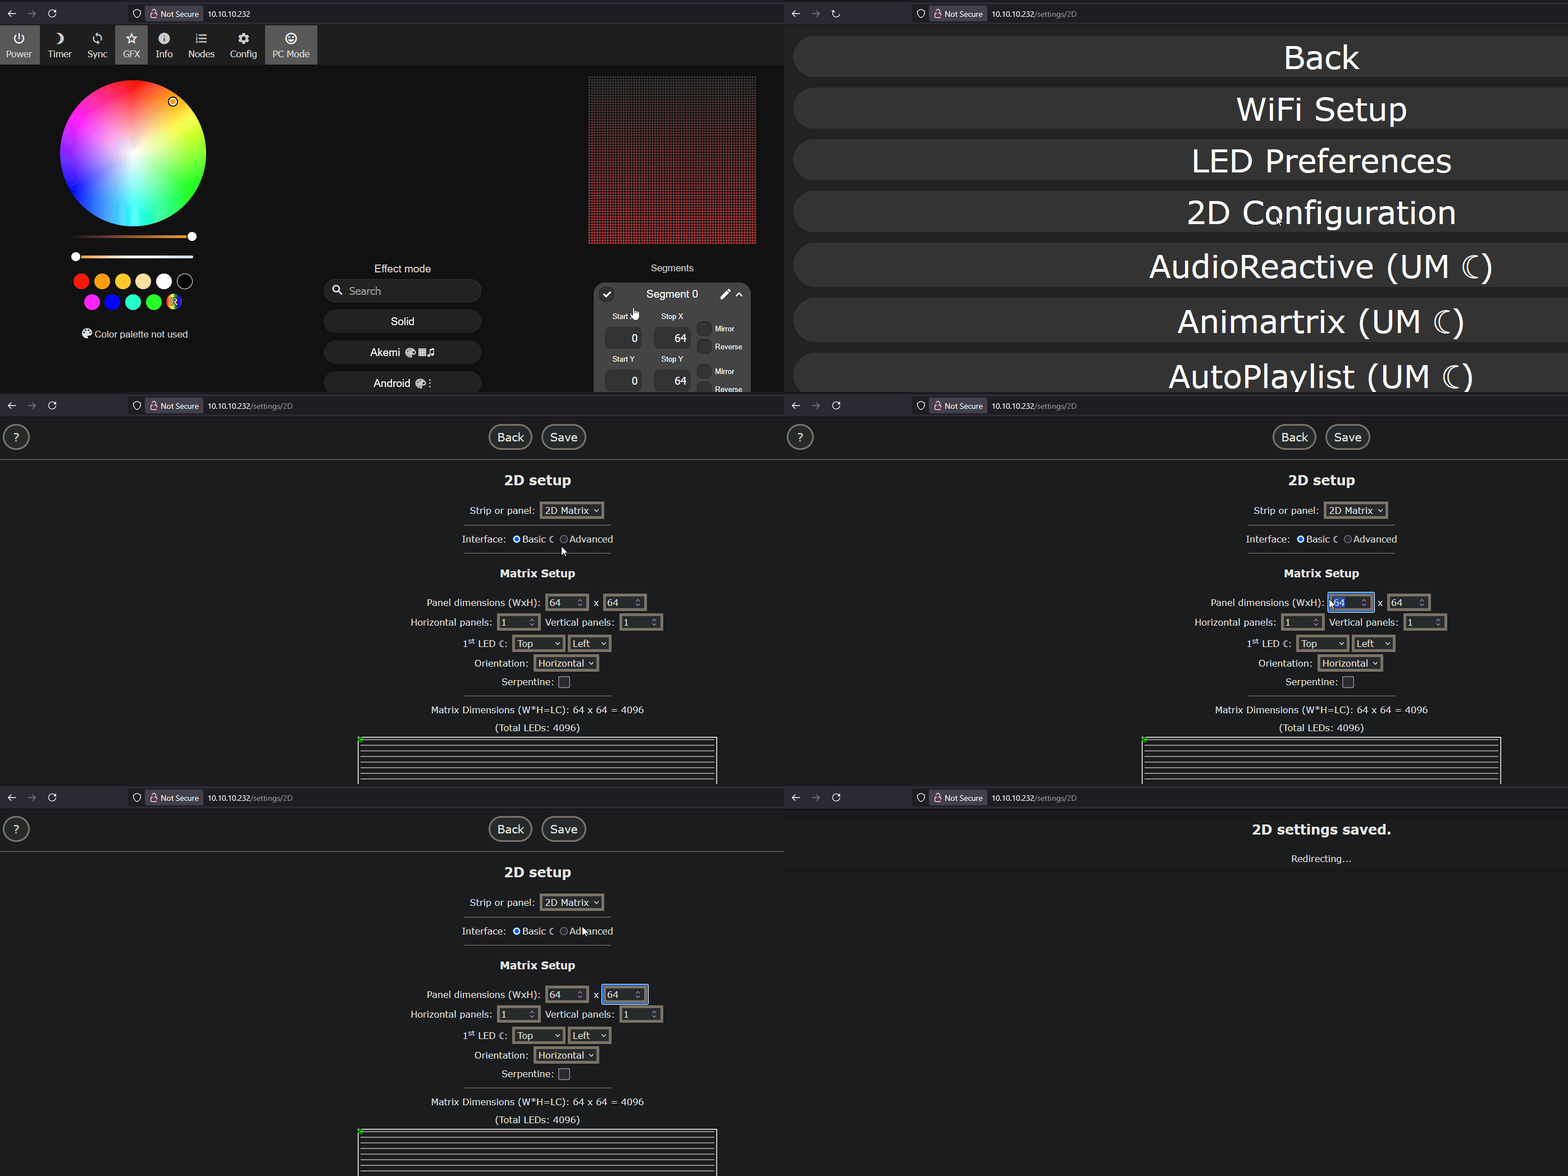
2. Click on Config, then 2D Configuration. Select 2D Matrix, click the circle next to Basic, change the Panel dimensions (WxH) to 64 x 64 and click Save.
Join to Home Assistant
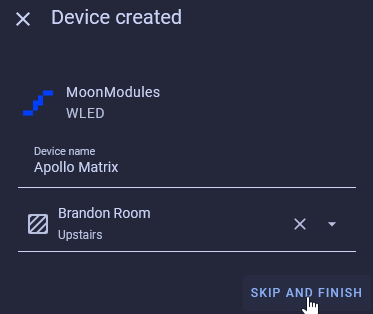
1. Open your integrations page in Home Assistant. The M-1 is discovered automatically by the WLED integration. Click Add, then Submit. Give it a name and an Area, then click Finish.

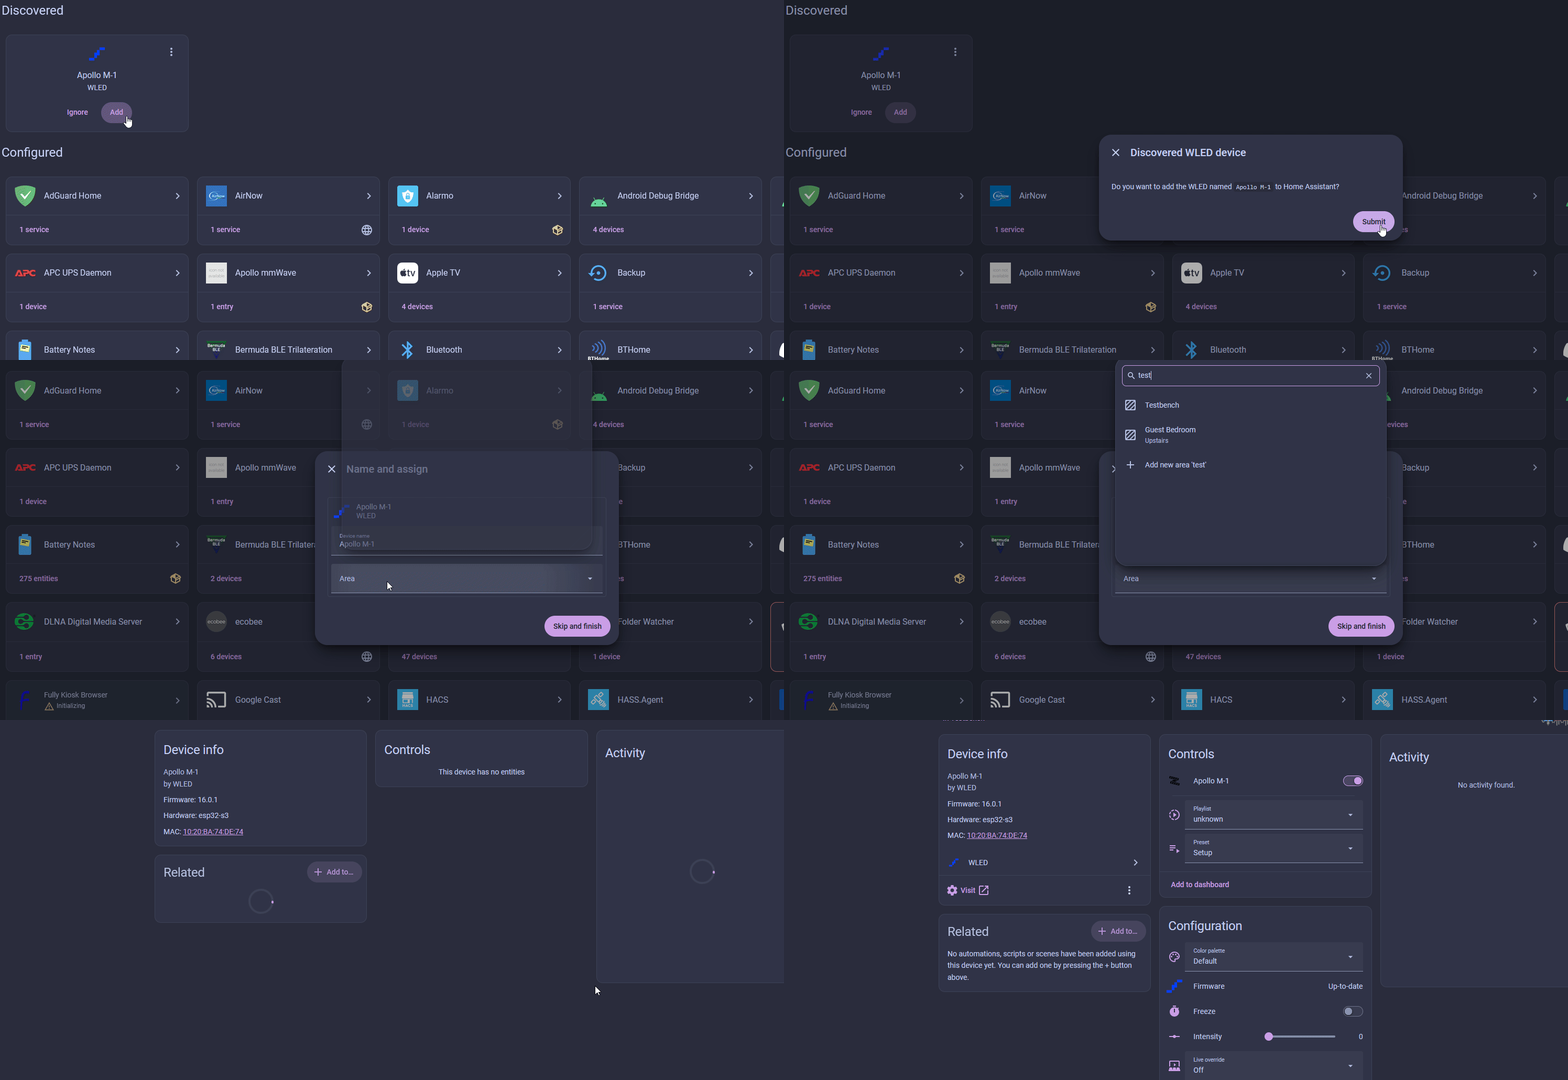
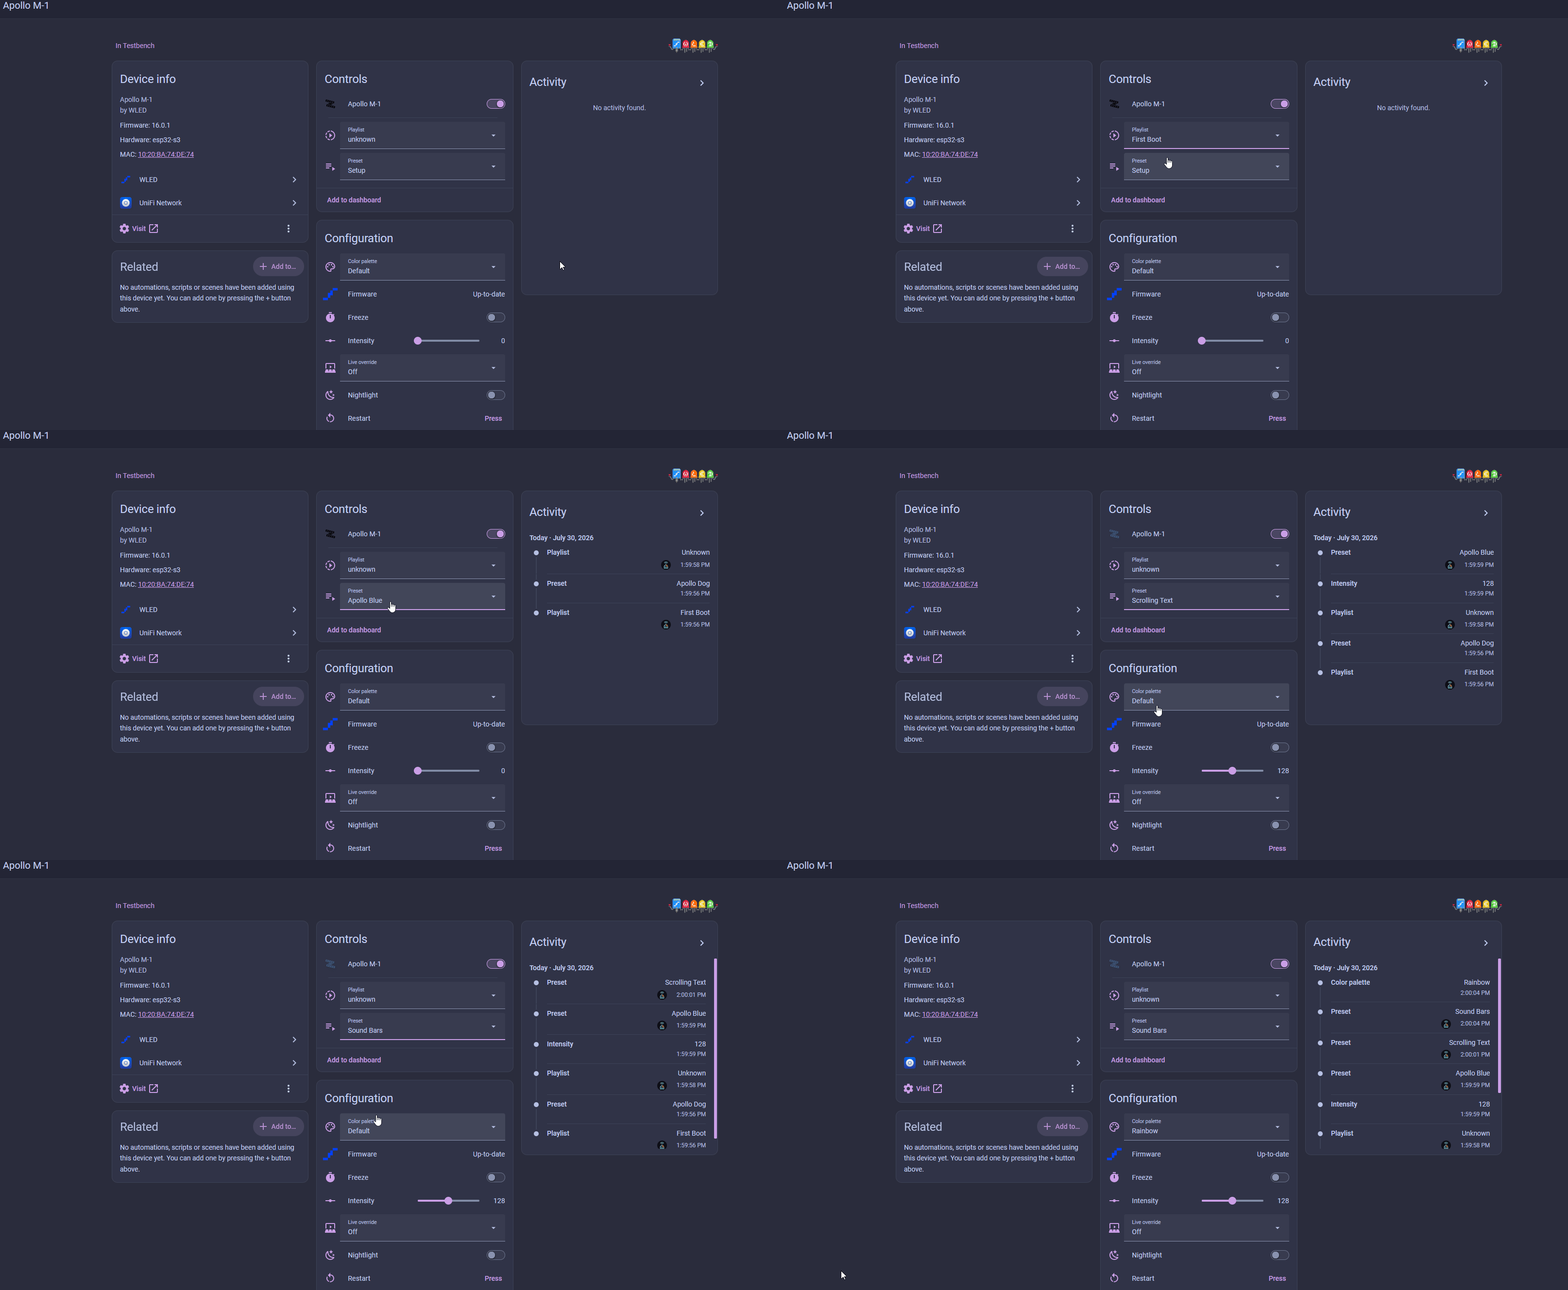
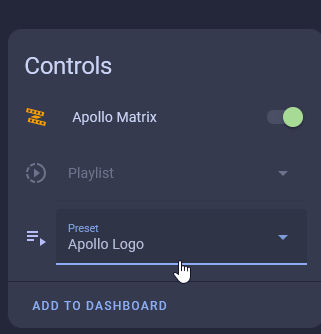
2. From this page you can control your M-1 in Home Assistant. Change the color, pick effects, run presets, and more.
1. Open your integrations page in Home Assistant. The M-1 is discovered automatically by the WLED integration.
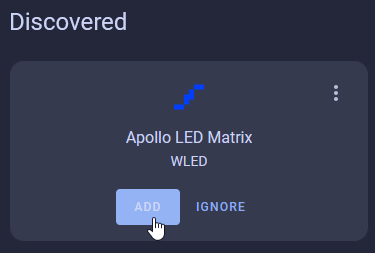
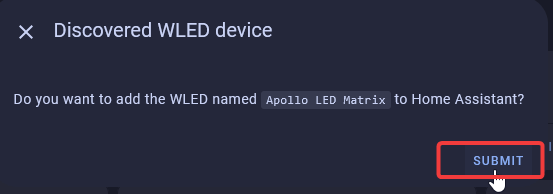
2. Click Add, then Submit.
3. Give it a name and a location, then click Skip and Finish.
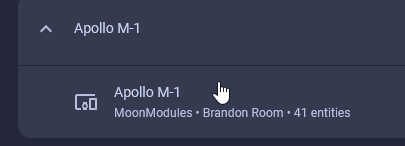
4. Open the WLED integration page and click your M-1.
5. From here you can change the color, pick effects, run presets, and more.
What Next
Draw your own images and scrolling text right on the device with Pixel Forge, or wire up more panels with Multiple Panels.
Add a custom GIF to your matrix, or add more panels with Multiple Panels. On a Rev6 controller you can also move up to WLED and keep your settings.