Welcome to the ESPHome Starter Kit!
Welcome to the start of your ESPHome journey with the all-new ESPHome Starter Kit!
By the end of this wiki you'll know how to:
- Remove the modules off the panel safely
- Identify each part of your kit
What's in the kit
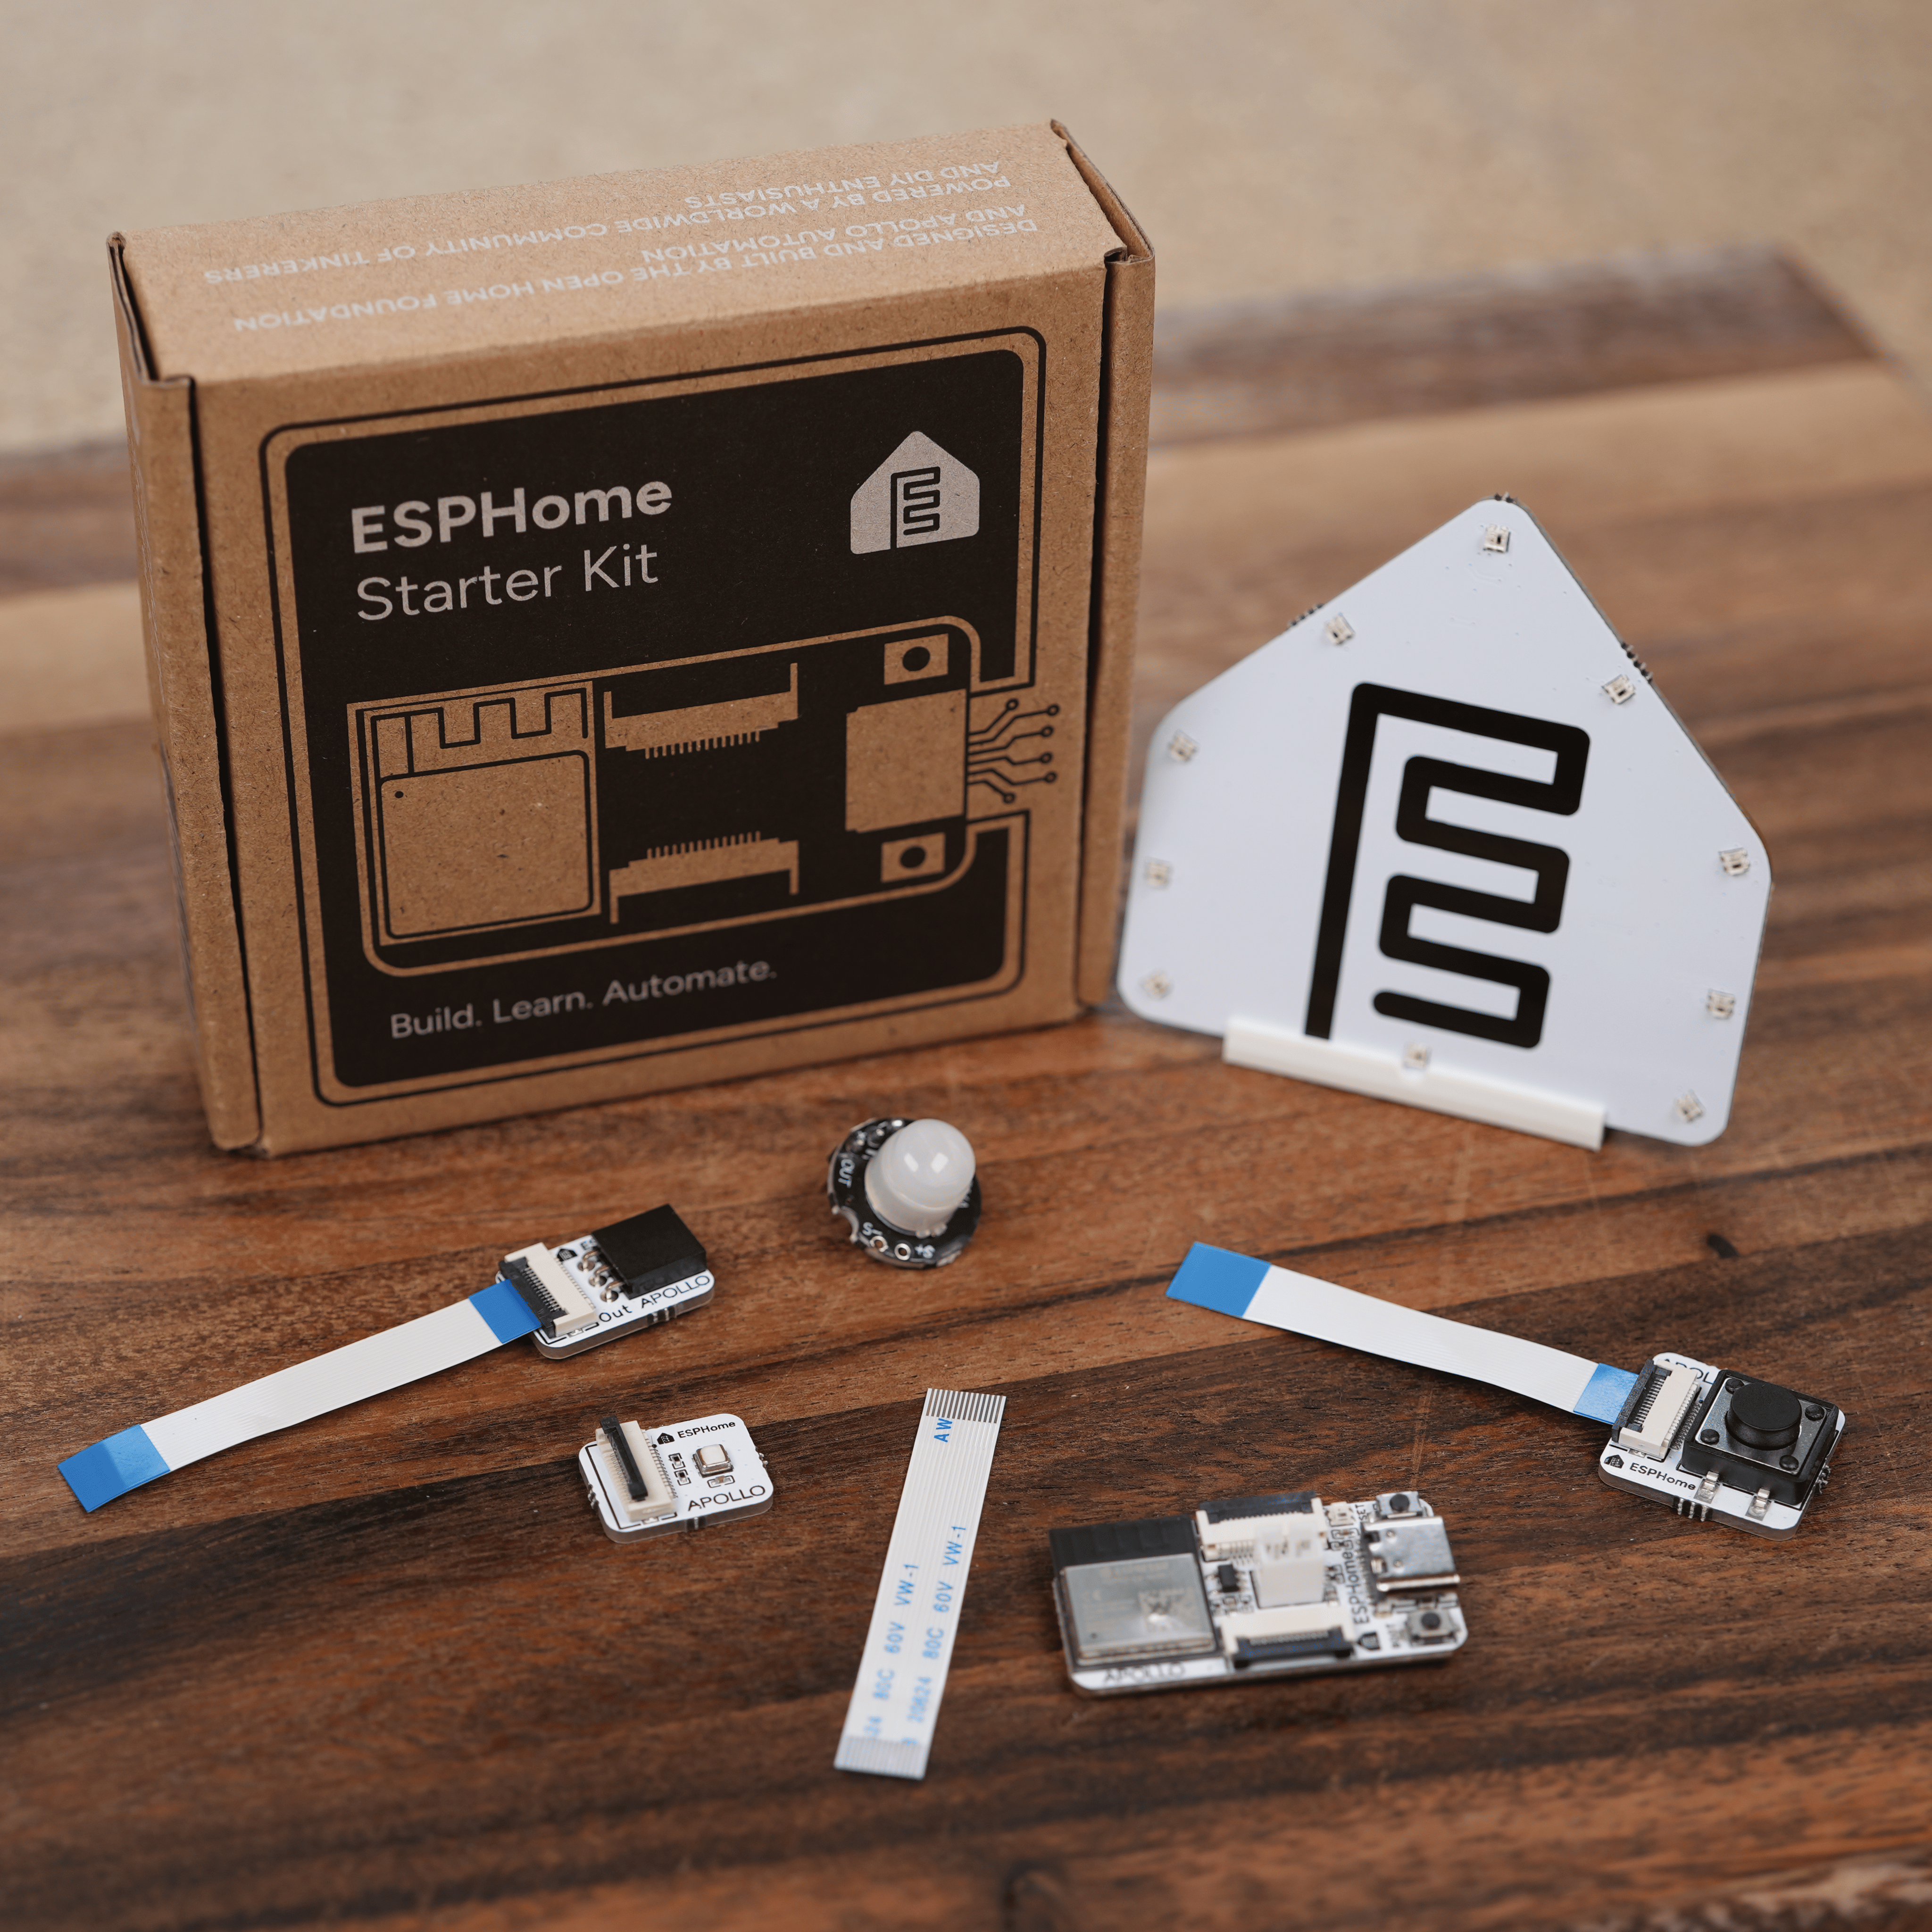
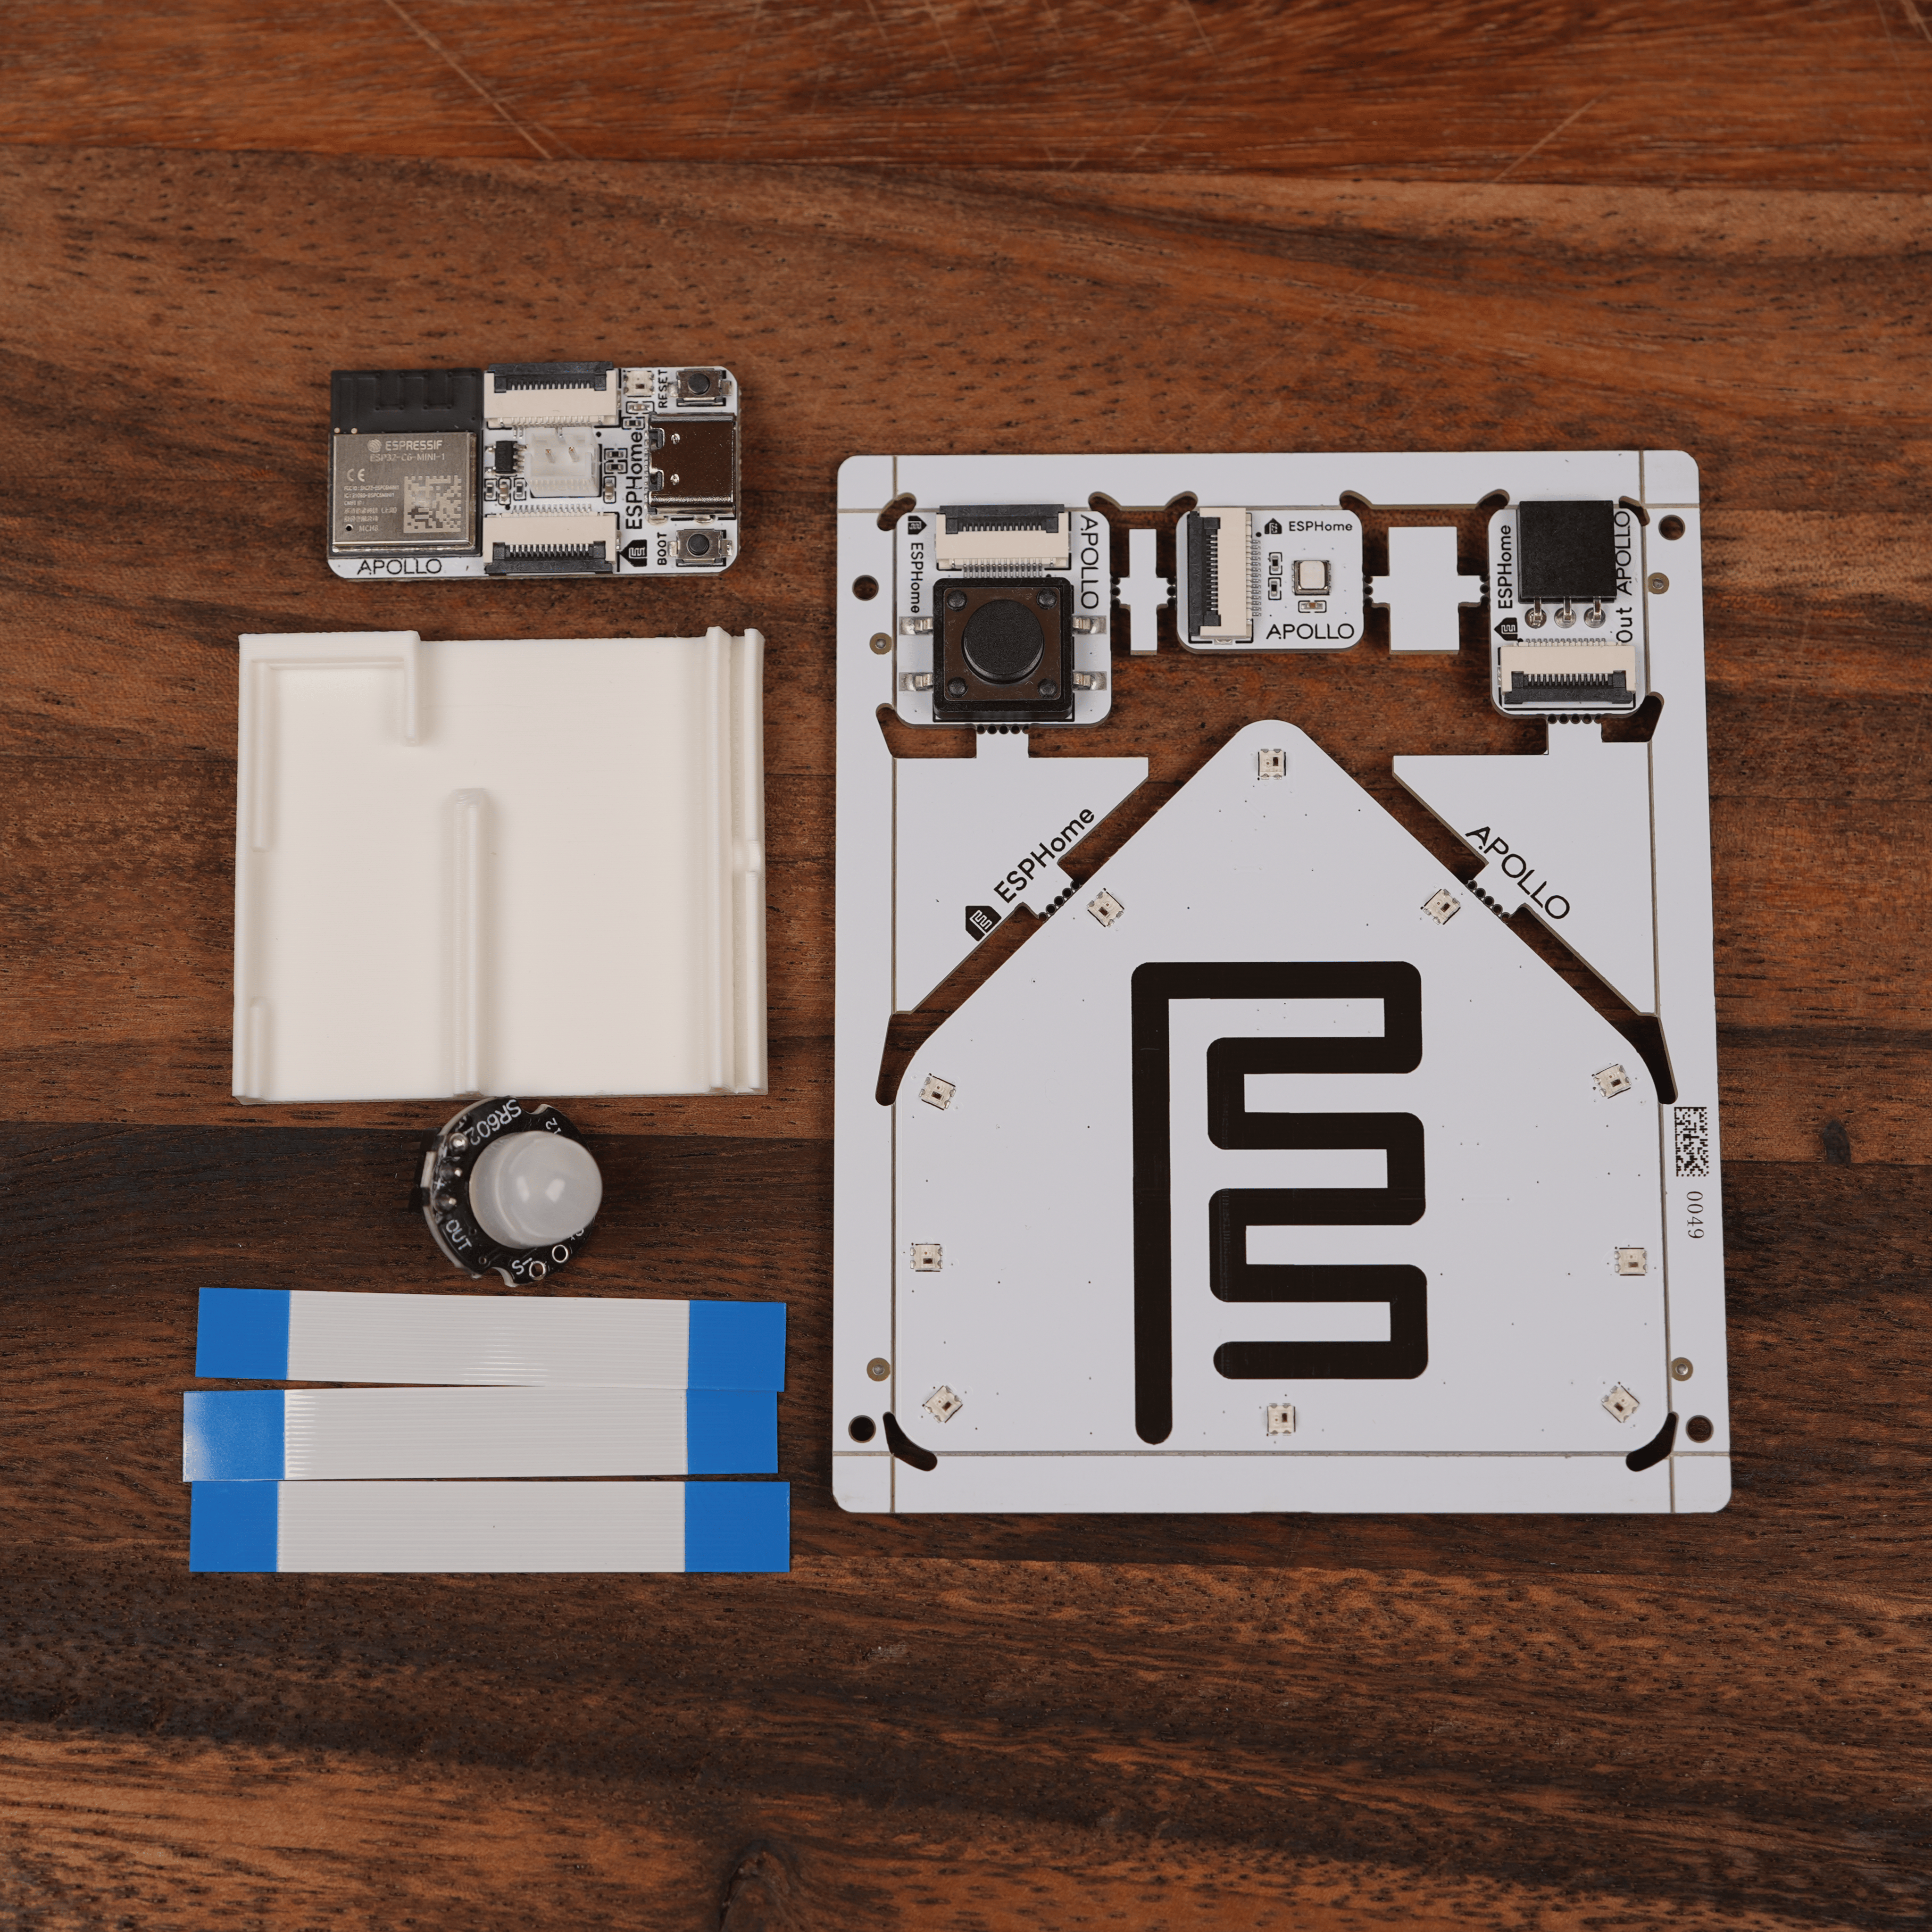
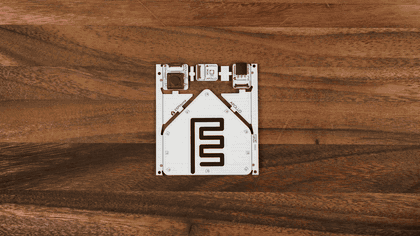
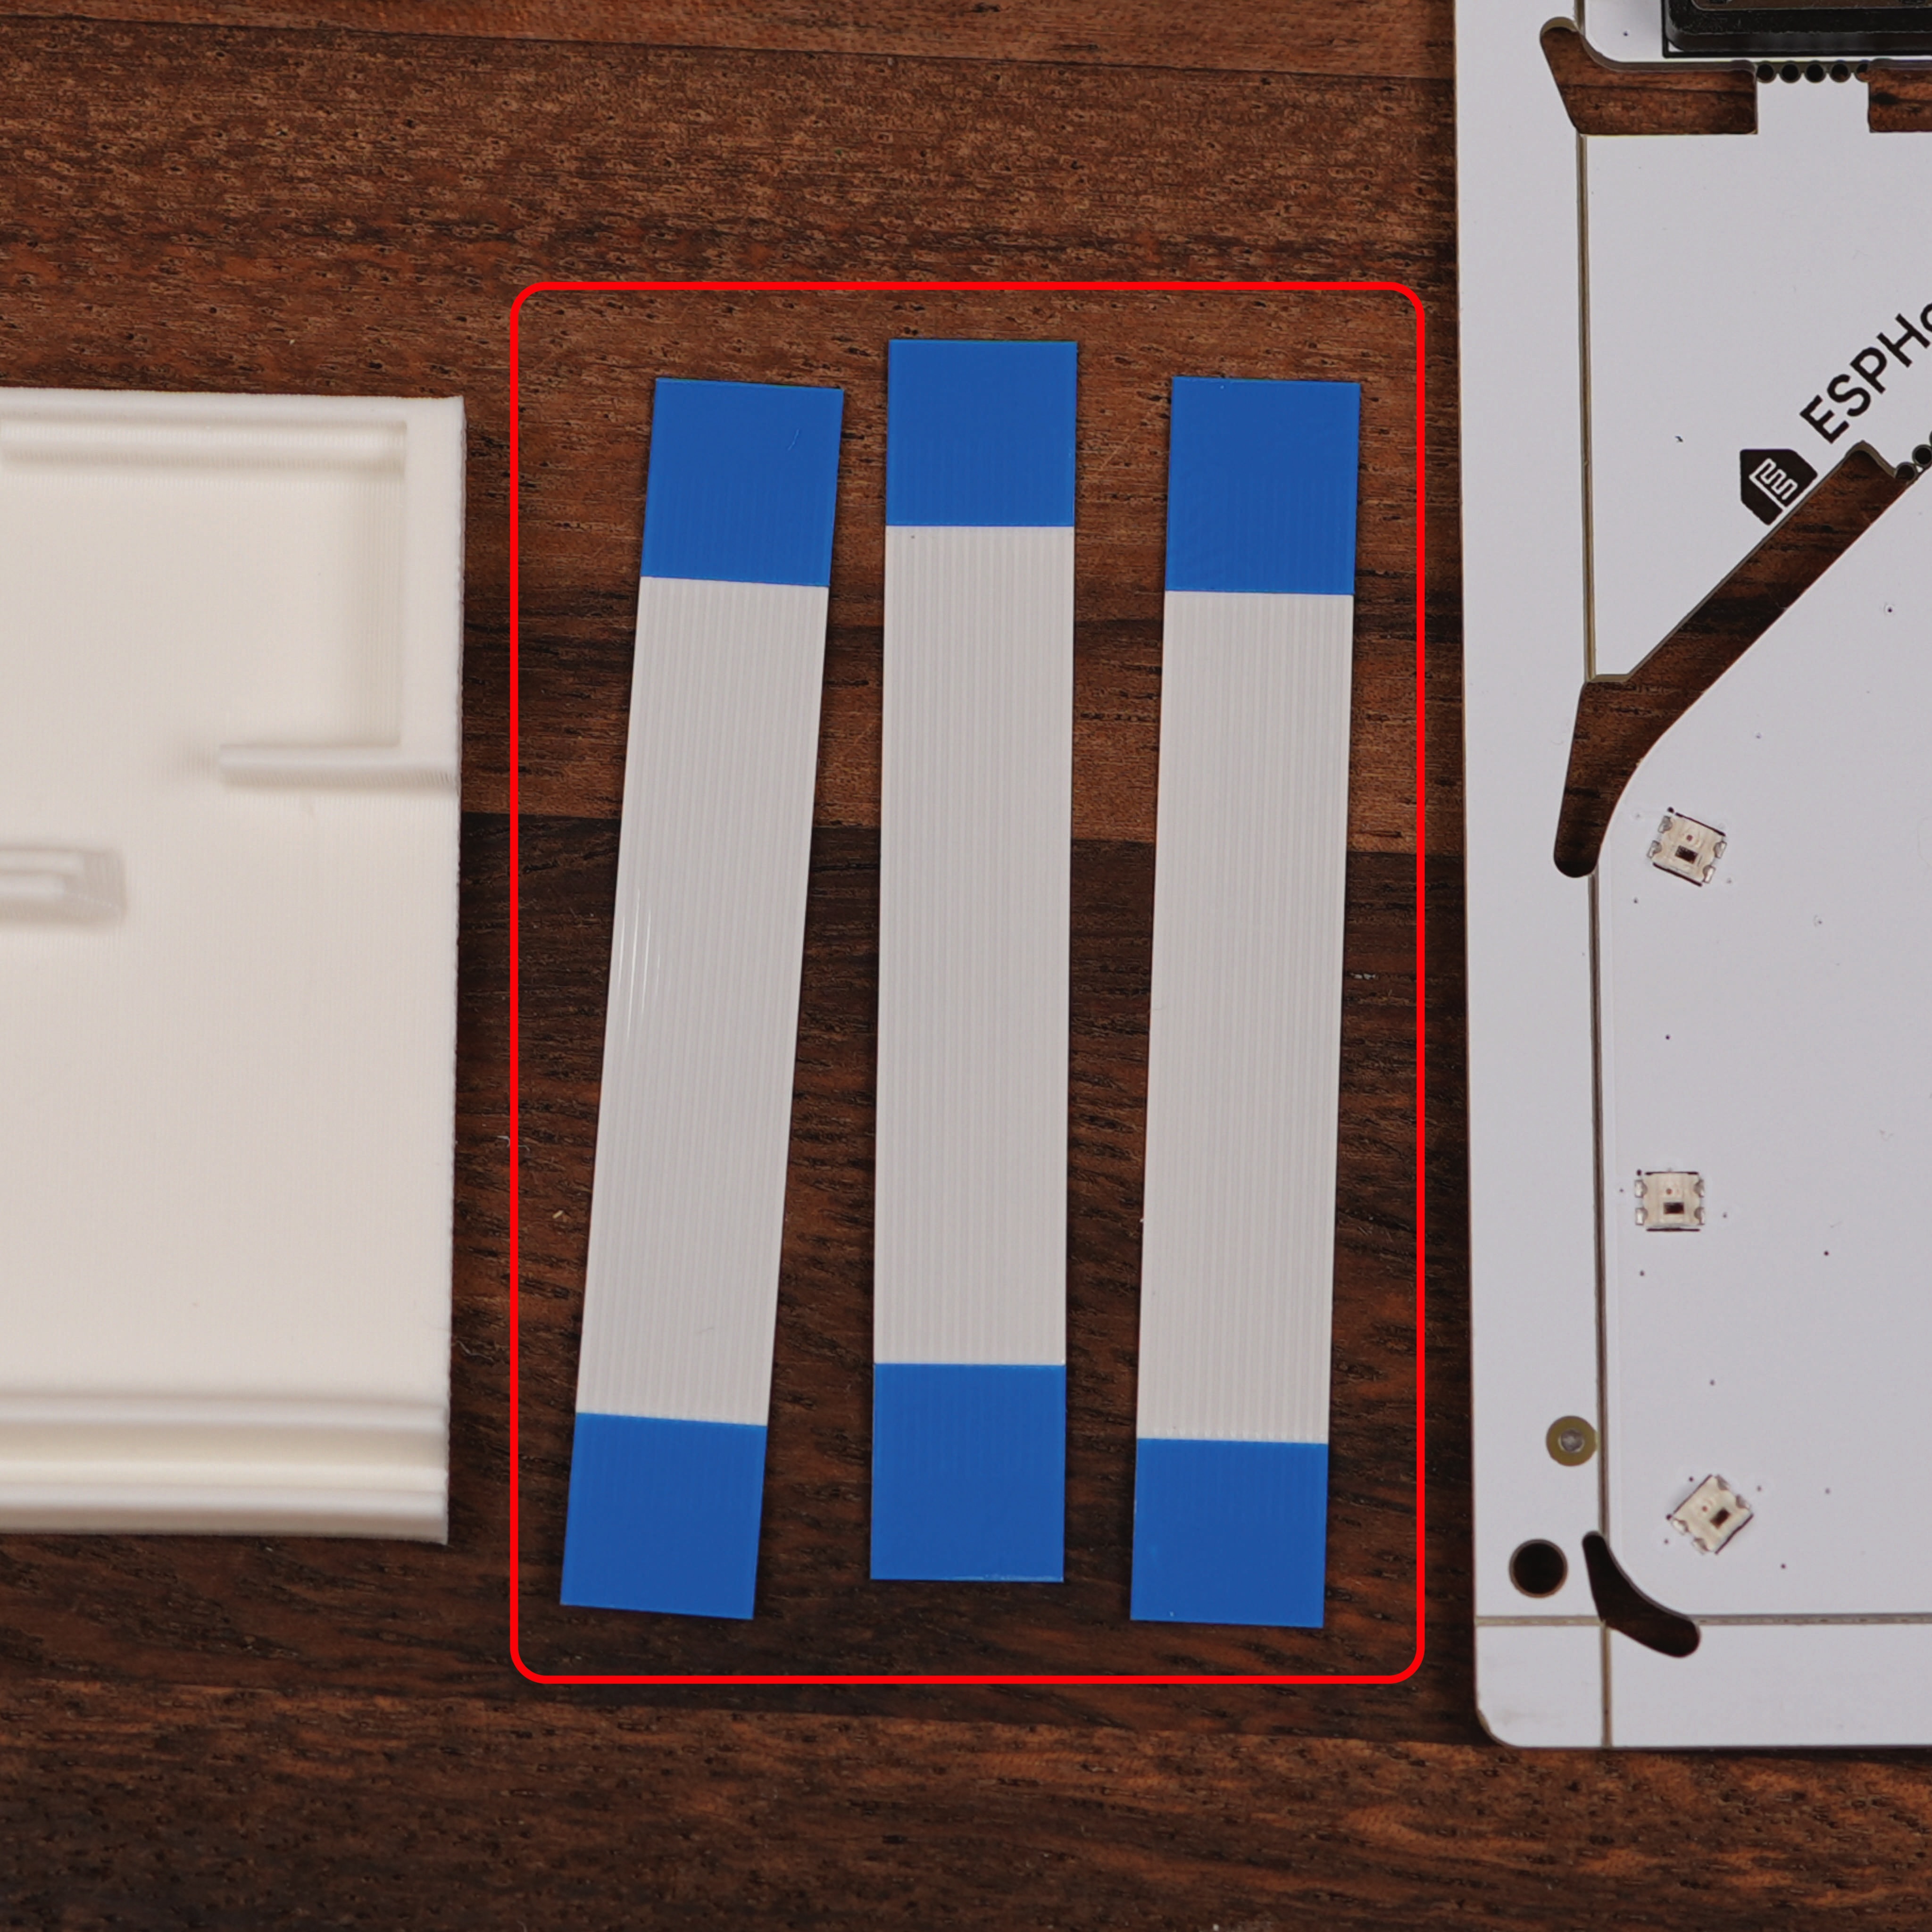
Your kit arrives as a single snap-apart panel that includes the ESP32-C6 along with a selection of interchangeable modules. The kit also includes three ribbon cables for connecting modules to the ESP32-C6, one more than any project uses at once so you always have a spare, plus a stand for the LED & Buzzer module.
Snapping the panel apart
Each module is connected to the panel by small breakaway tabs. Follow the steps below to separate them.
Take it slow
Bend the panel gradually, not all at once. The PCB is sturdy, but the components on the modules prefer a gentle snap.
- Hold the panel flat on a table with one hand on the module you want to remove.
- Gently flex the panel along the tab line until the tab snaps cleanly.
Meet the modules
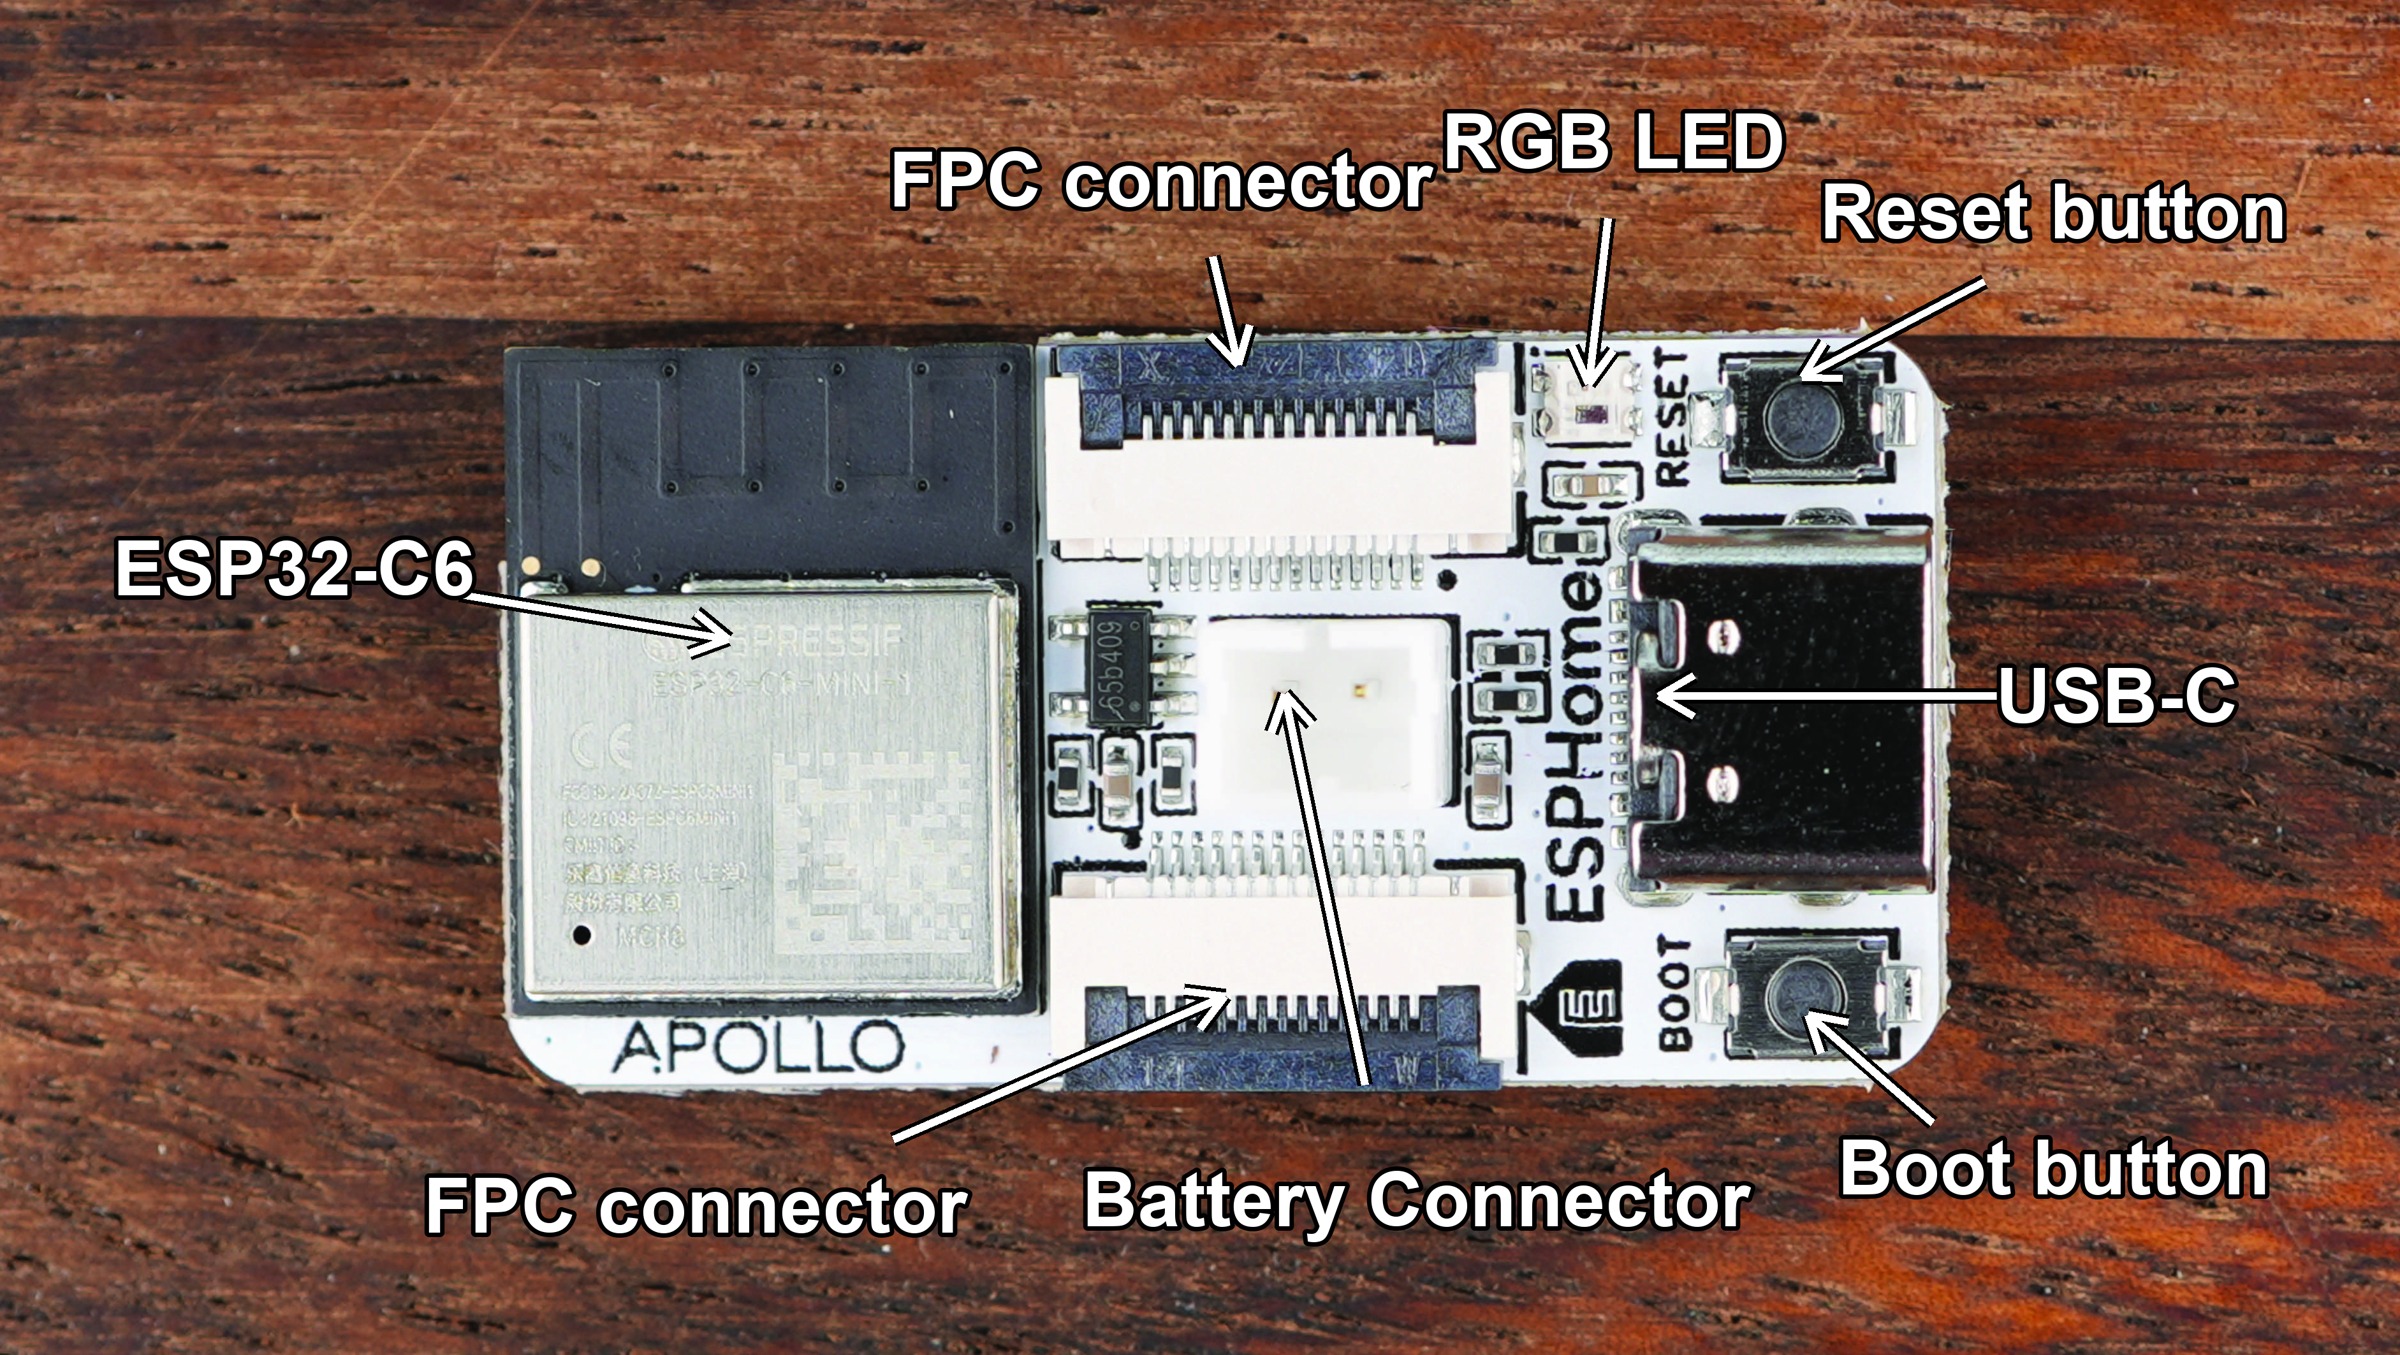
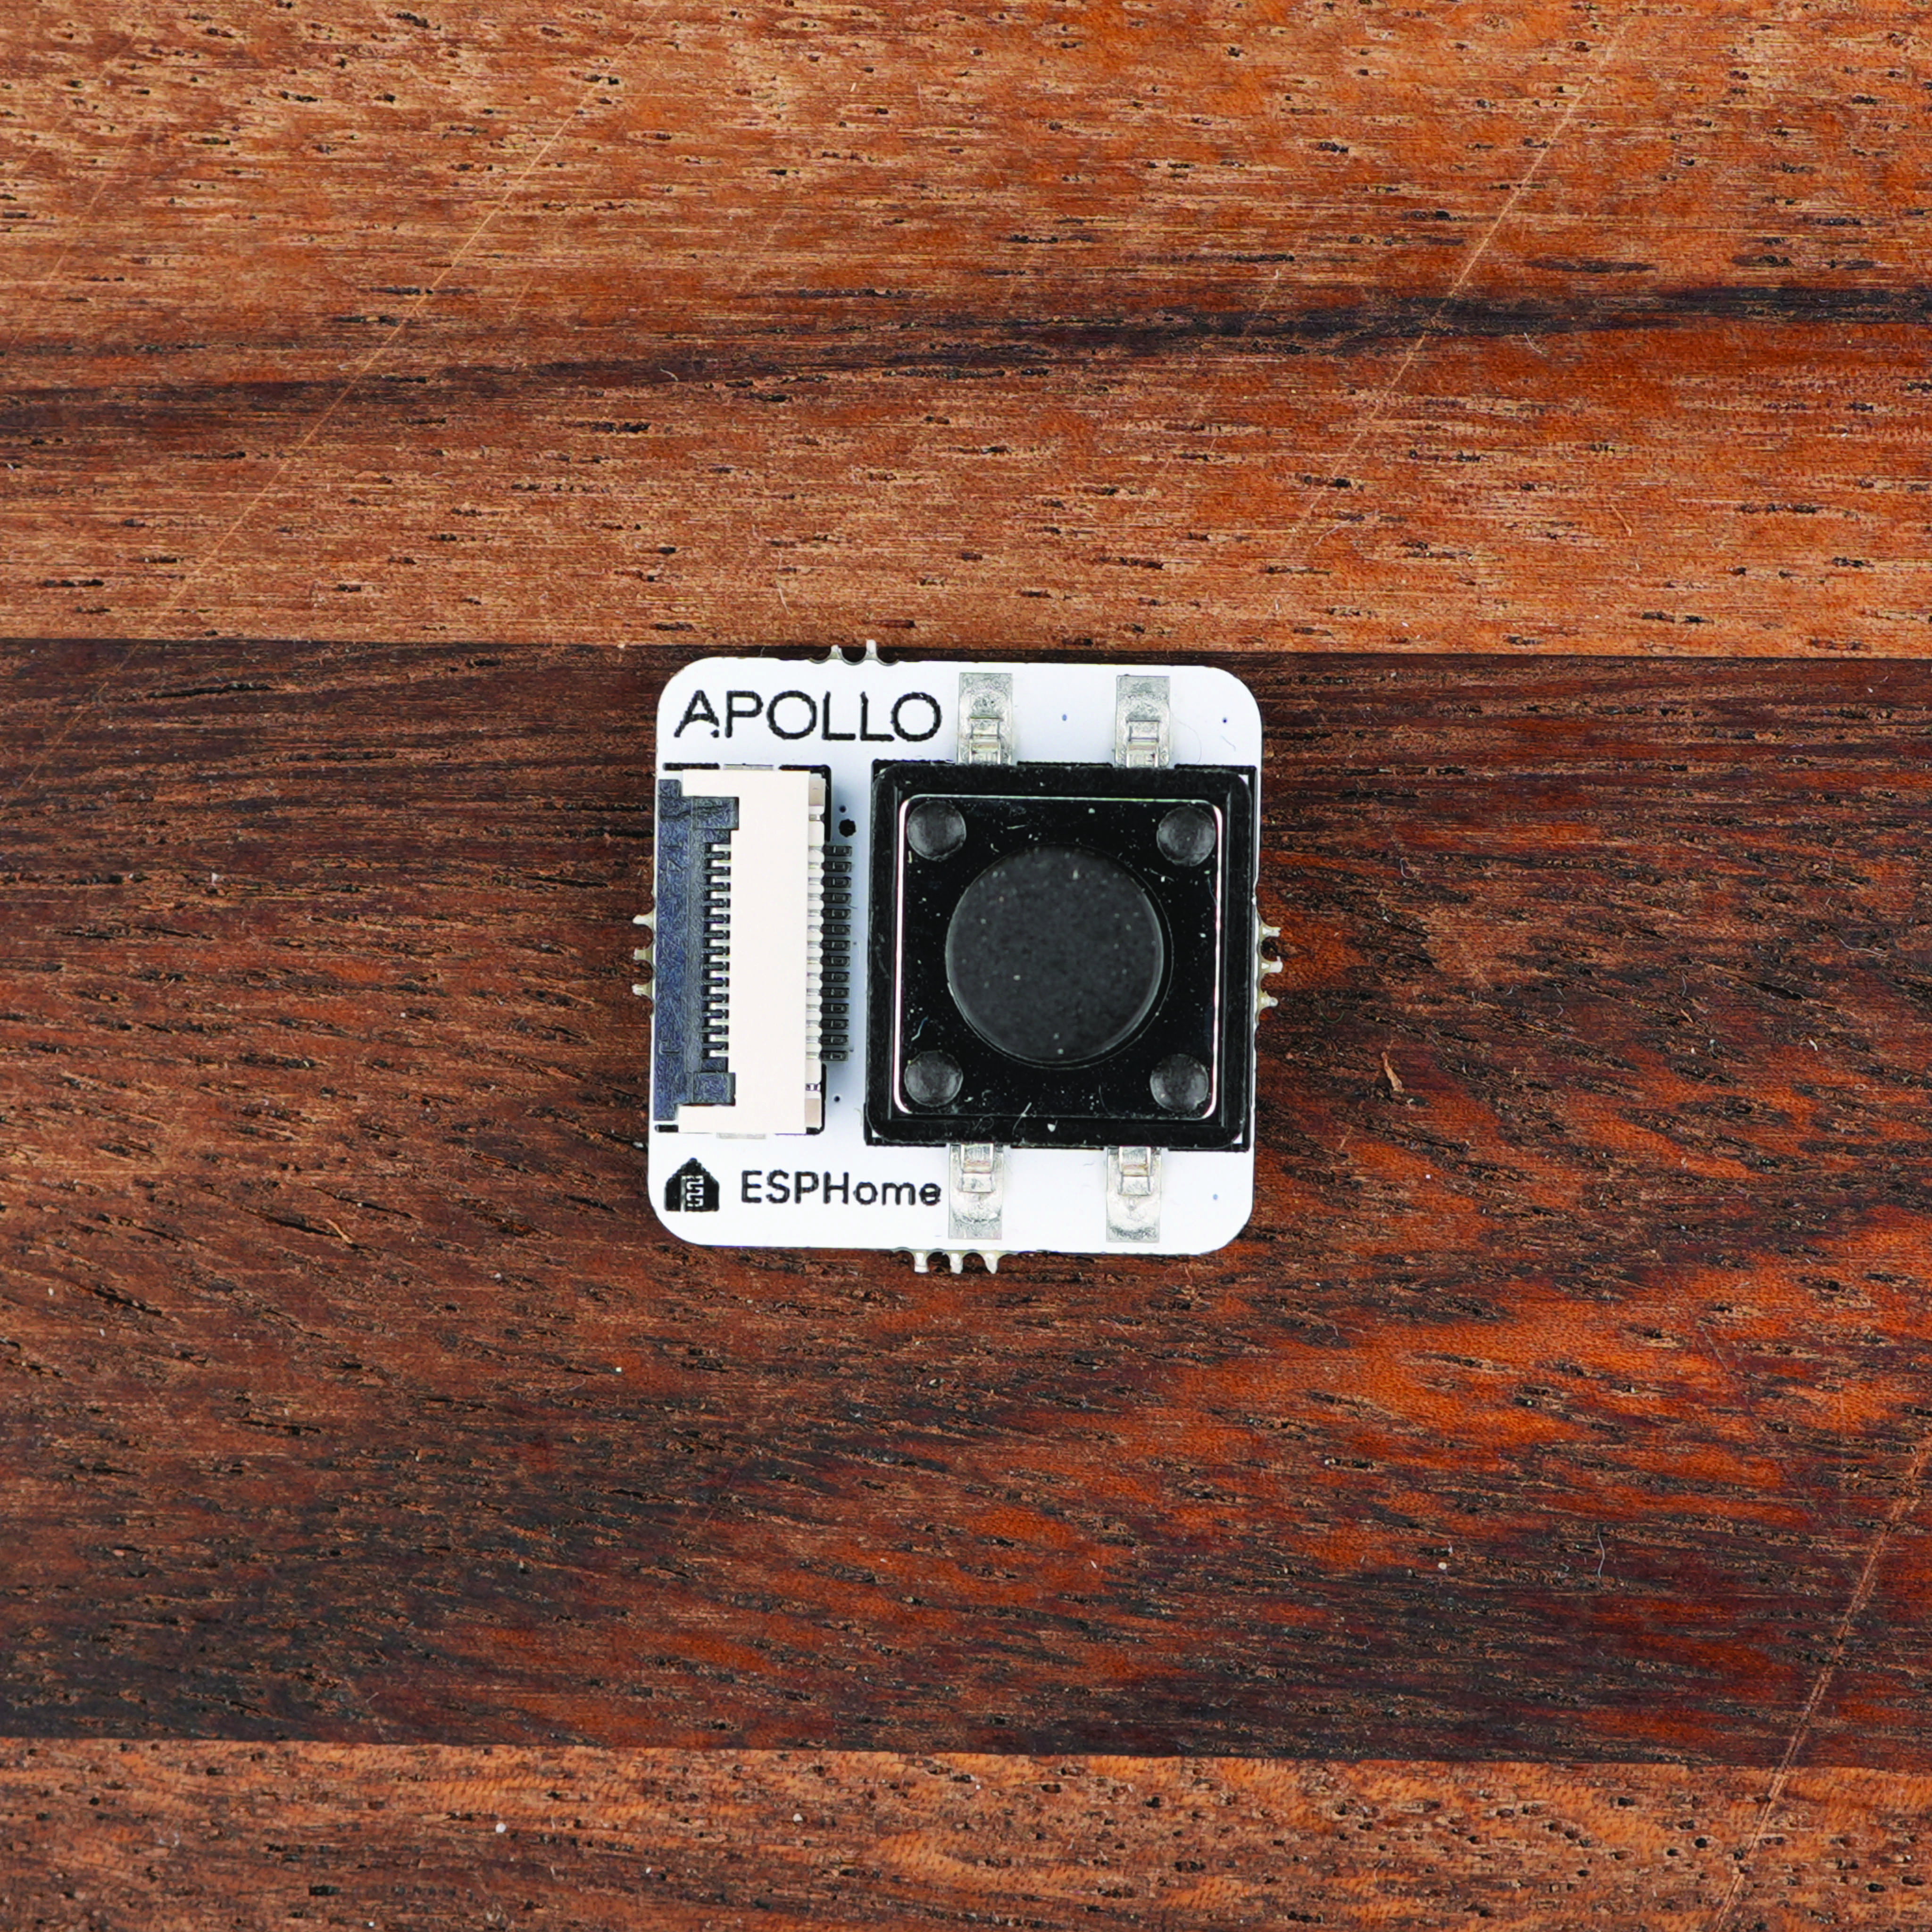
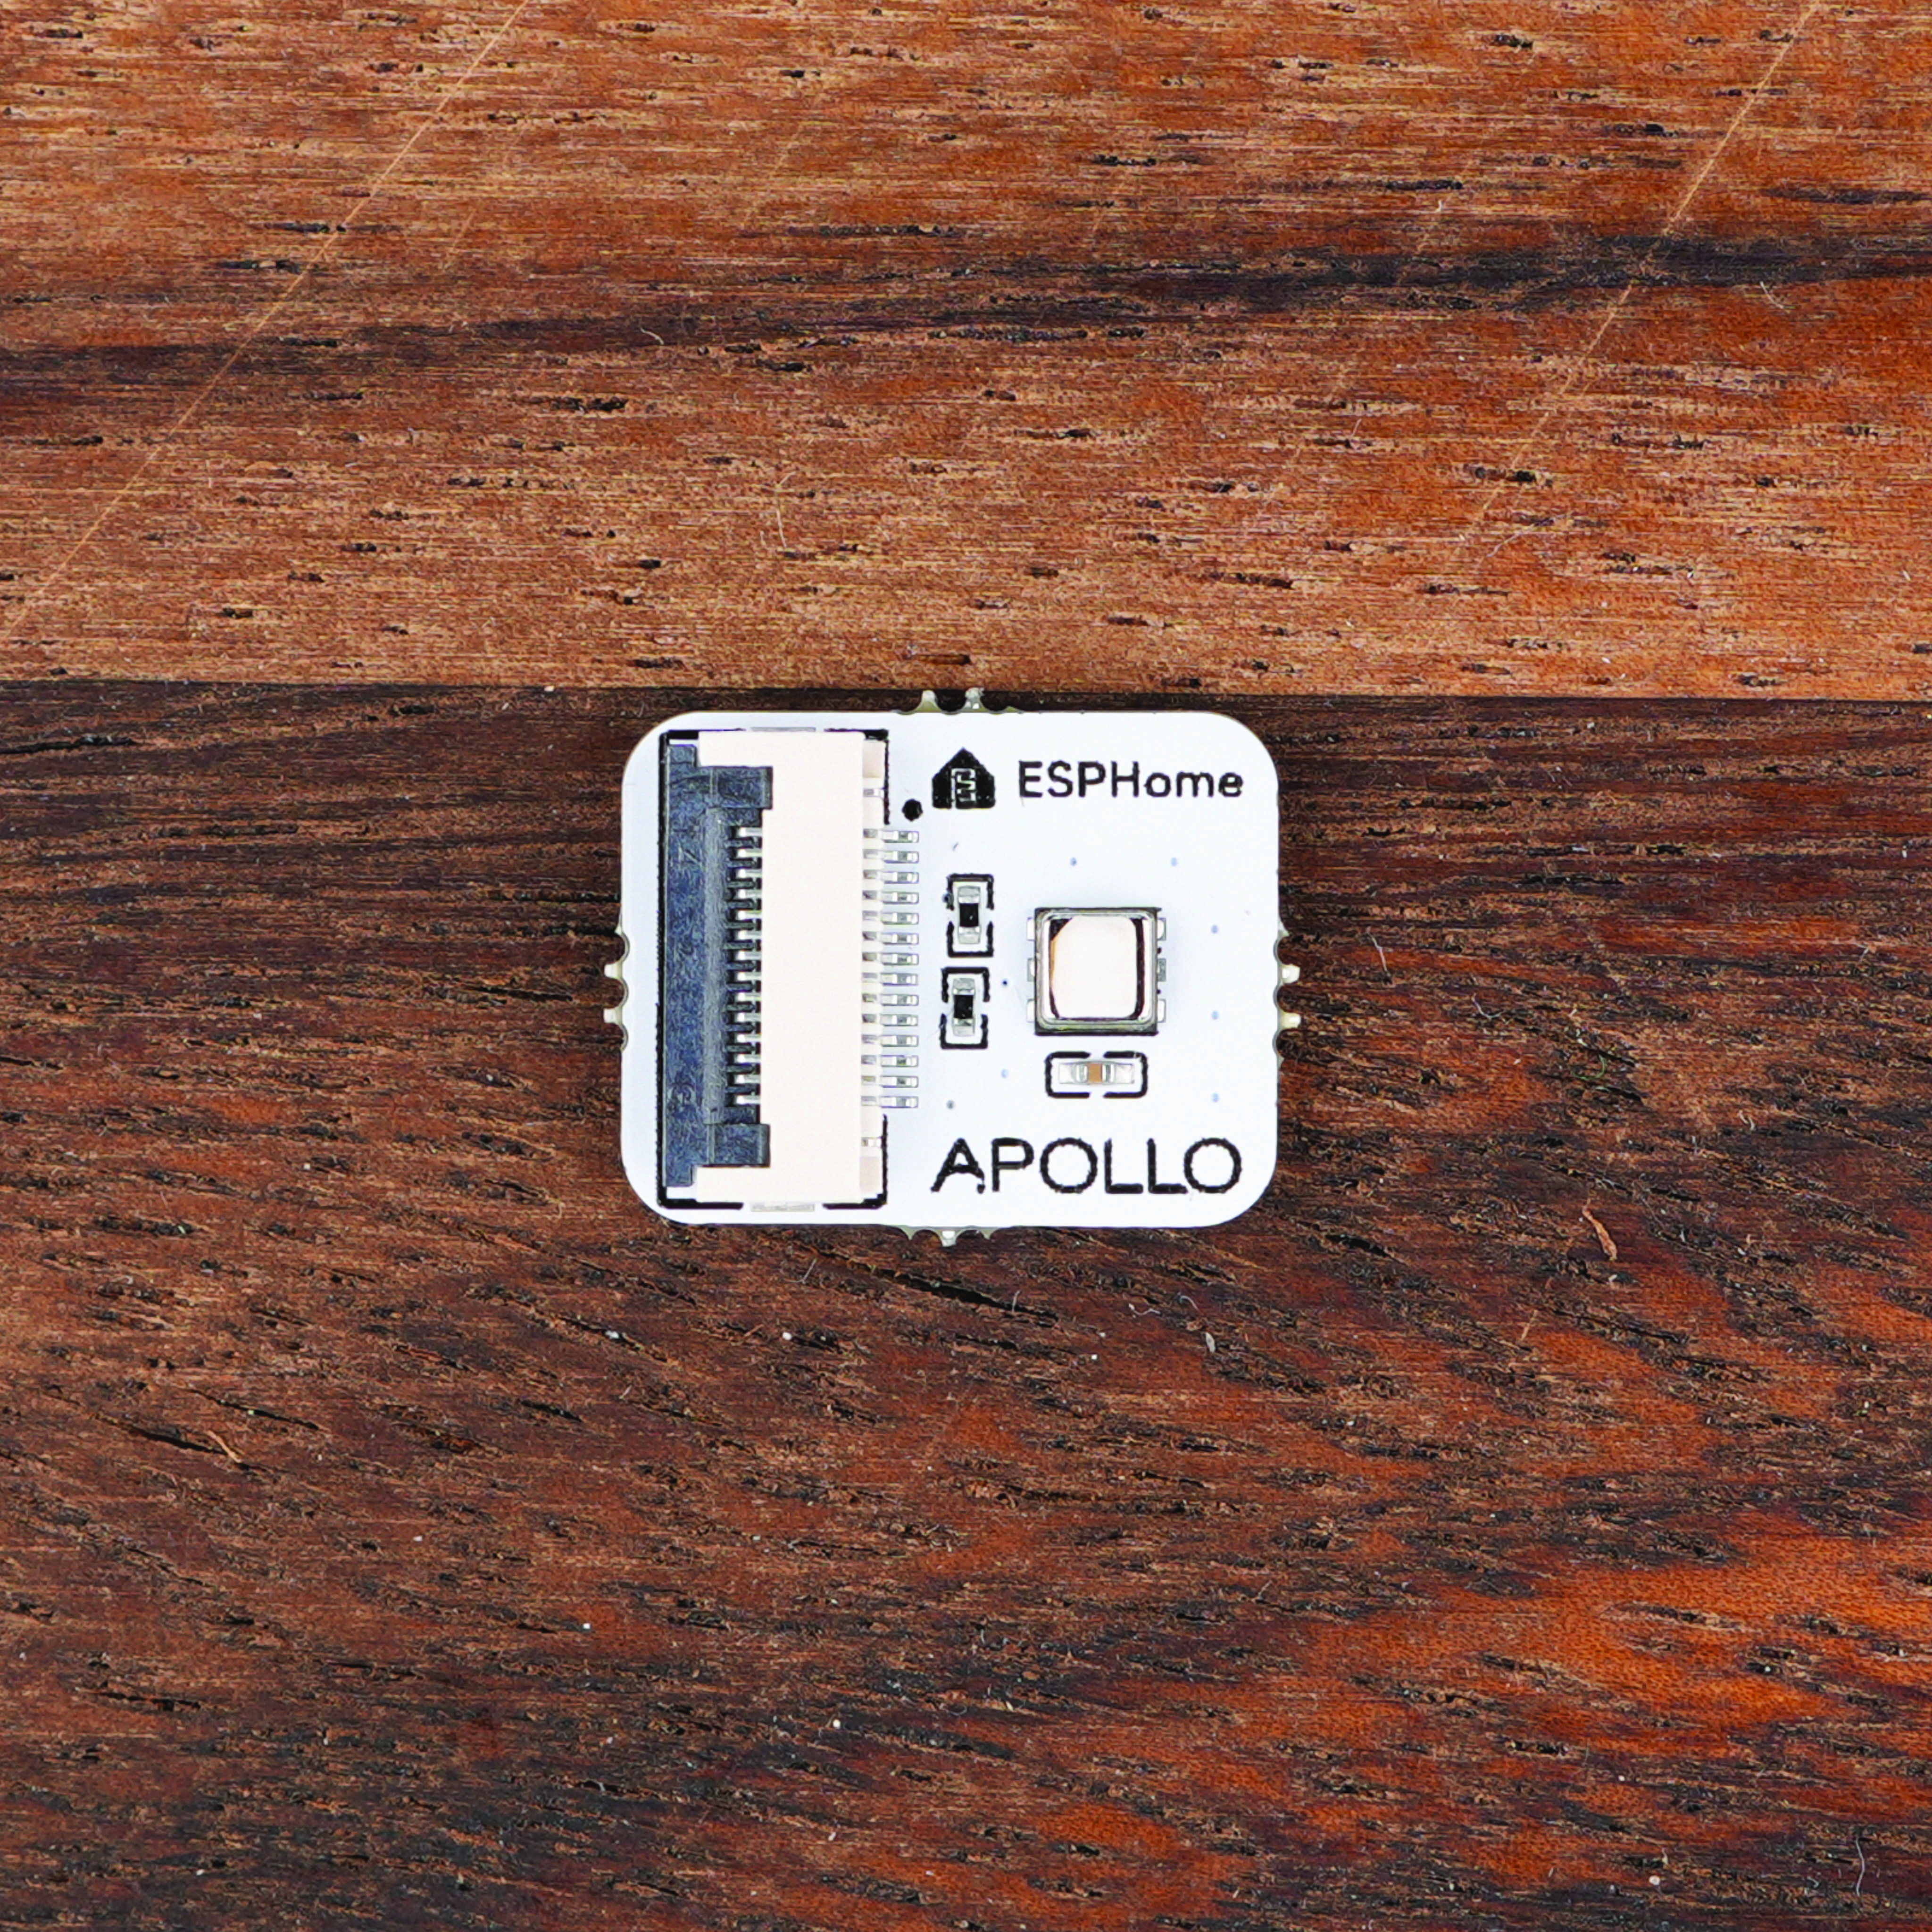
ESP32-C6
- The brain of every project you'll build with the kit. It handles Wi-Fi and Bluetooth, runs your ESPHome config, and exposes the GPIO pins the modules plug into.
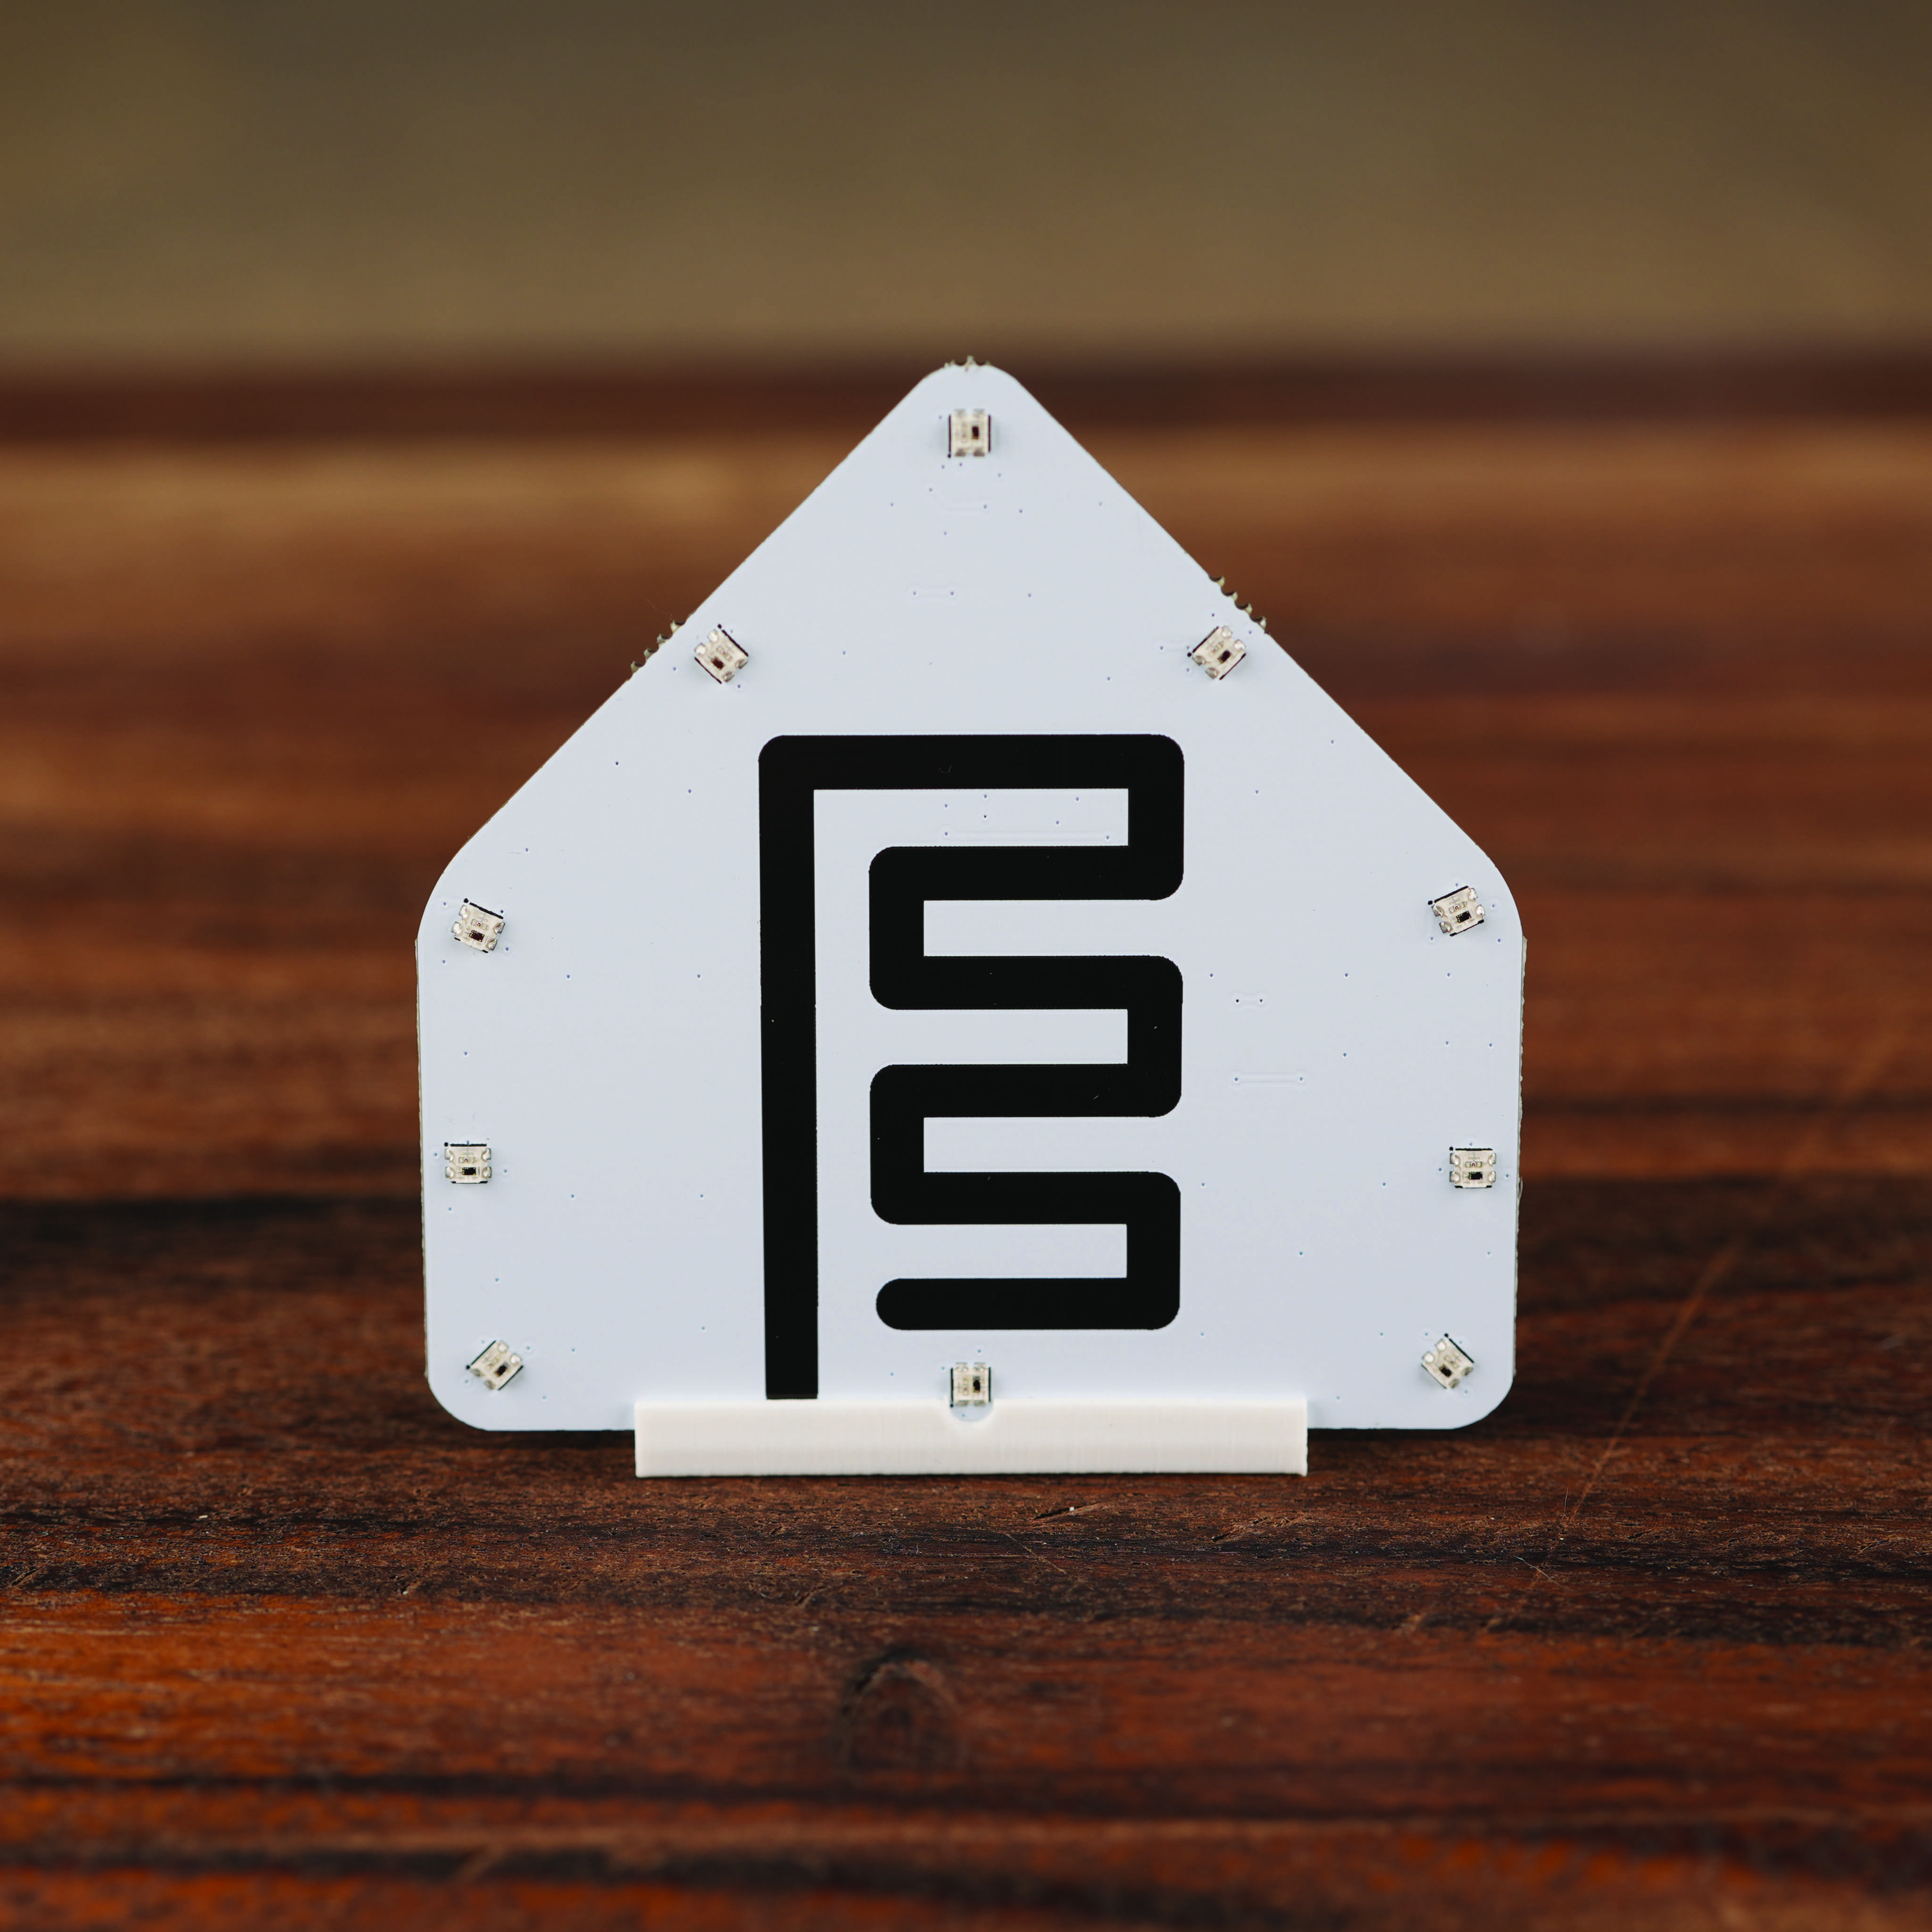
LED & Buzzer module
- The starter kit's notification module, a strip of ten addressable RGB LEDs and a small piezo buzzer behind the ESPHome logo silkscreen. Use the included stand to show it off!
Motion module
- Detects movement in a room and a great way to get started automating your home. It comes in two parts, and the PIR sensor easily plugs into the PIR module board.

Button module
- Premium feel button perfect to trigger automations for lights and more.
Temperature and Humidity module
- Extremely accurate temp and humidity sensor trustworthy enough to track a room comfort level with ease!
FPC cables
- Each module connects to the ESP32-C6 through the FPC connector using one of the three provided cables. Tear the brown paper bag open from one of the ends. Please DO NOT use scissors as you could accidentally cut the cables!
Next: bring it online
Once you've identified your modules and snapped them off the panel, the next step is to connect the ESP32-C6 to your computer and walk through your first ESPHome configuration.
New to ESPHome? We're here to help.
Stuck on a step or want to show off what you built? Ask questions and share projects with the Apollo community.