BTN-1 Getting Started
This will guide you through adding on switches and keycaps to your BTN-1 then adding it to your Wi-Fi and Home Assistant!
Physical Setup
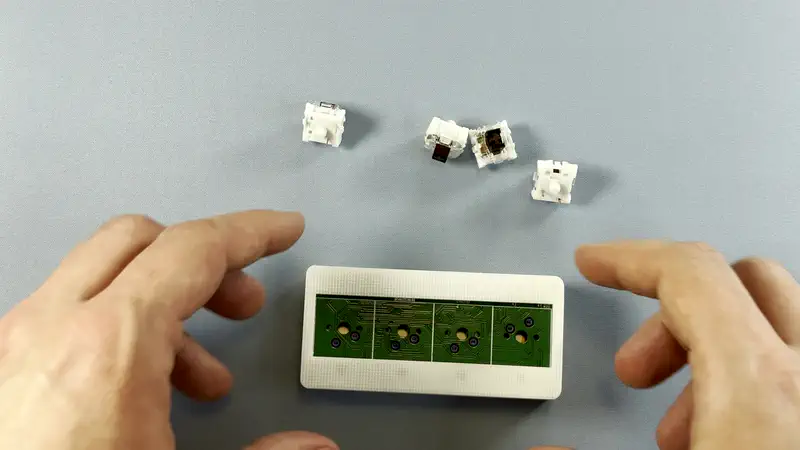
Installing Brown Switches
1. Line up the two gold pins with the holes on your BTN-1, then press down gently. Be careful, as the pins can bend or get damaged if too much force is used.
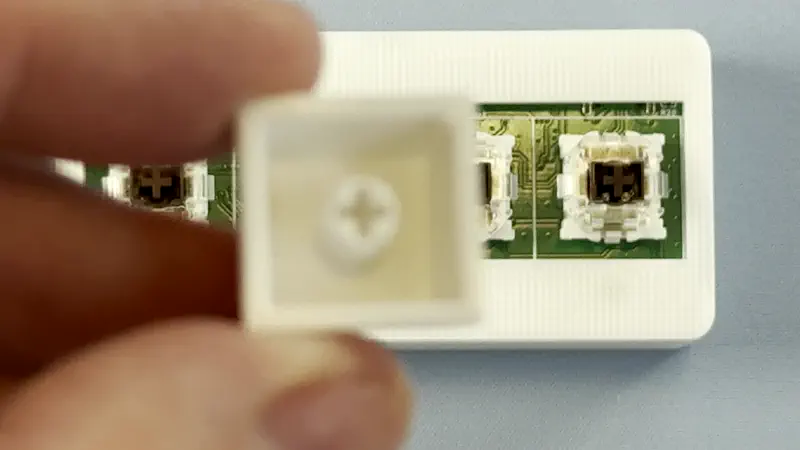
Installing Keycaps
1. Line up the + on the keycap with the + on the top of the switch you installed. It may require a little pressure, but it should press on smoothly. Once placed, lightly tap to ensure the keycap is fully seated.
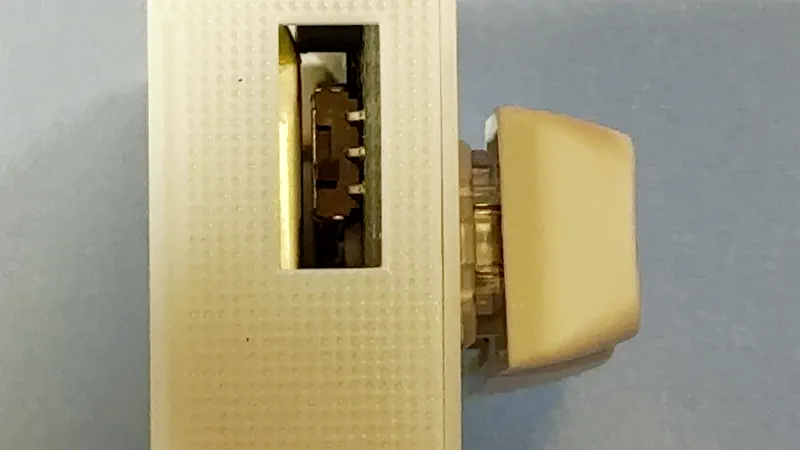
Flip Power Switch
1. Ensure the power switch is turned on. ** ** Because the BTN-1 includes a battery, it must have a physical on/off switch. When the device is on its side, flipping the switch away from you turns it on, and flipping it toward you turns it off.
Connecting Through Hotspot
To connect through the sensor's onboard hotspot follow the below:
1. Plug the BTN-1 in via USB-C. A 5v 1amp power supply will work fine
If your sensor is restarting or not broadcasting Wi-Fi try another usb-c cable and power supply!
ESP devices are sensitive to power fluctuations and require constant 5v power. Our devices use 1amp or less so most used phone chargers will work - just make sure it's a quality one!
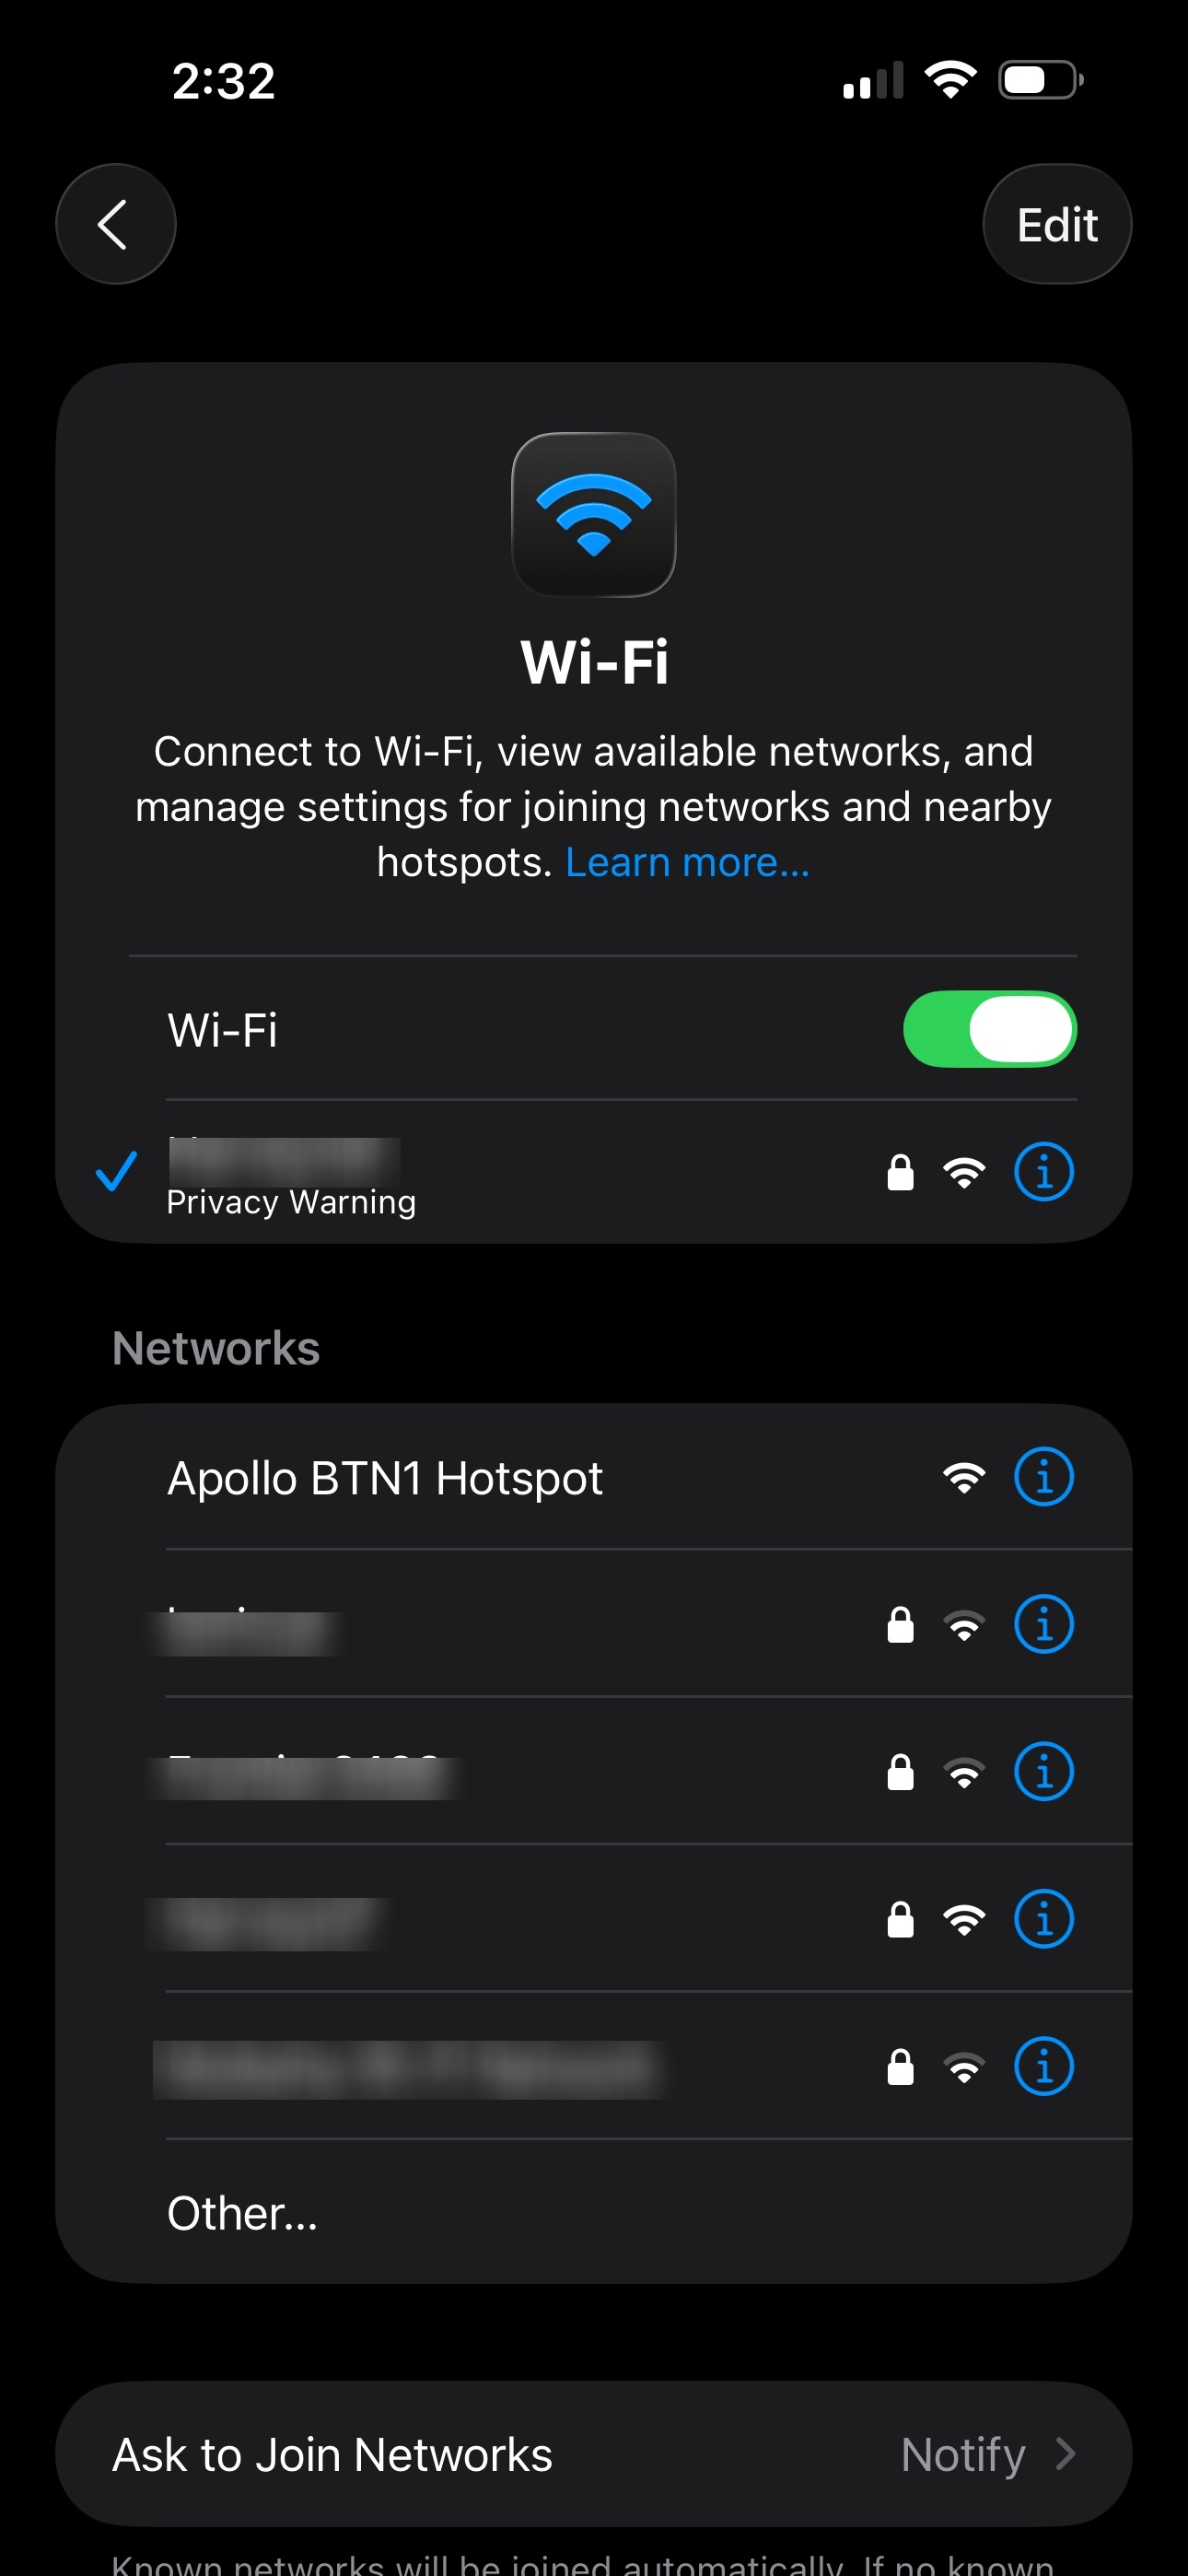
2. On your phone or PC, open the WiFi settings and connect to "Apollo BTN-1 Hotspot".
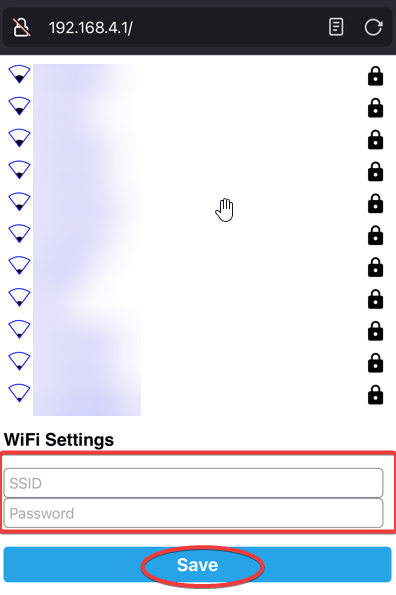
3. Once connected it should automatically open a dashboard for your sensor. If this does not automatically open the dashboard, please open your web browser and go to http://192.168.4.1
4. Select the Wi-Fi network that you would like your sensor to connect to or scroll to the bottom and type in your Wi-Fi network then click "Save".
Tip for Mesh Wi-Fi systems or multiple Access Points
If you have multiple access points or a mesh system please manually type in your Wi-Fi network so it will join with the strongest signal!
5. Once connected, the sensor's dashboard will automatically close. You've successfully connected your sensor to your Wi-Fi.
Connecting with Improv via BLE
Pre-requirement: Bluetooth proxy or Bluetooth Home Assistant hardware required
Bluetooth built in such as a raspberry pi or at least one ESP32 BLE Proxy is required to use this to setup your Apollo device. If you have already followed the "Connecting through Hotspot" please skip this section.
1. Navigate to settings -> integrations then click the "ADD" button below your new Apollo device then click Submit.
2. Once prompted, type in your Wi-Fi name and password in the two fields then click Submit. Click on Close once it finishes.
3. Click on Add then click on Submit. Choose an area and then click Finish.
4. Your device is now added to your Wi-Fi and added to the ESPHome Integration in Home Assistant. You should now be ready to setup a blueprint and start using your BTN-1!
Connecting To ESPHome Device Builder
Skip the ESPHome Device Builder unless...
Feel free to skip to the next section by clicking here unless you need to rename your sensor or do manual edits to the yaml
You can add the ESPHome Device Builder addon in Home Assistant to easily update your device or edit the yaml. If you don't have ESPHome Device Builder addon installed you can search esphome device builder on the addon store and install it.
Make sure to fill out your Wi-Fi details in the secrets section by clicking on the secrets button.
# Your Wi-Fi SSID and password - keep the quotes and just replace the name and password between the quotes!
wifi_ssid: "your-wifi-ssid-here"
wifi_password: "your-wifi-pass-here"
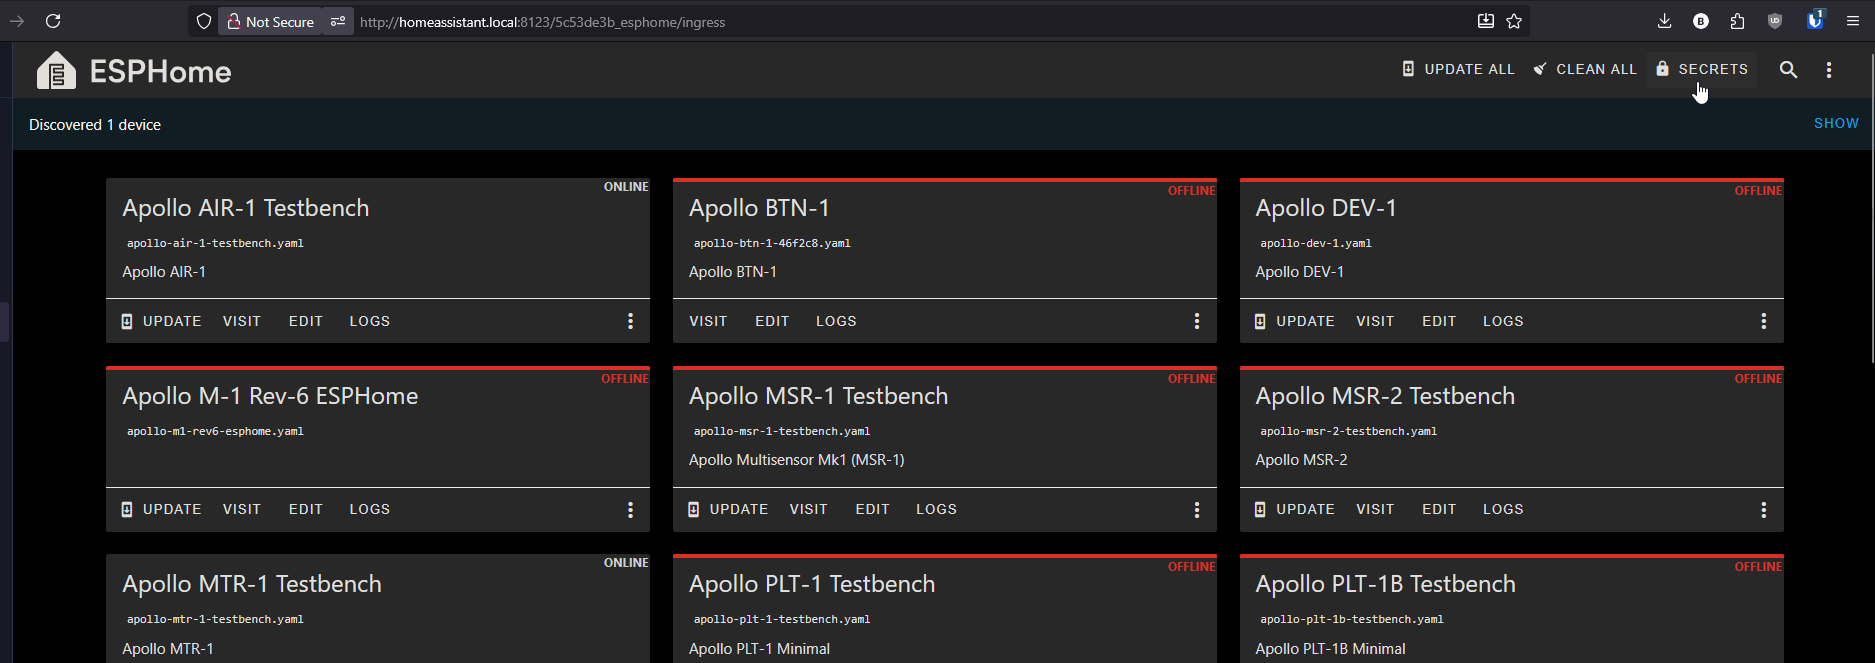
1. Open the ESPHome Device Builder dashboard.

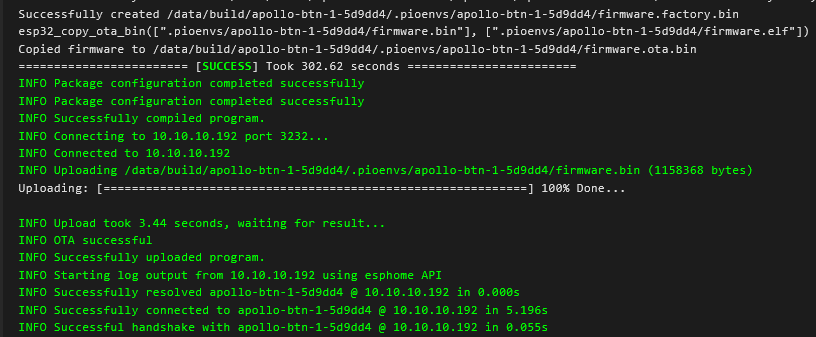
2. Click Show in the top right to show your discovered devices then click on Take Control then click Install. This can take multiple minutes or longer on low-end hardware.
3. Once you see "INFO OTA successful" you are done. Click "STOP" to exit.
4. Your new device is now adopted into the ESPHome Device Builder and you can move on to Integrating with Home Assistant via the ESPHome Integration below!
Connecting to Home Assistant via ESPHome Integration:
1. Head to the ESPHome Integration then click on Add then click Submit. When prompted click Finish then give it a location and click Finish or click Skip and Finish.
2. Your device is now added to home assistant via the ESPHome integration, and you can easily navigate to it by going to settings -> ESPHome integration -> click on the name of your new device!
Click here to setup a blueprint and easily automate using your BTN-1!