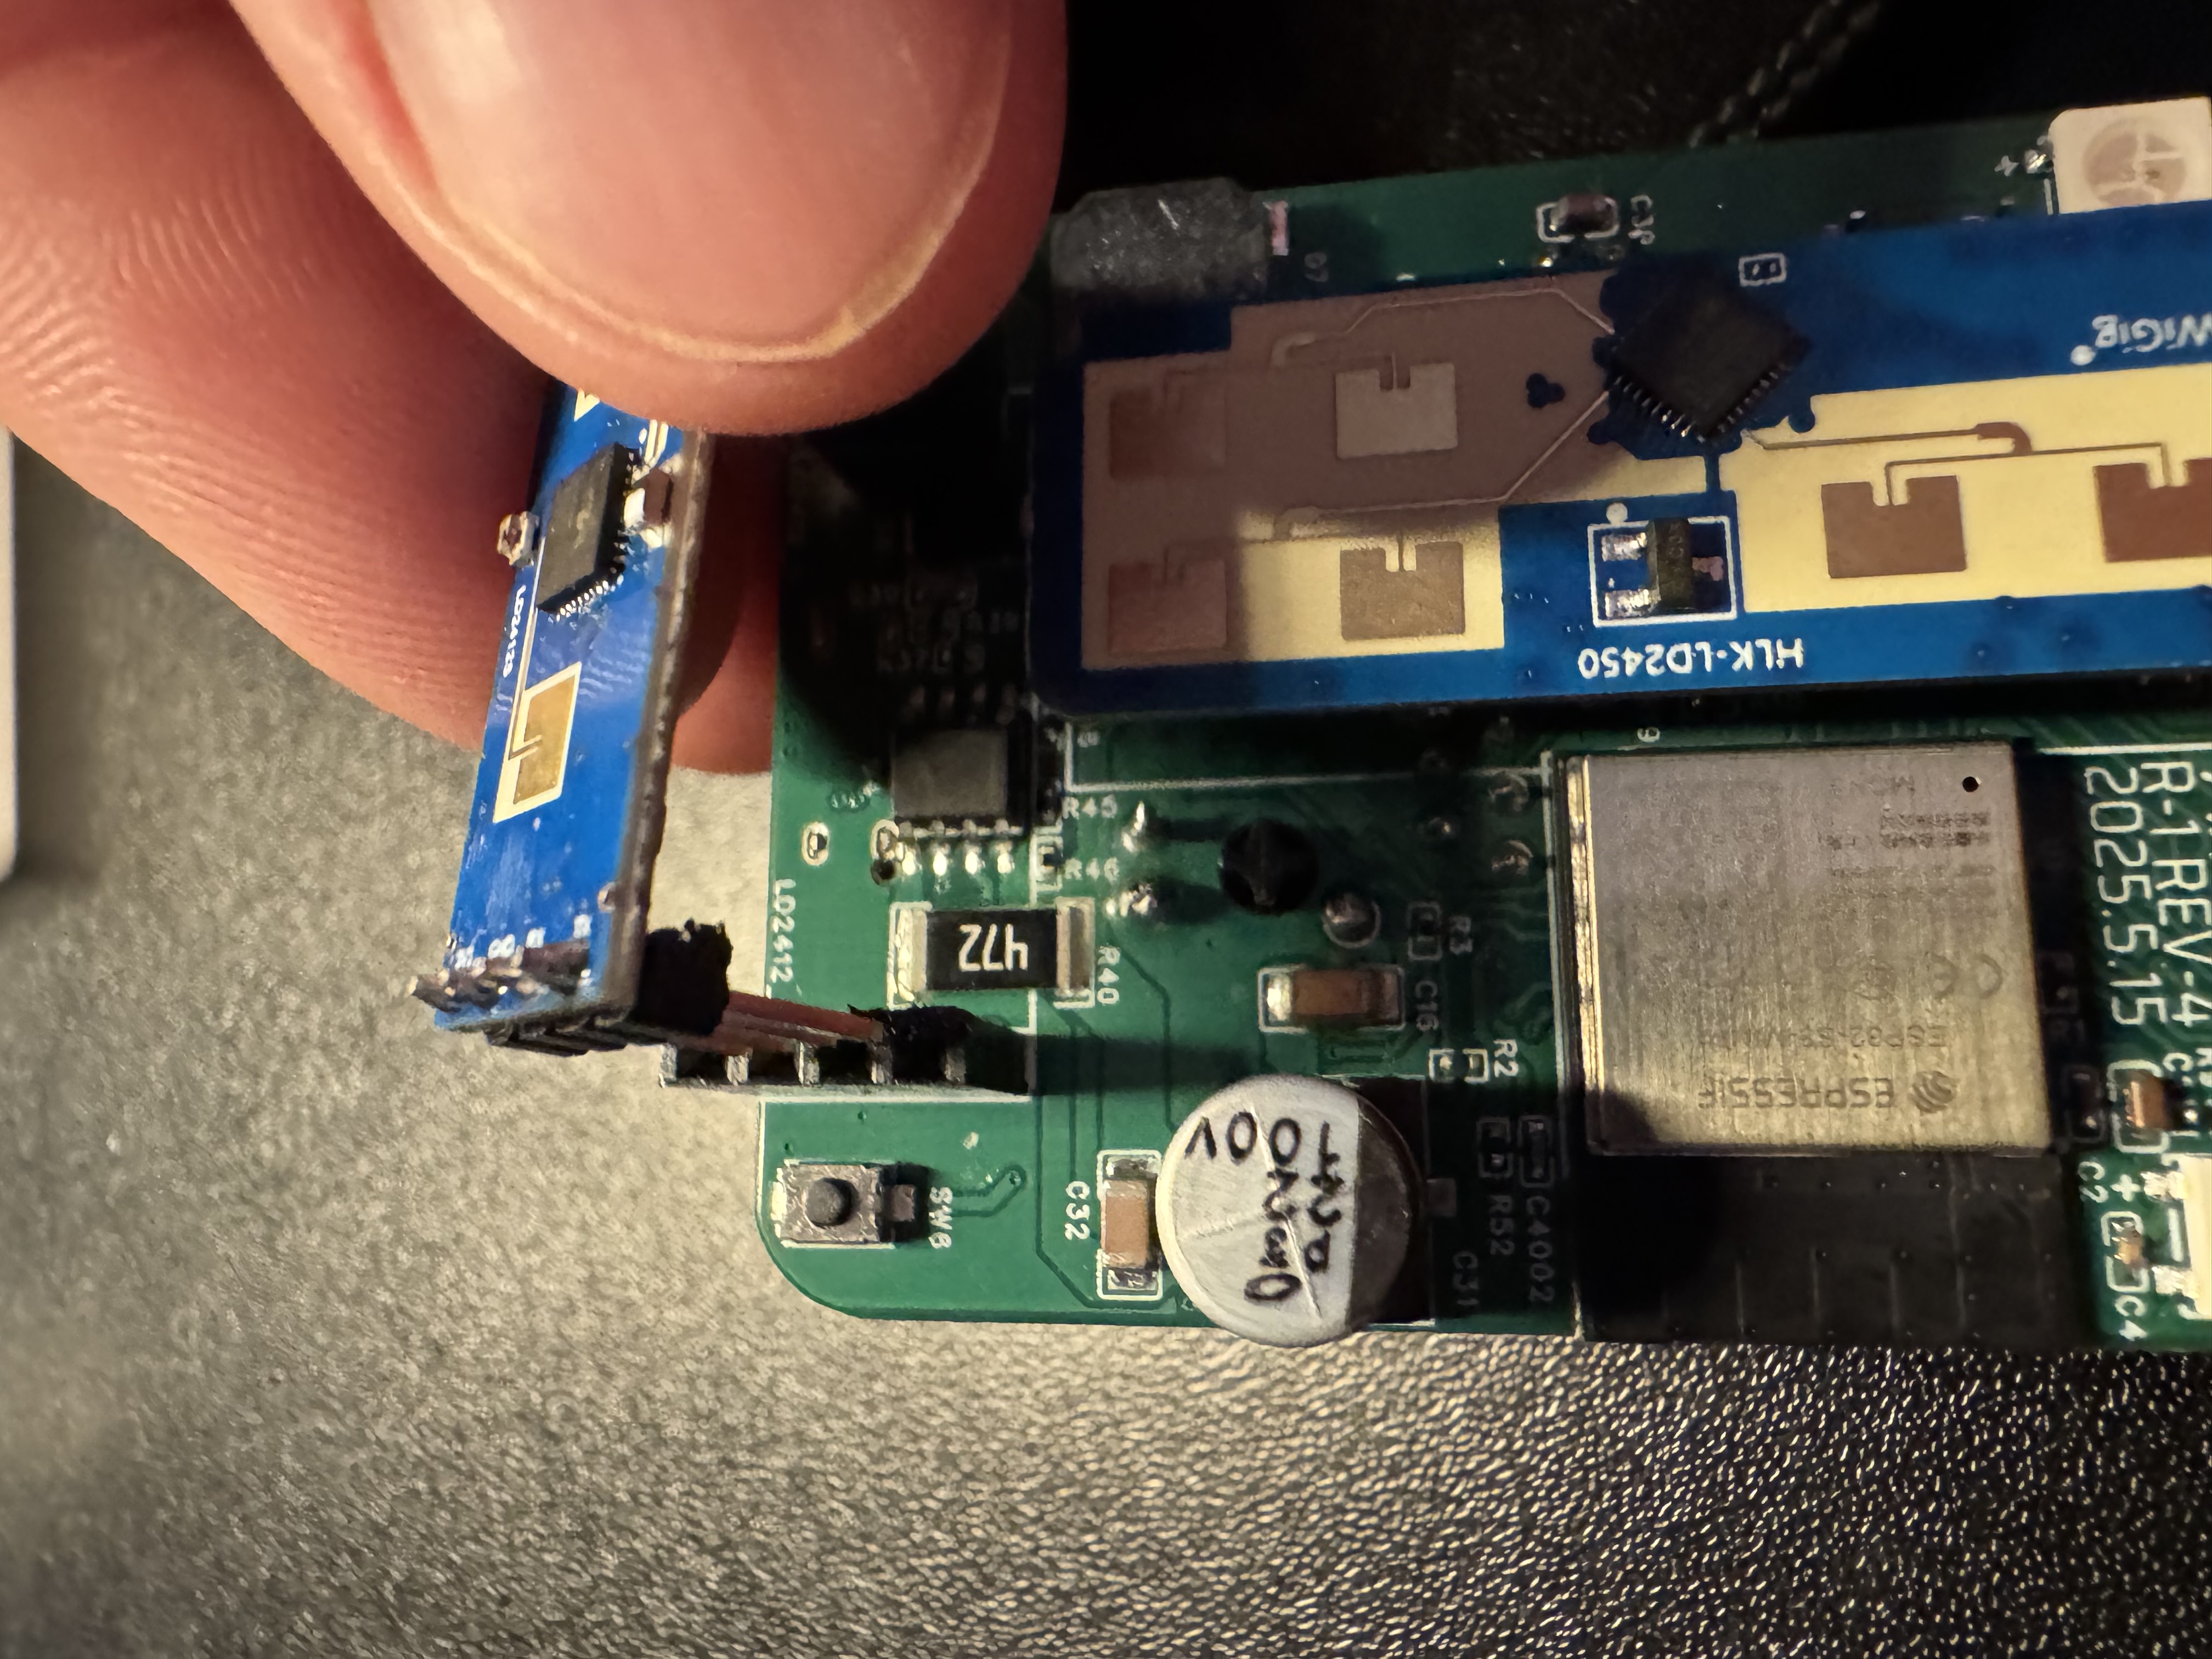
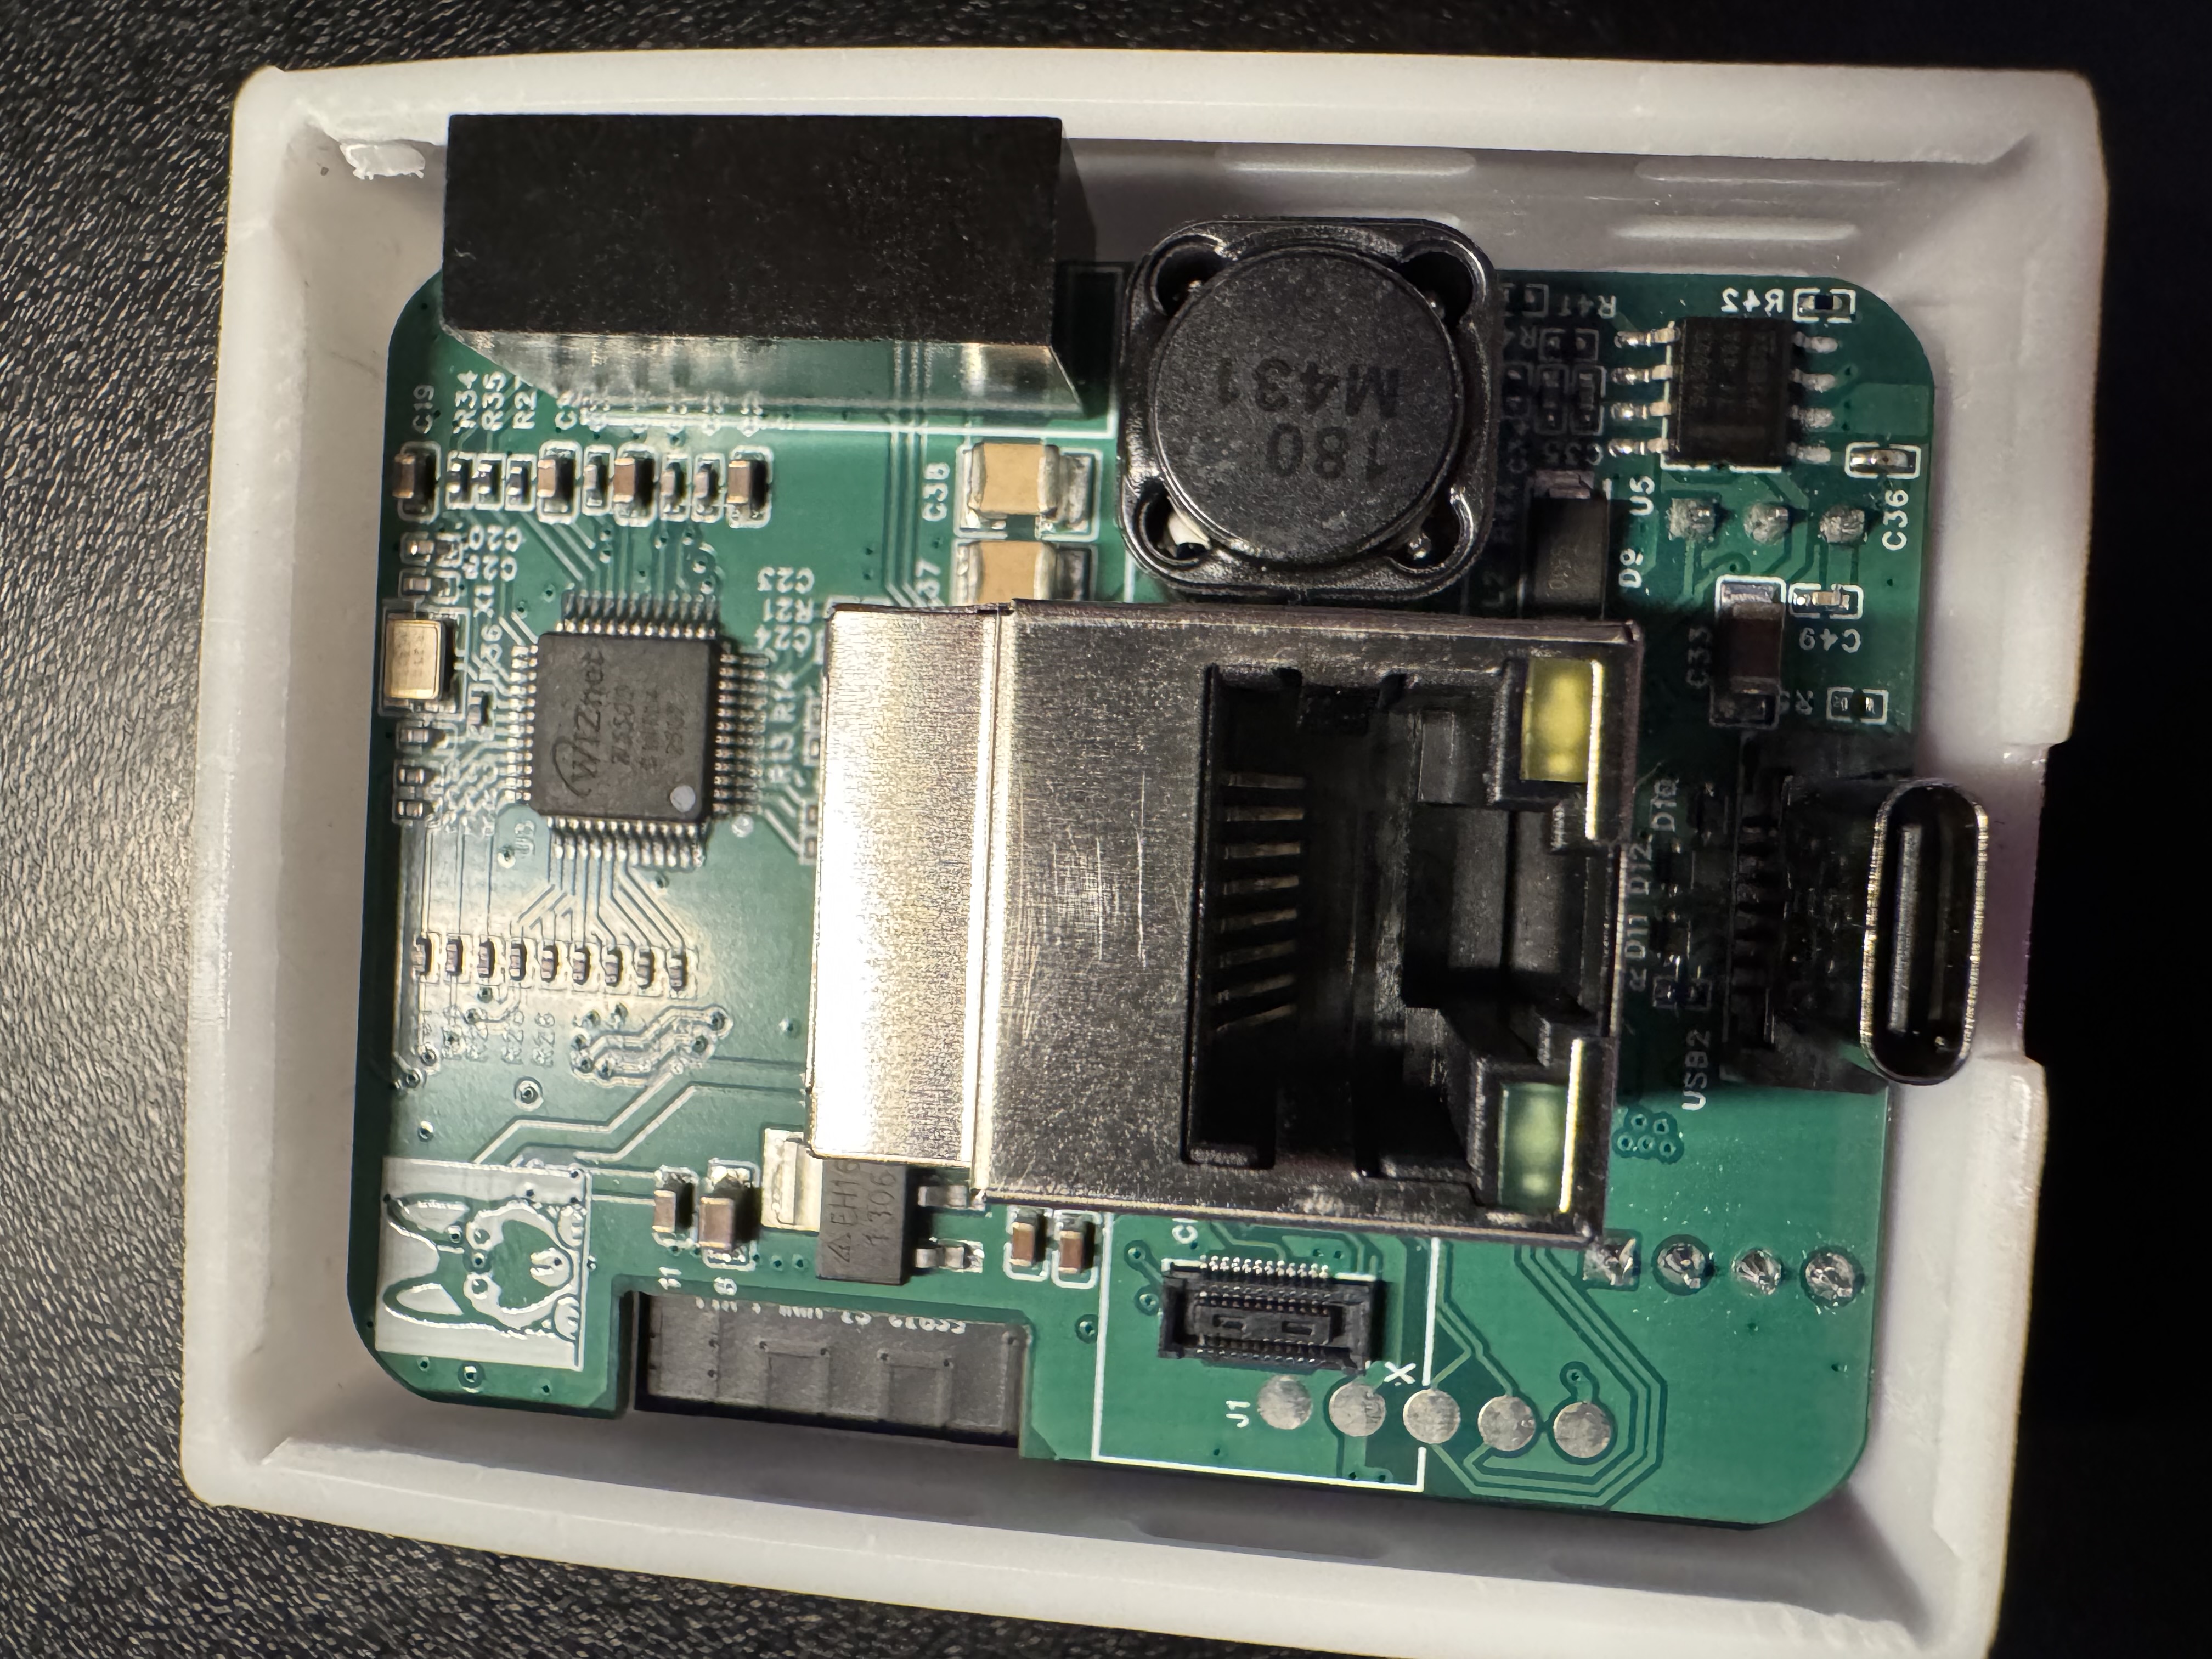
Install the LD2412 in R-PRO-1
Check out the gif above or step by step directions below!
The gif above shows all the steps needed to take apart and add your ld2412 to the R-PRO-1 or you can follow the step by step tutorial with images below!
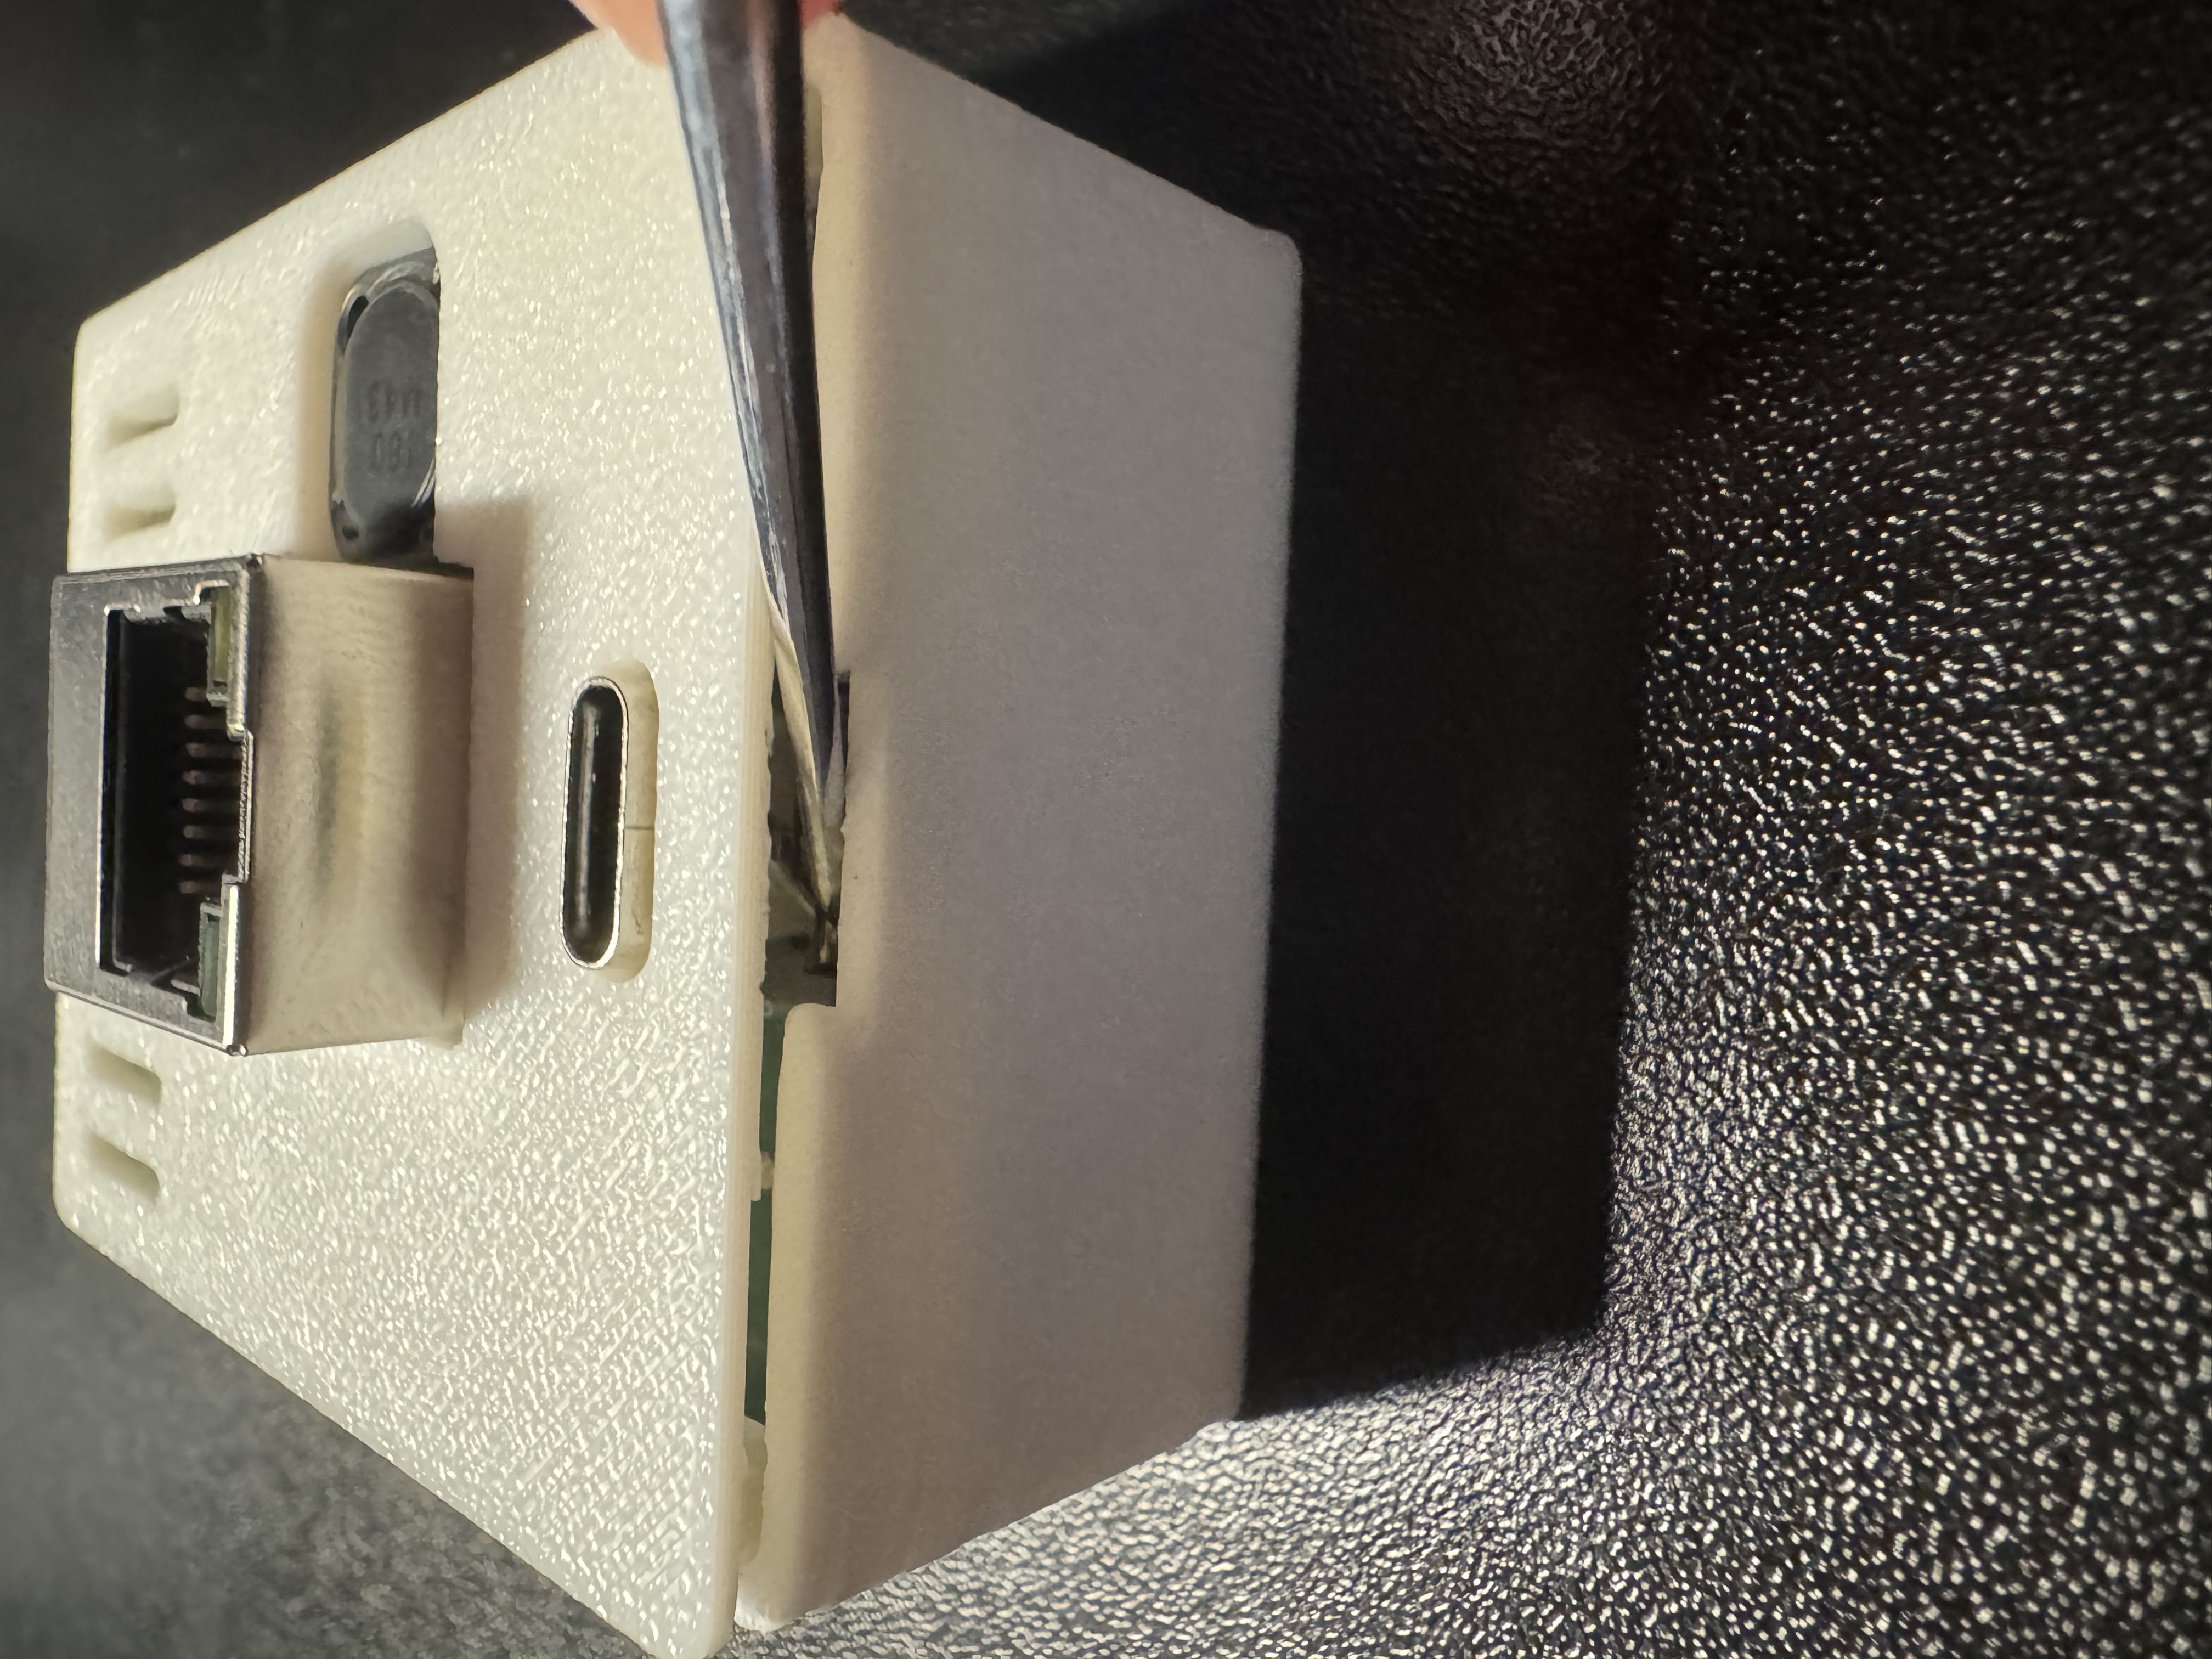
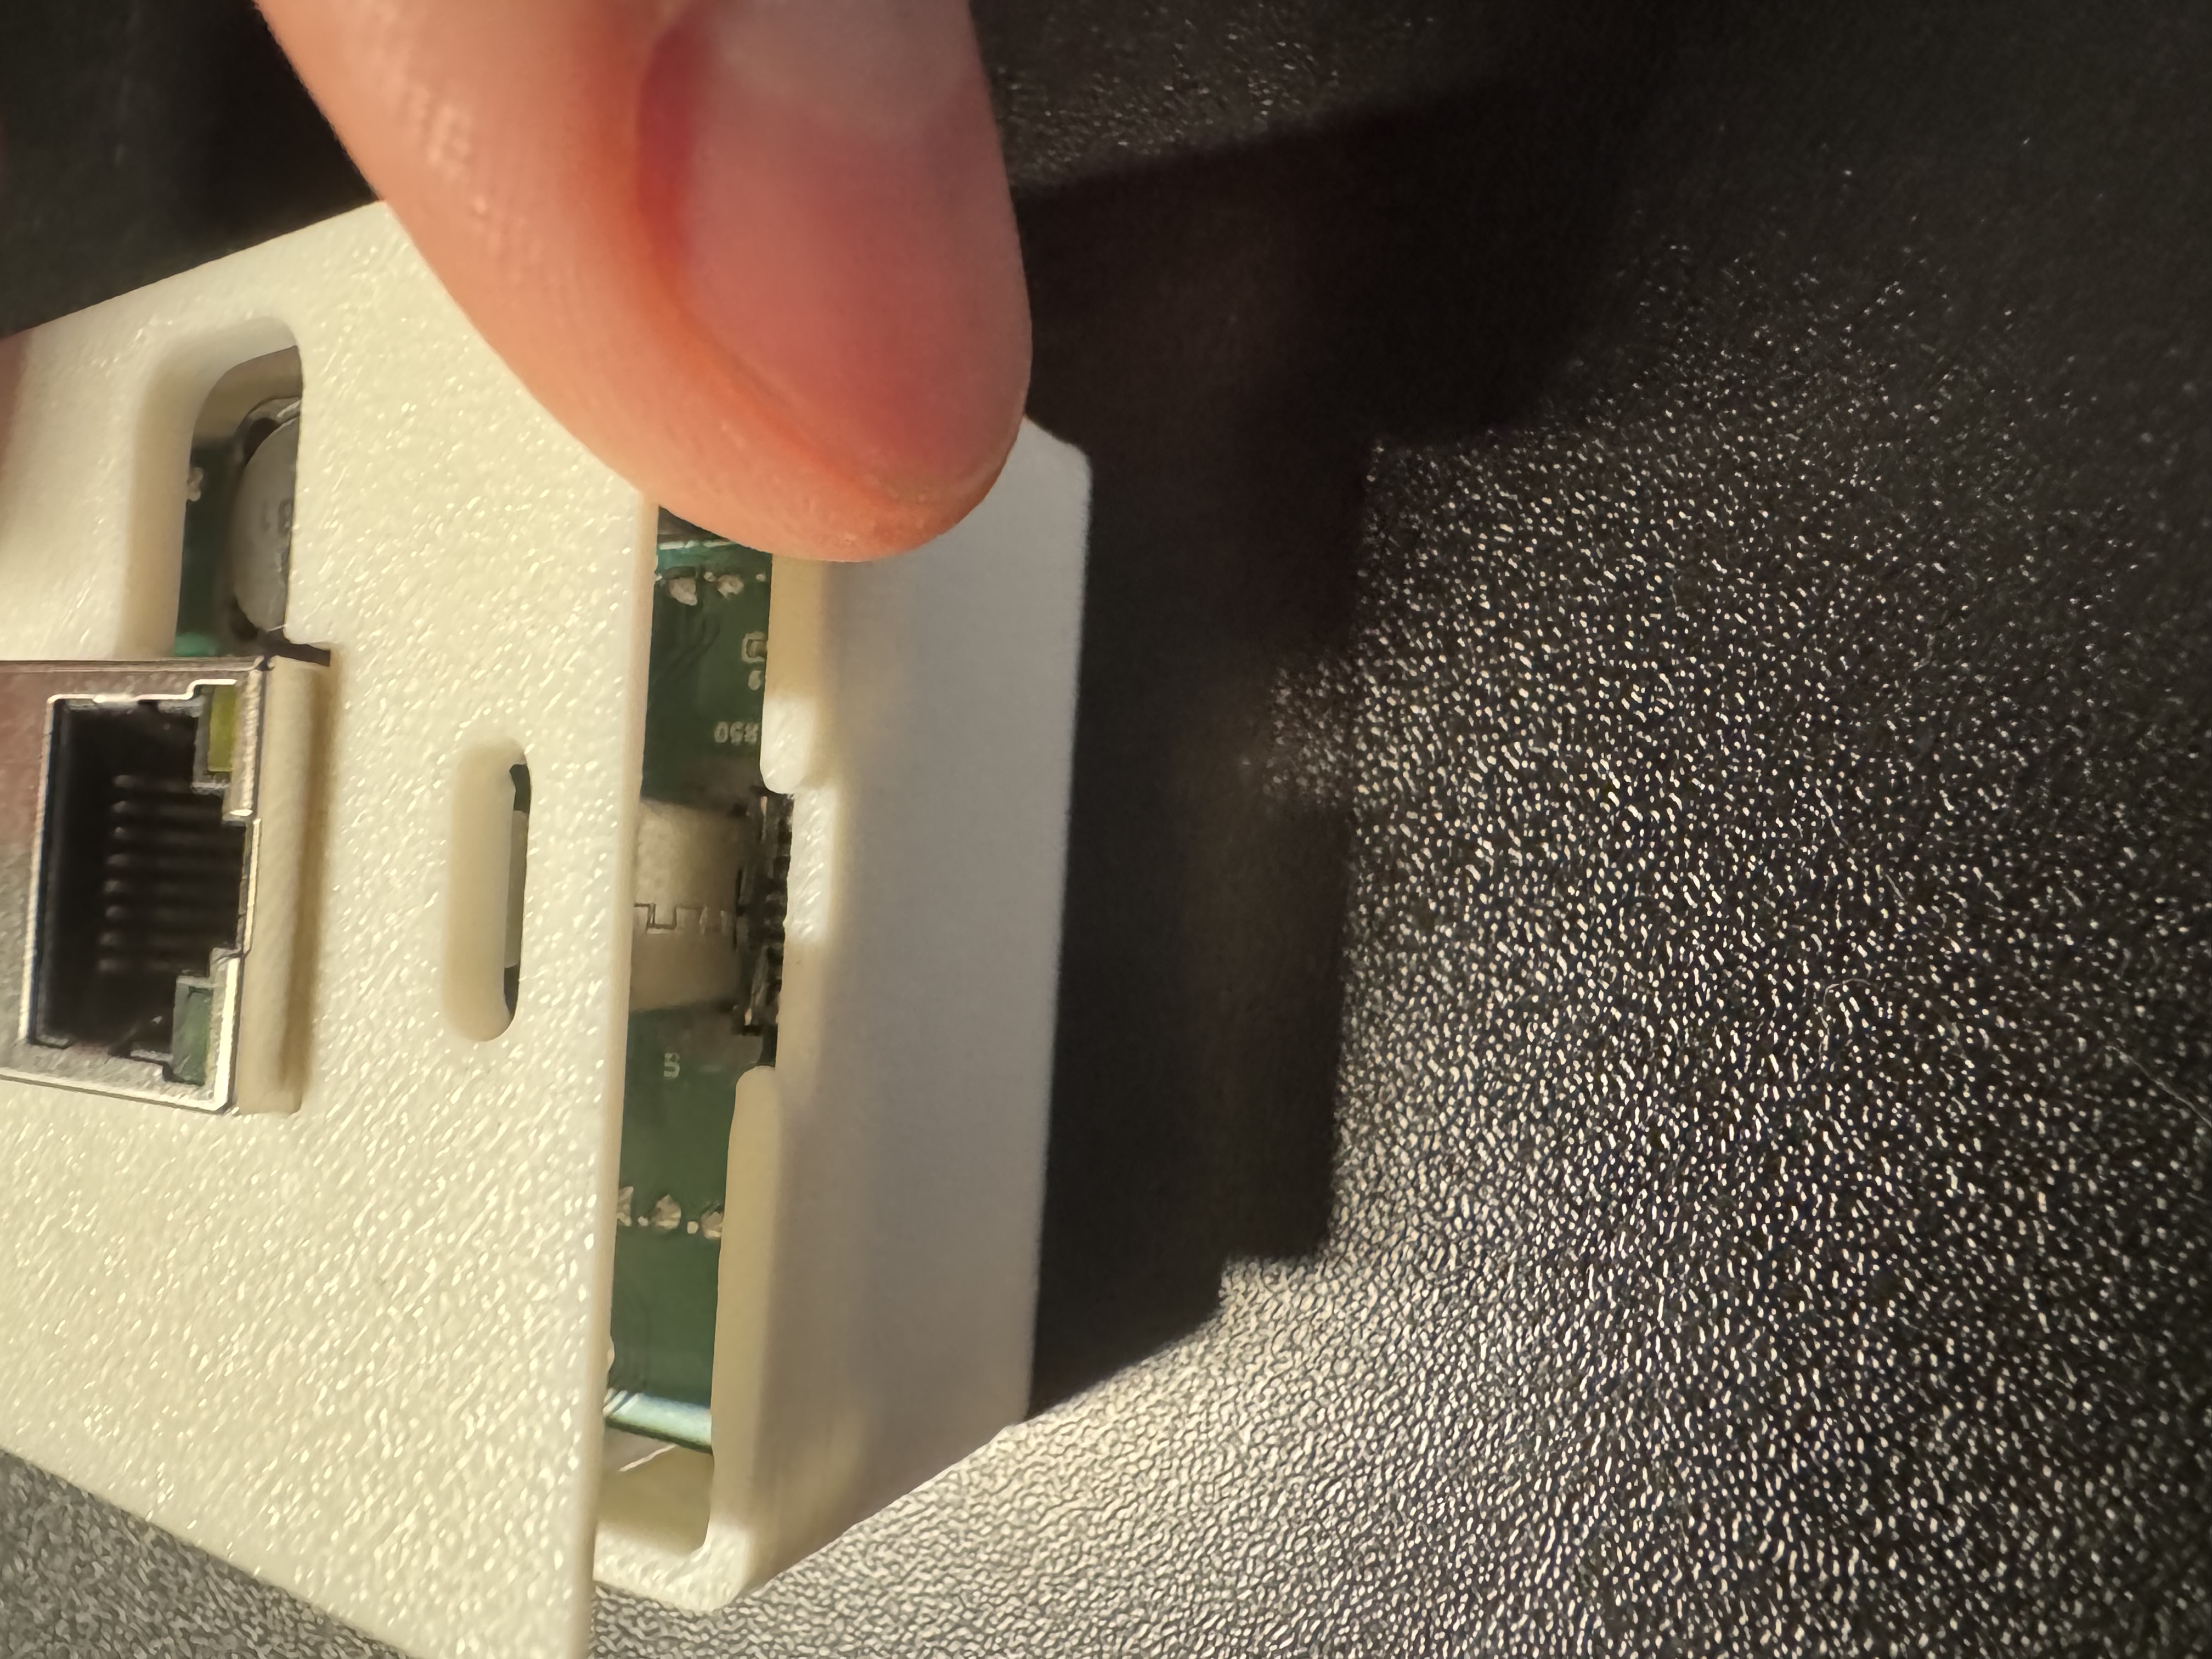
1. Unplug your R-PRO-1 from power and remove the back.
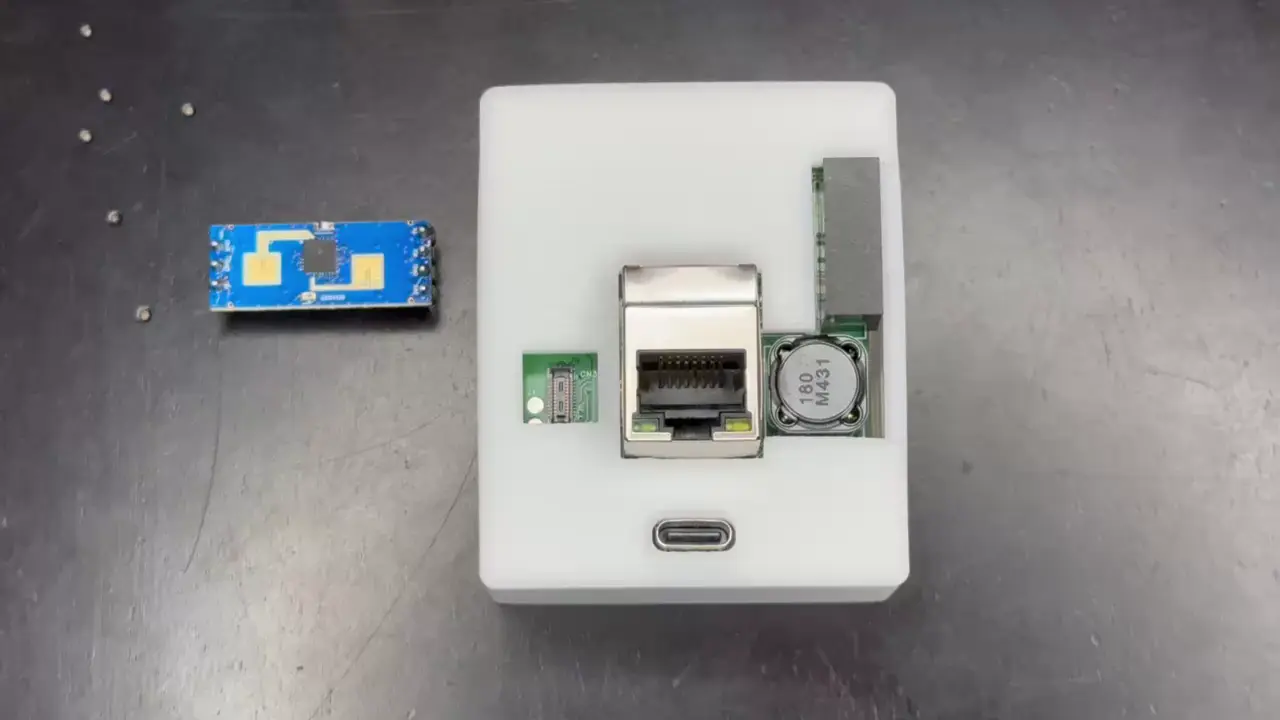
2. Gently remove the PCB from the case and flip it over.
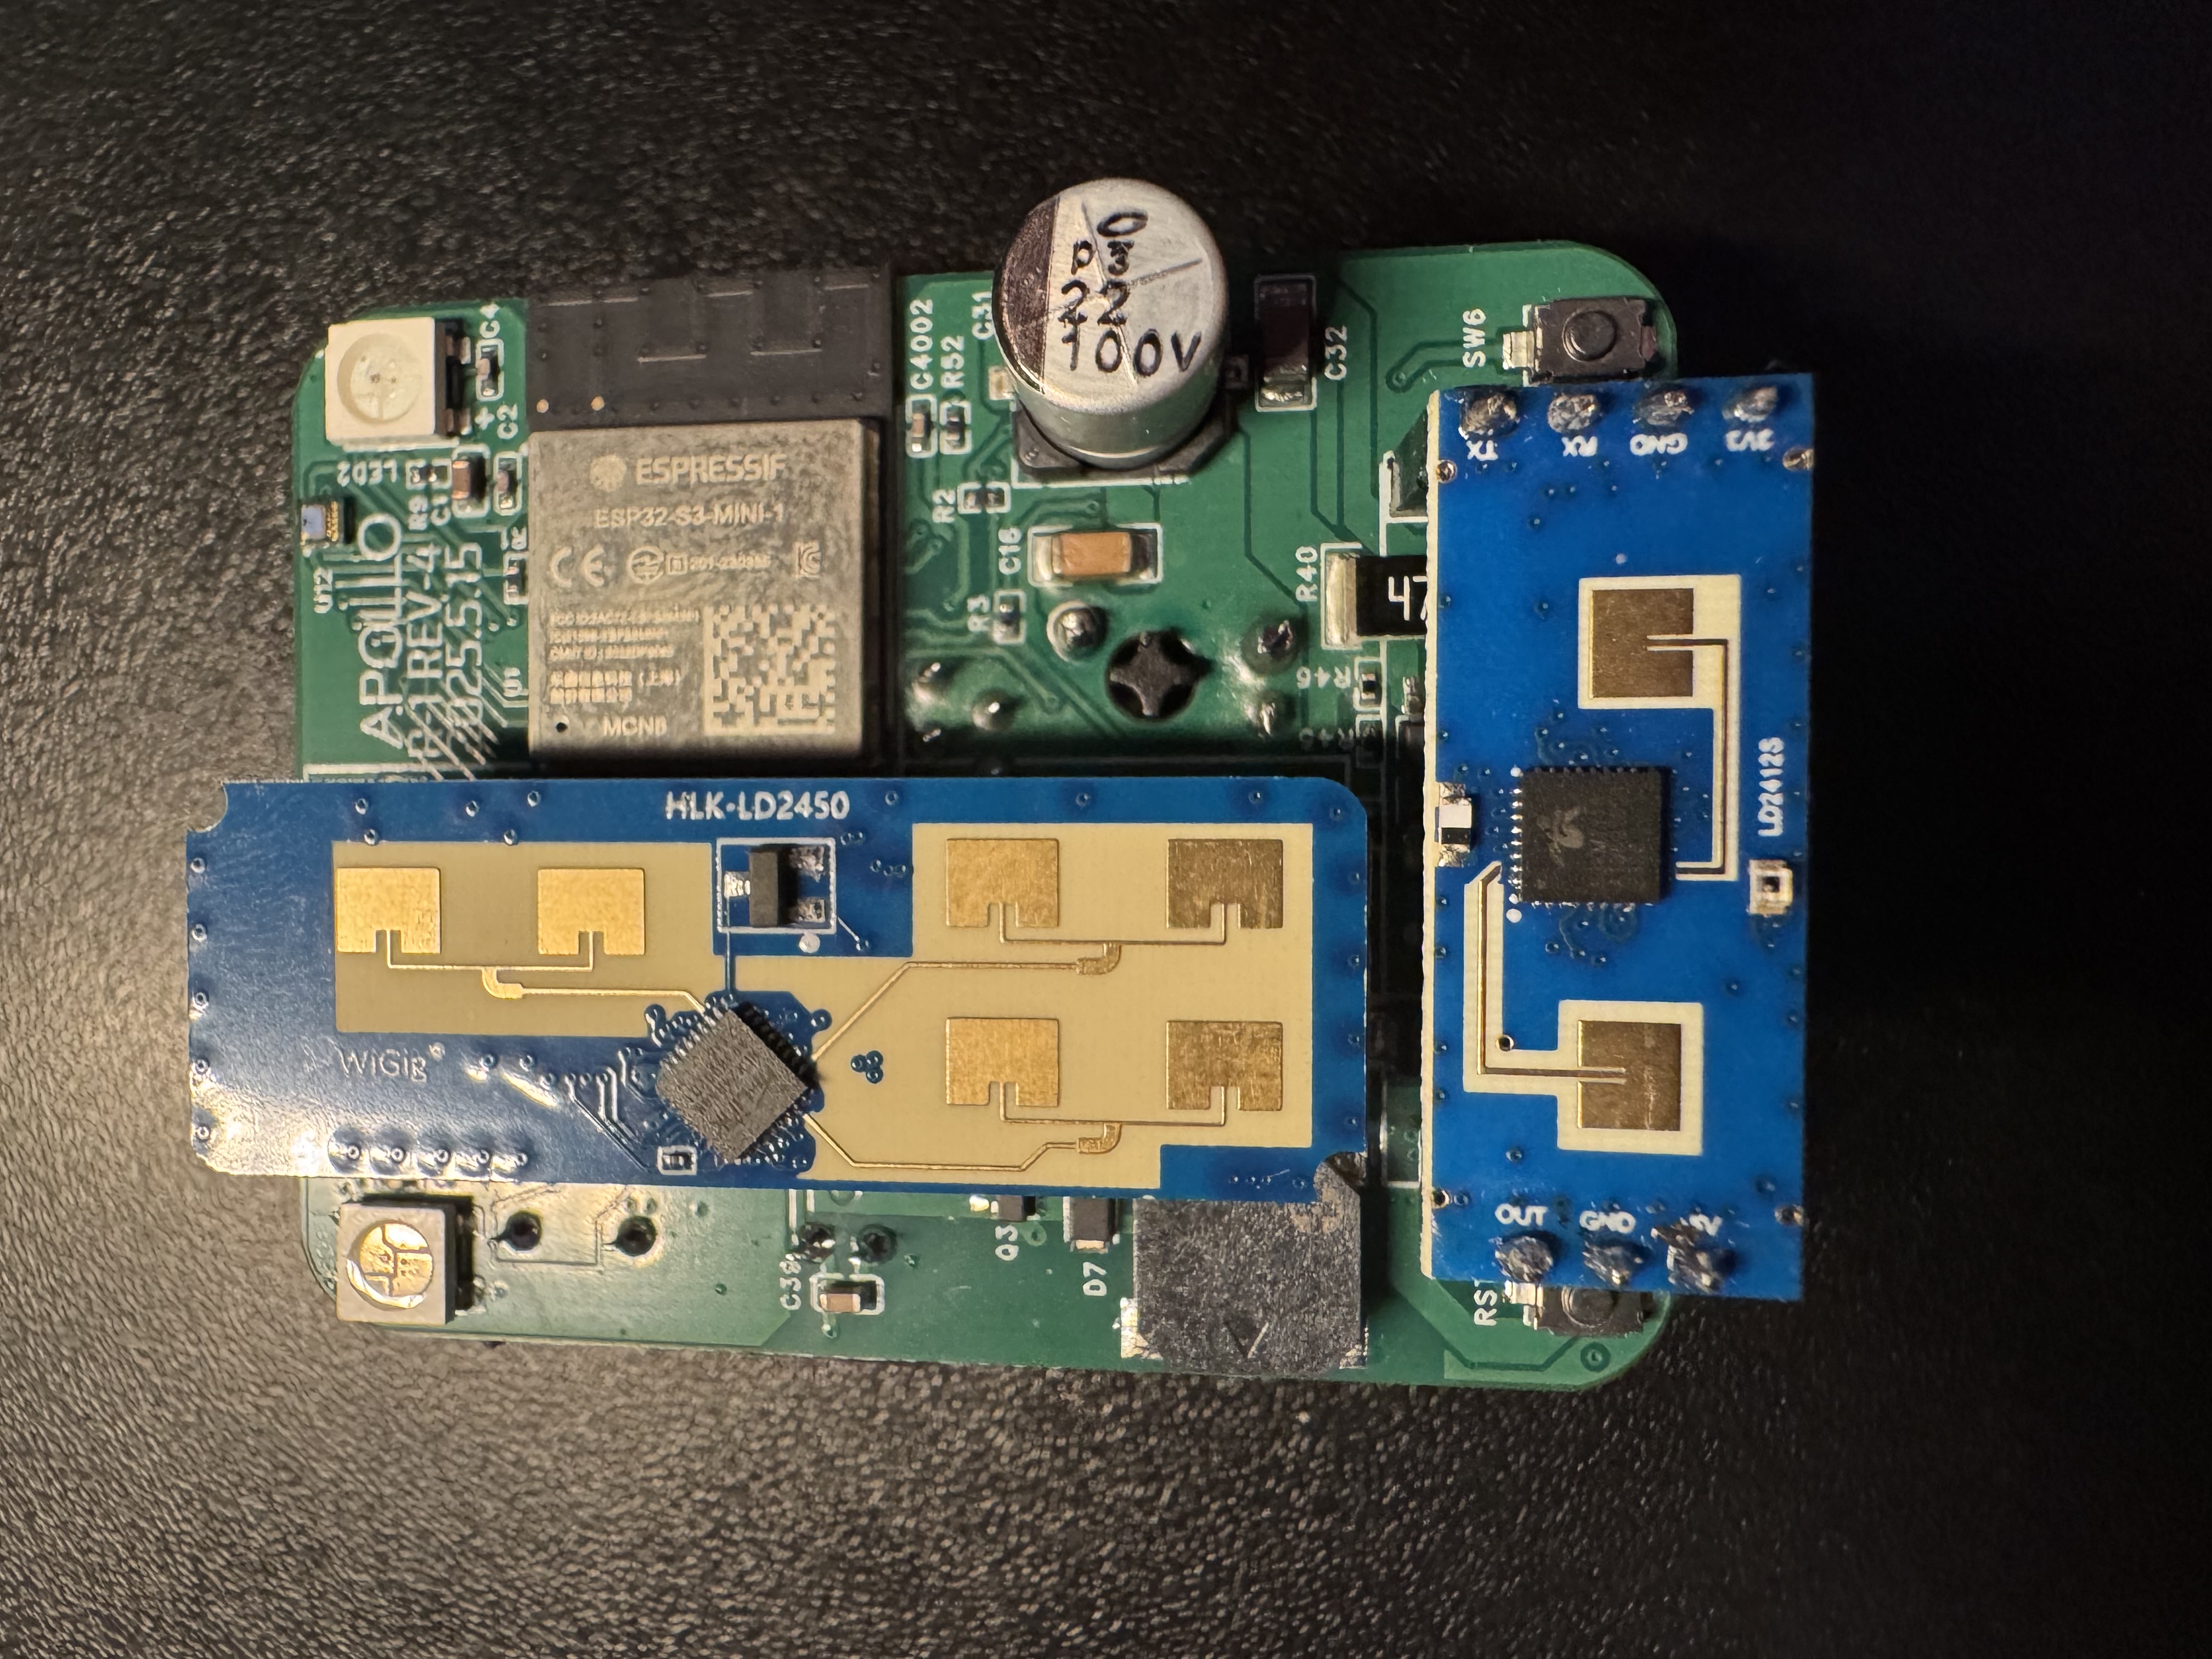
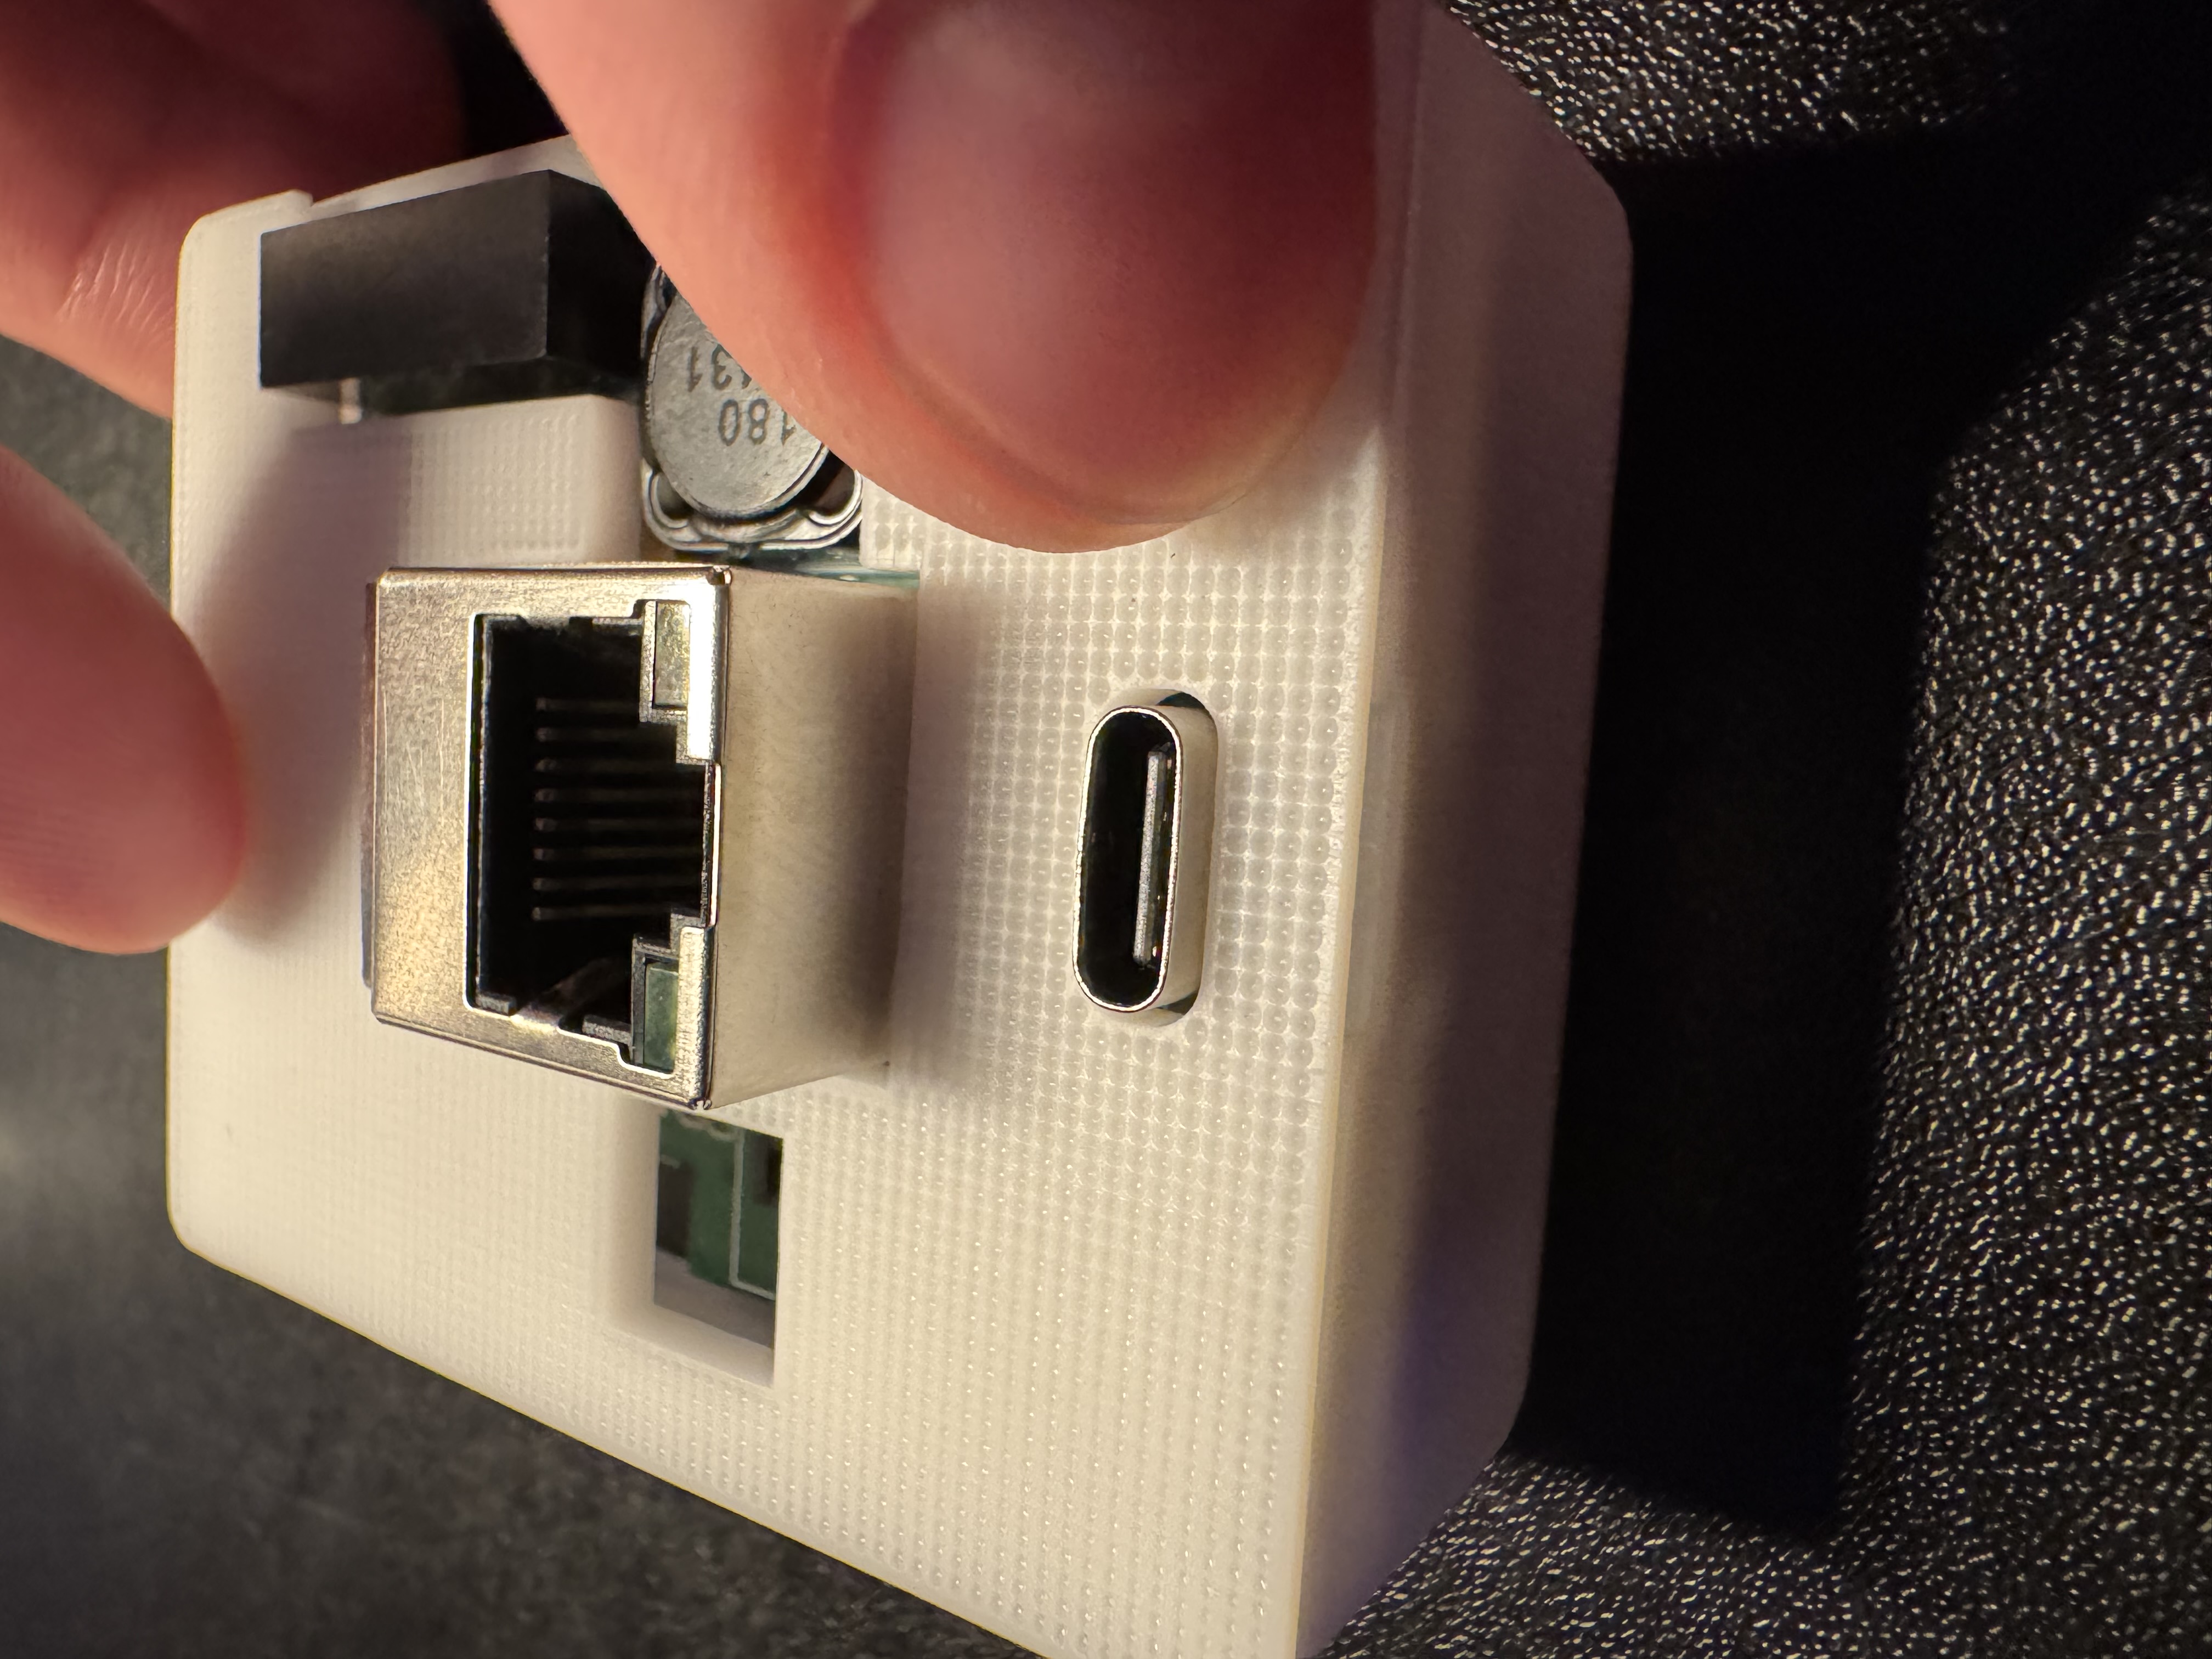
3. Place the LD2412 on the 4 and 3 pin headers (only fits one way).
4. Place back into the case with the ethernet module facing up and the usb-c port facing you.
5. Snap the lid back into place!