Teardown and Reassembly Of PUMP-1
Disassembly
Drain all liquid from the PUMP-1 before disassembling!
Ensure the PUMP-1 is fully drained of liquid before removing any tubes. Failure to do so may result in damage to the unit.
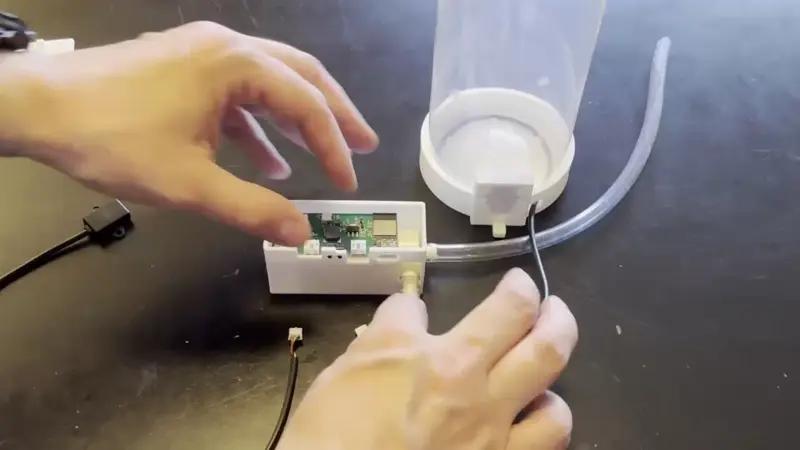
1. Unplug the USB-C cable and remove the lid.
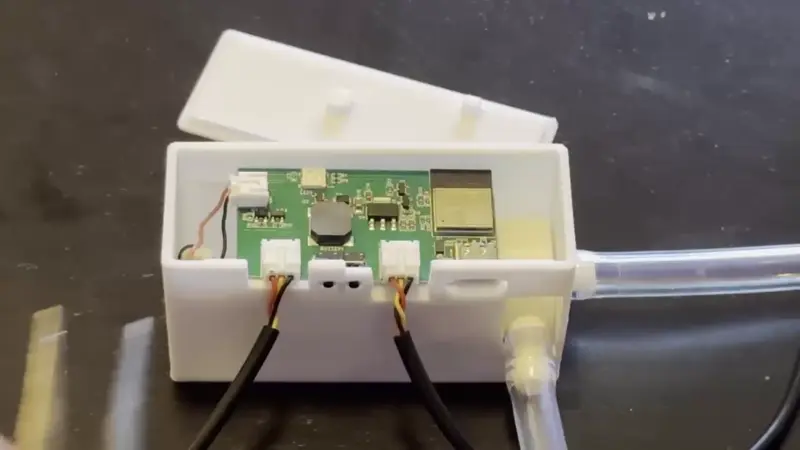
2. Remove the 3 pin JST connectors using your fingers or needle nose pliers.
3. Detach both the inlet and outlet tubes by pinching near the connection point and twisting gently while pulling - this makes removal much easier.
Reassembly
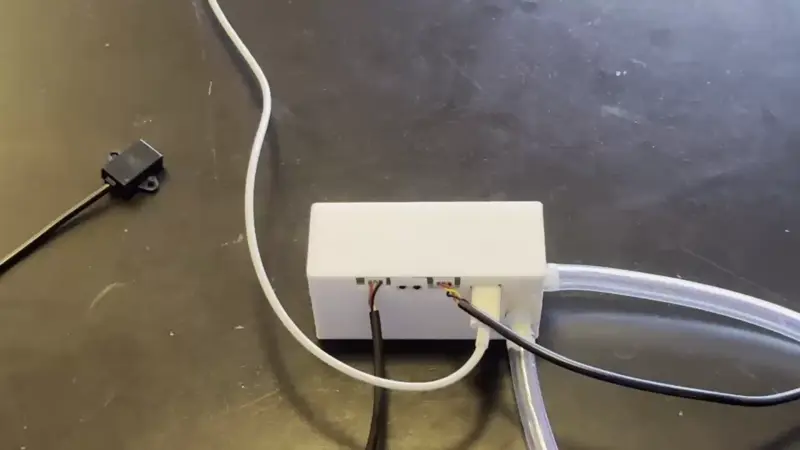
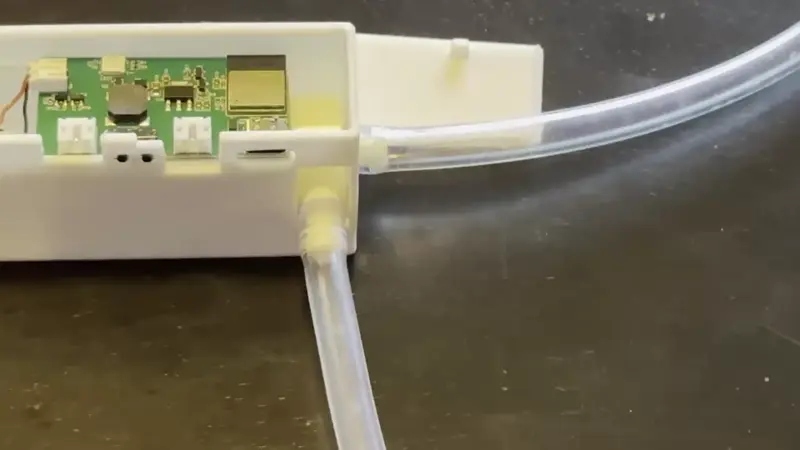
1. Attach the two tubes to the pump as shown below. The fluid input tube is the left tube on the same side as the USB-C port and the fluid output tube is the tube on the right on the side of the PUMP-1.
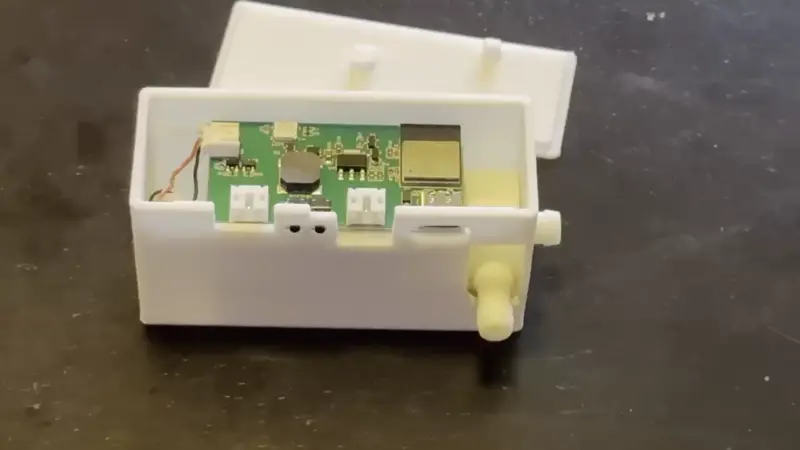
2. Insert the JST connector coming from your bottle's sensor into the right-side port on your PUMP-1 device. Ensure it is fully seated for proper operation. The small bump on top of the white connector must be facing upwards when inserting it. This ensures proper alignment and a secure connection. Follow up by inserting the second JST connector from the optional fluid output sensor into the left-side port on your PUMP-1 device. Ensure it is fully seated for proper operation. Finally, place the lid on top of the pump-1 case and gently snap it in place.