Attaching Fluid Level Sensors to the PUMP-1
Installing Fluid Input Sensor
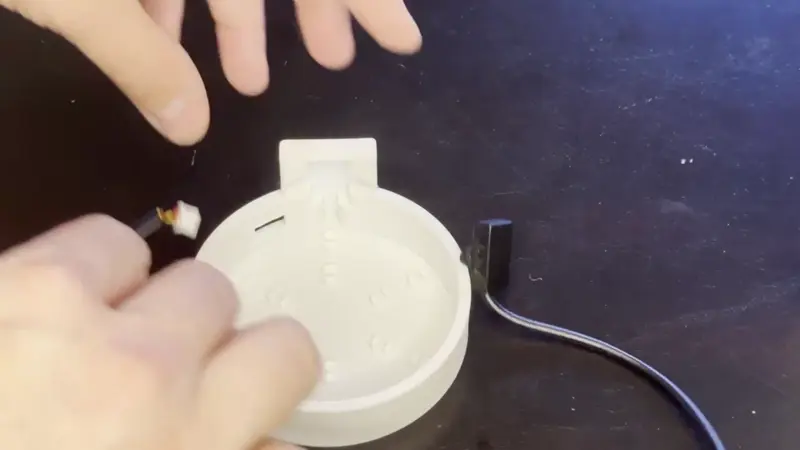
1. Begin by placing the small white connector through the hole in the base of the water bottle and gently press the input fluid level sensor into place.
Make sure to orient your fluid level sensor correctly as shown in the gif below
The fluid sensor needs to be placed with the flat side with no writing facing outwards and the side with the ears flush with the back towards the plastic enclosure.
Connecting Fluid Input Sensor
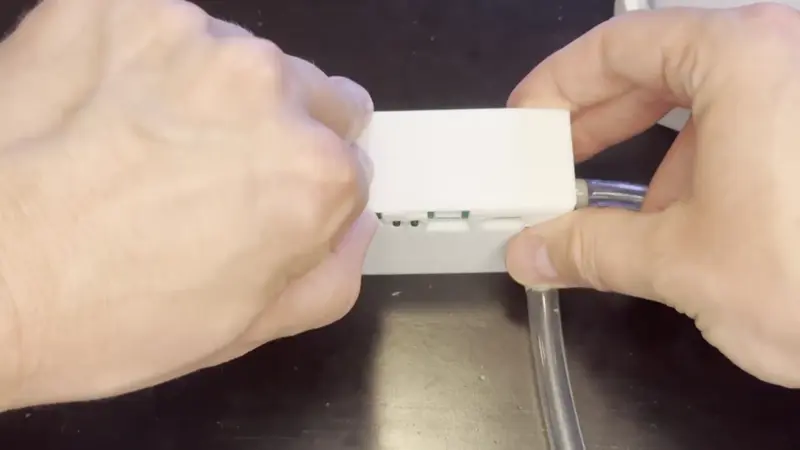
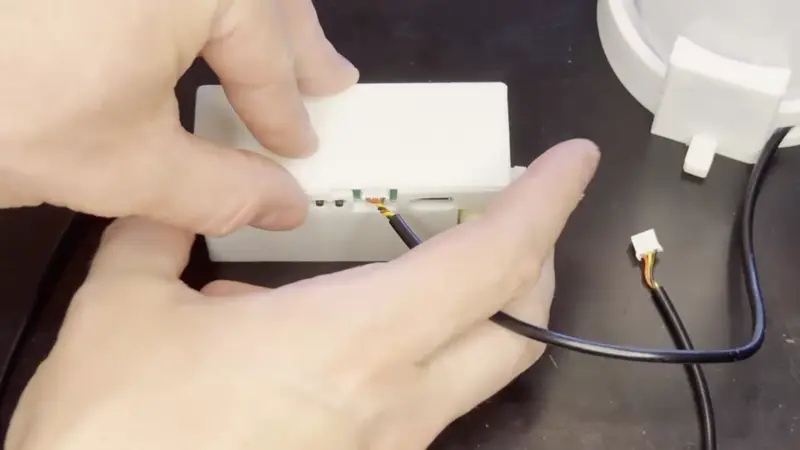
1. Insert the small white connector into the right-side port on your PUMP-1 device. Ensure it is fully seated for proper operation. The small bump on top of the white connector must be facing upwards when inserting it. This ensures proper alignment and a secure connection.
Connecting Fluid Output Sensor
1. Insert the small white connector into the left-side port on your PUMP-1 device. Ensure it is fully seated for proper operation. The small bump on top of the white connector must be facing upwards when inserting it. This ensures proper alignment and a secure connection.
Do not submerge the fluid sensors.
They are intended for external placement only.
2. Attach the fluid output sensor to the outside of the water reservoir of your choice. Common examples include Keurig water tanks, fish tanks, or similar containers. This sensor detects whether the water level is above or below a specific threshold, providing a reliable indication of fluid presence at that height. You can secure the sensor using double-sided tape, a Command™ strip, or even a small dab of hot glue - whichever method works best for your setup. Just ensure the sensor remains firmly in place and maintains good contact with the surface.
