Renaming Apollo Devices
ESPHome Integration - Part 1
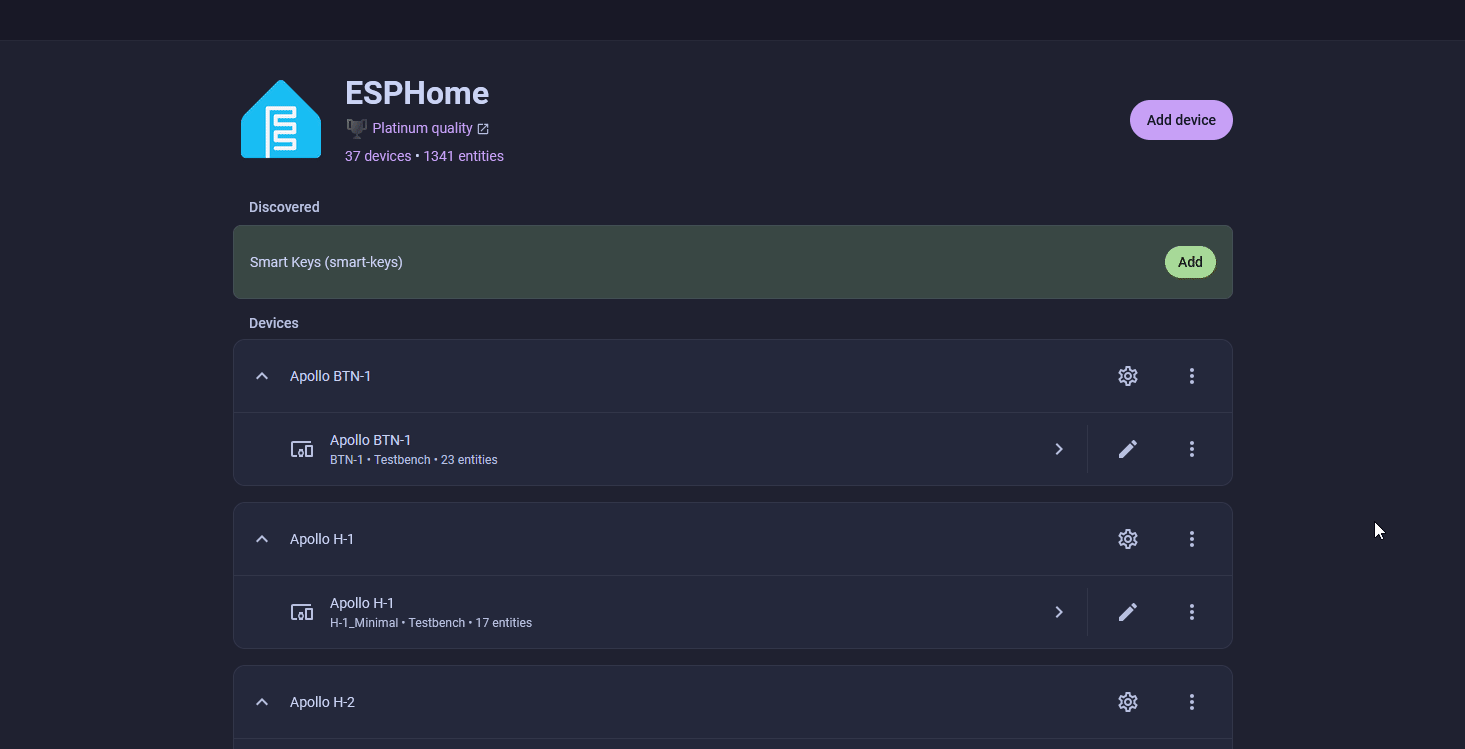
1. Click the button below to open the ESPHome Integrations page.

2. On the device you want to rename, click the pencil icon and enter a new name. Click Update, then select the name you just created.
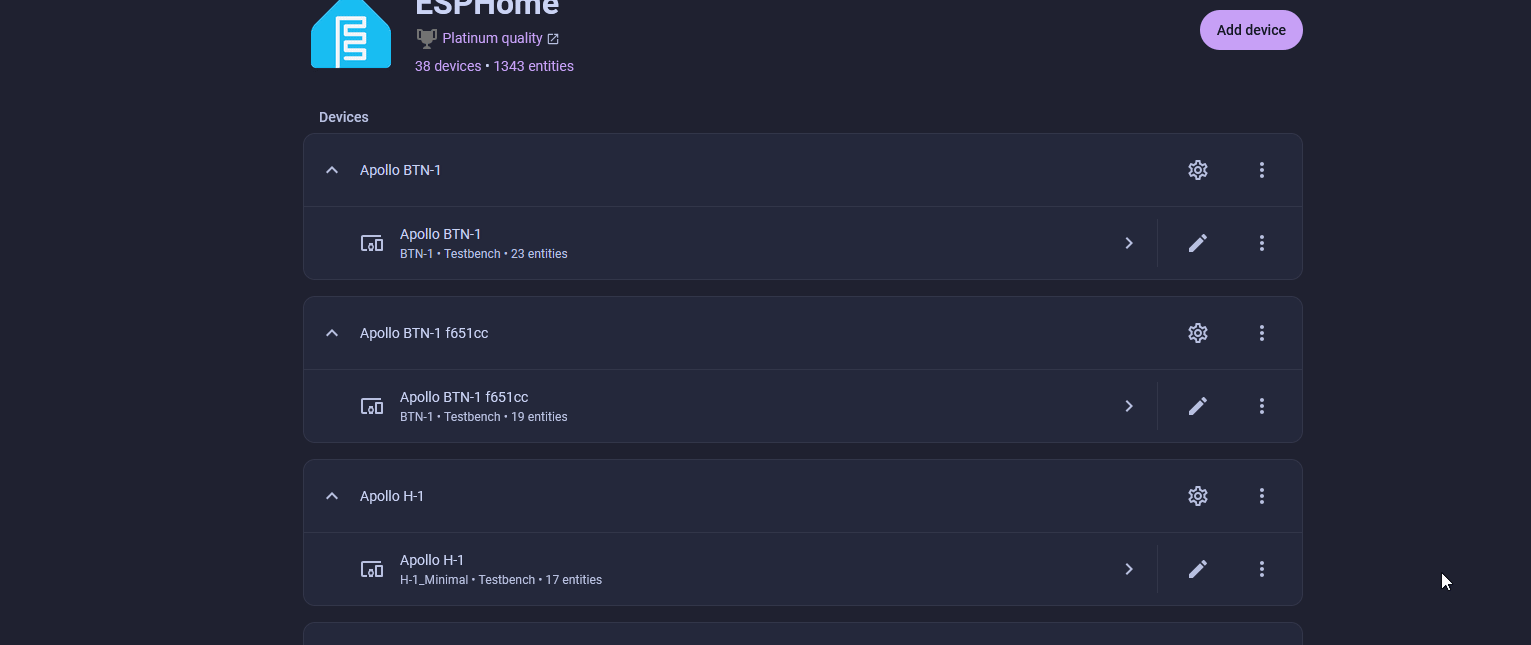
3. Click the 3 dots in the top right and select Recreate Entity IDs then select Update.
It's okay if there are some entities that cannot be regenerated!
You will likely run into a popup showning that 2 entity IDs cannot be regenerated because they are not available. This is fine, we can manually fix these later or just ignore them as they are disabled entities and not expected to be used.

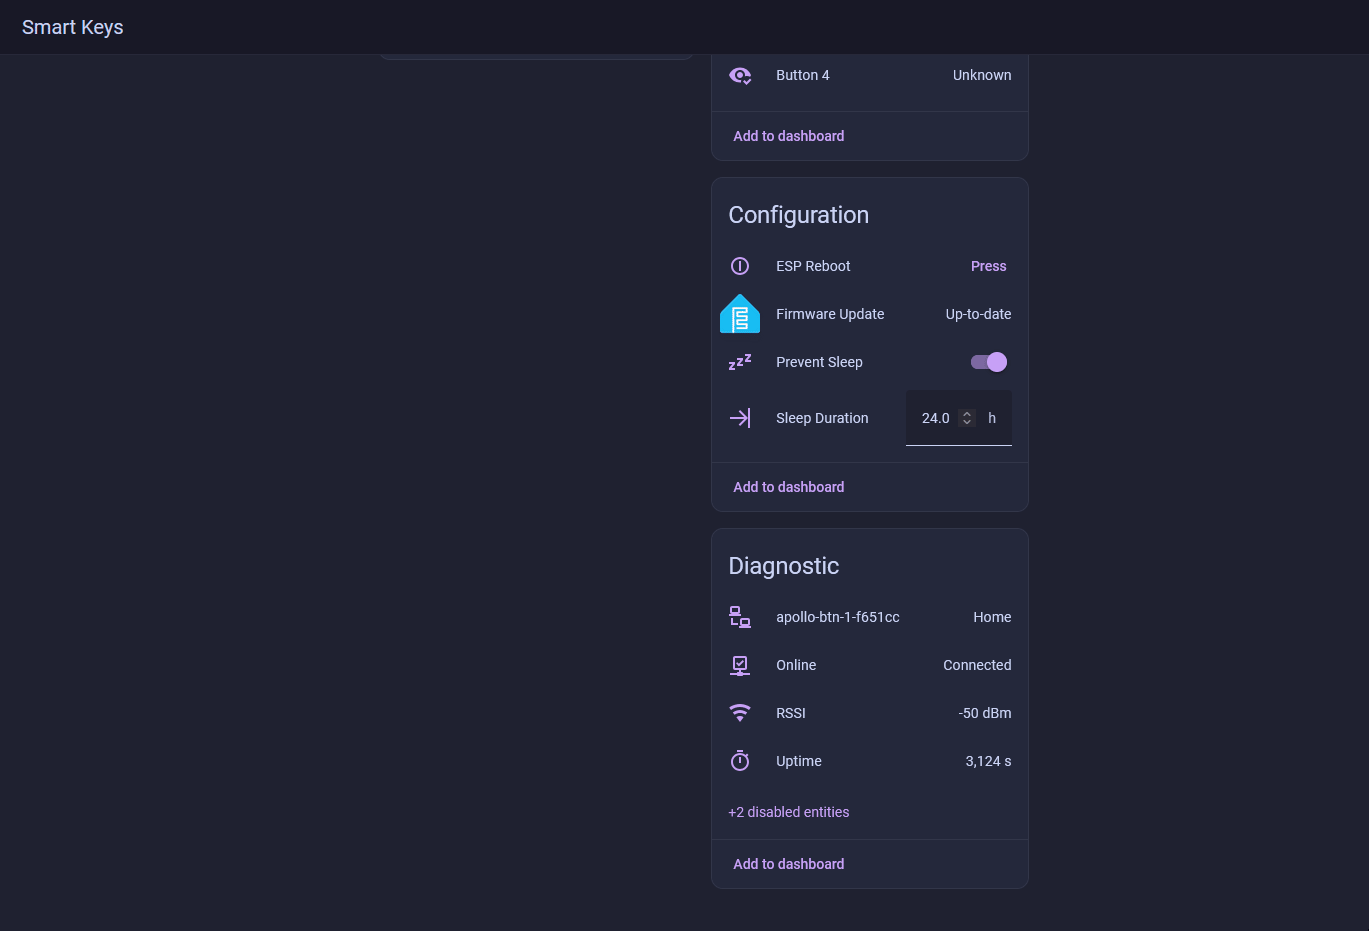
4. Scroll down to the Diagnostic section and click on +2 disabled entities. Select each entity and replace the old name with the new name. Make sure to replace spaces with underscores as shown in the gif below!
ESPHome Integration - Part 2
This section only changes the device name shown in the ESPHome integration page. It is safe to skip, but we recommend doing it to keep naming consistent.
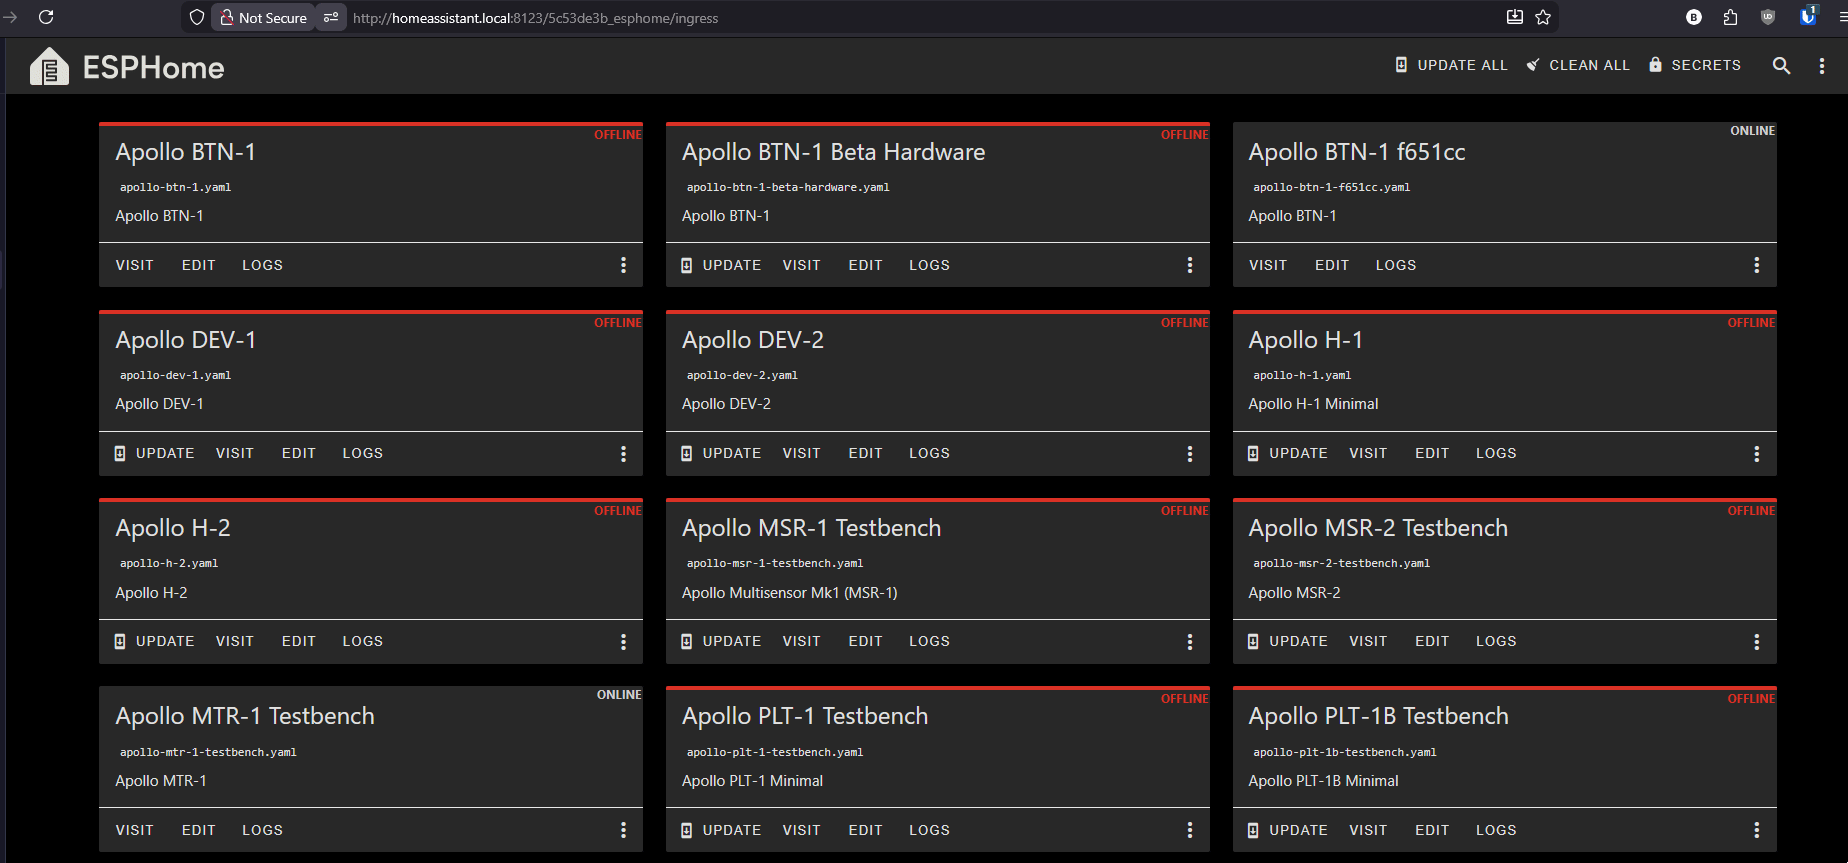
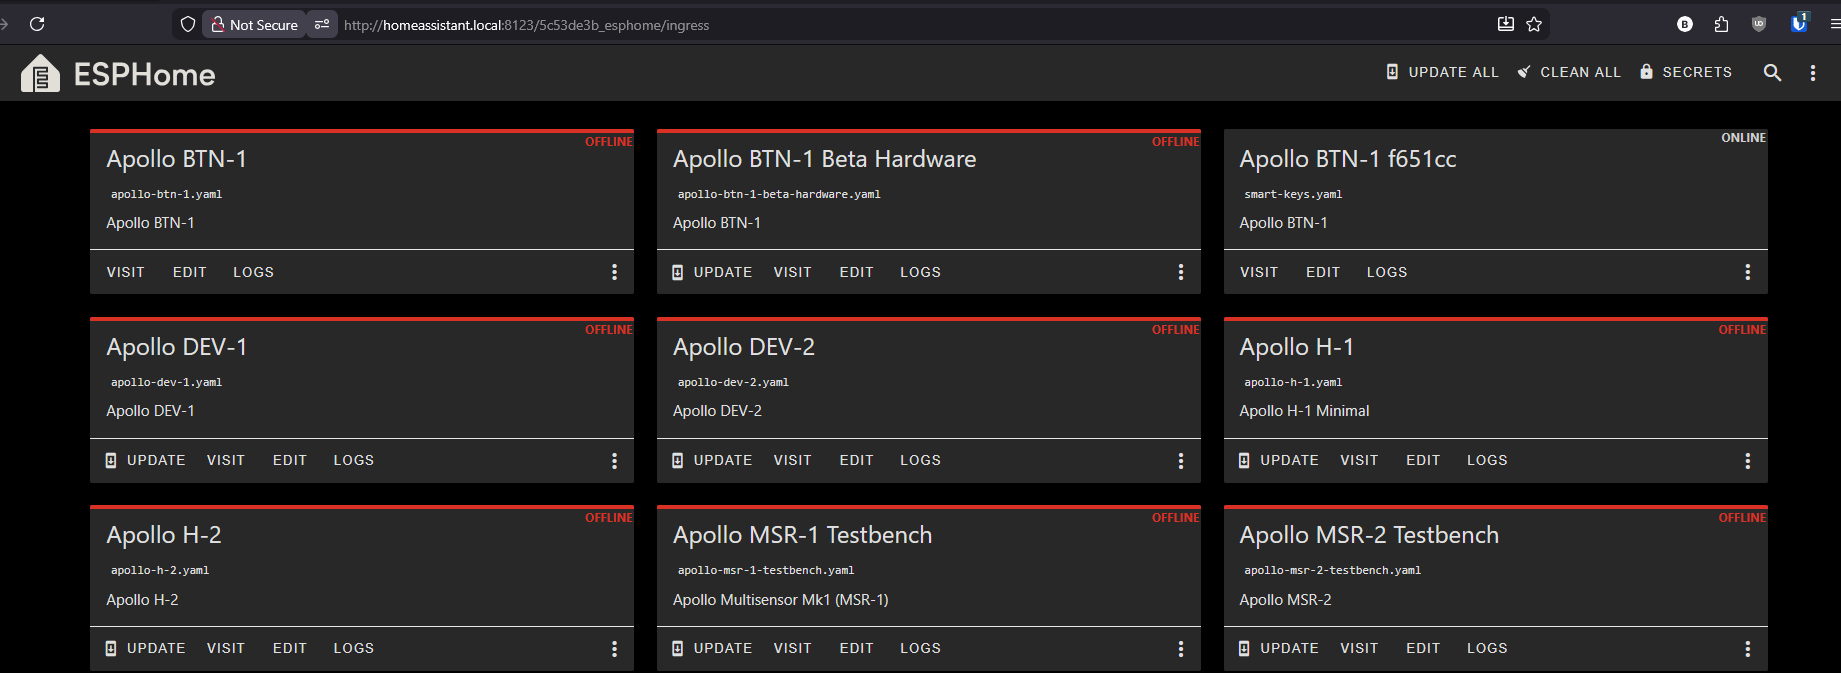
1. Click the button below to open the ESPHome Integrations page.
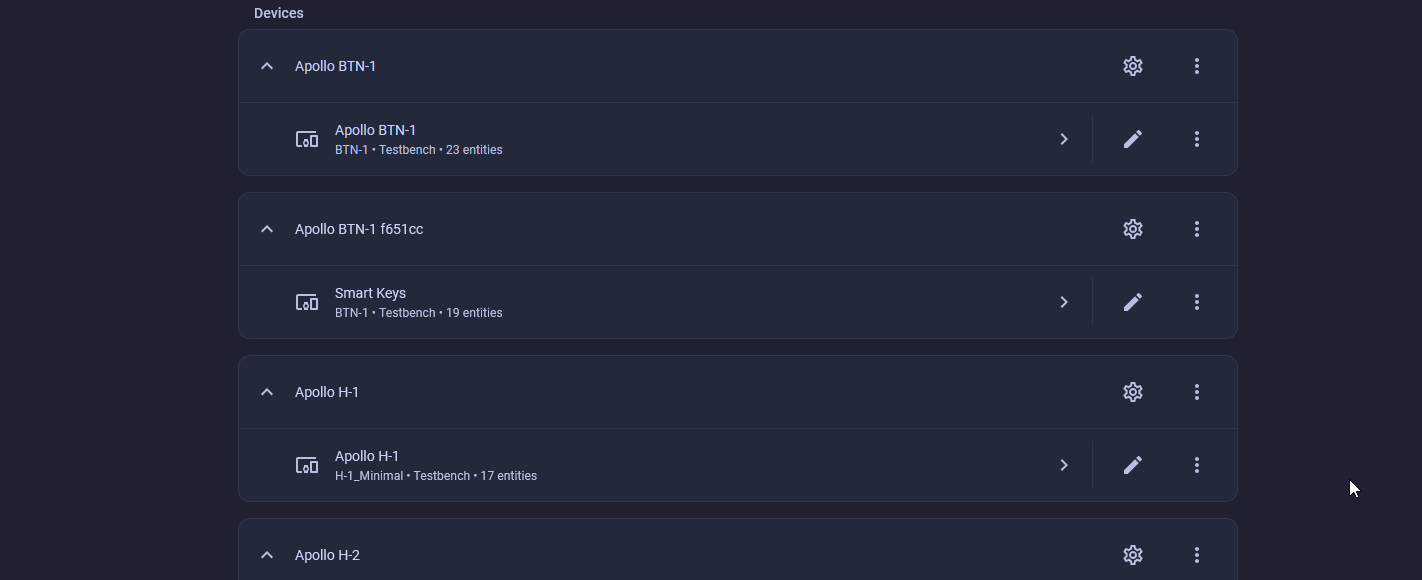
2. On the device you would like to rename, click the 3 dots icon and select Rename and type in your new name then click OK.
The next section is not necessary unless you use ESPHome Device Builder!
The next section is for ESPHome device builder which is for tinkerers and advanced users to take control of their device and edit the yaml. Please skip the next section if you do not use ESPHome Device Builder!
ESPHome Device Builder
1. Make sure you are already using the ESPHome Device Builder app as gone over in the getting started wiki articles.
2. Click the 3 dots next to your new Apollo device and select Rename hostname then enter in the new name of your sensor and click Rename. This cannot have any spaces or underscores only hyphens, numbers, and lowercase letters such as "smart-keys". Once it finishes it will say OTA successful and you can click close to get back to the main dashboard.
We are now ready to rename the friendly_name to a new name such as Smart Keys
This can have spaces and capital letters and will be the same name home assistant will give the device and all entity names!
3. Click Edit then replace the text after friendly_name with your new name such as Smart Keys. Click Save and Install in the top right once you are done with the rename and it will save and install. Once it finishes it will say OTA successful and you can click close to get back to the main dashboard.
4. Finally we should delete the device from the ESPHome Integration in home assistant and then add it back! Head to the ESPHome Integrations page. Next to the device you would like to remove, click the three dots and then Delete.

5. Scroll up and add the new auto-discovered device. The name should be the same Friendly name you put in the ESPHome Device builder and all of your entities should be the correct name to begin with!