Bluetooth tracking
Your Apollo device can listen for the Bluetooth Low Energy (BLE) signals that phones and watches send out, so Home Assistant can tell when you're nearby. This page covers three setups: tracking an Apple Watch in ESPHome, detecting an Android phone as an iBeacon, and running your Apollo MSR-1 as a Bluetooth proxy that also scans for iBeacons.
Apple iPhone and Apple Watch
As an alternative to the ESPHome setup below, you can install the iPhone Detect integration from HACS.

The Home Assistant Community also has a thread on bringing ESPresense-style tracking to Home Assistant with ESPHome Bluetooth proxies.
Track an Apple Watch in ESPHome
Thanks to community member Jacob Pfeifer for this write-up! It uses ESPHome on an MSR-1 to track an Apple Watch's signal strength (RSSI), by reading the watch's current MAC address from the Home Assistant Private BLE Device integration. Jacob used the dalehumby/ESPHome-Apple-Watch-detection repository as a starting point. A complete configuration example sits at the end of this section.
Track your watch's signal strength
Set up RSSI tracking first. Step 1 happens in Home Assistant, and steps 2 to 5 each add a block to your MSR-1's ESPHome configuration.
1. Set up your Apple Watch in the Private BLE Device integration by following the instructions on the Private BLE Device integration page.

2. Create a text sensor that reads your Apple Watch's current MAC address from Home Assistant. Replace device_tracker.your_apple_watch_home_assistant_id with your watch's entity ID.
text_sensor:
  - platform: homeassistant
    name: "Apple Watch Current MAC Address"
    id: apple_watch_mac
    entity_id: device_tracker.your_apple_watch_home_assistant_id
    attribute: current_address
3. Create a template sensor that stores and sends the RSSI value:
sensor:
  - platform: template
    id: apple_watch_rssi
    name: "Apple Watch RSSI"
    device_class: signal_strength
    unit_of_measurement: dBm
    accuracy_decimals: 0
    filters:
      - exponential_moving_average:
          alpha: 0.3
          send_every: 1
4. Create a custom BLE tracker that uses the MAC address from Home Assistant to match your watch:
esp32_ble_tracker:
  scan_parameters:
    interval: 1.2s
    window: 500ms
    active: false
  on_ble_advertise:
    - then:
      - lambda: |-
          for (auto data : x.get_manufacturer_datas()) {
            if(x.address_str() == id(apple_watch_mac).state) {
              id(apple_watch_rssi).publish_state(x.get_rssi());
            }
          }
5. Set the Wi-Fi power save mode to light. The MSR-1 defaults to none, which doesn't work with Bluetooth tracking.
Install the changes on your device, and your MSR-1 starts tracking your Apple Watch's RSSI.
Optional: add presence detection
To turn the RSSI into a basic presence sensor, add these blocks on top of the RSSI tracking setup.
1. Create settings for the signal strength levels that count as present and absent:
number:
- platform: template
name: "RSSI Presence Level"
id: rssi_present
icon: "mdi:arrow-collapse-right"
optimistic: true
min_value: -100
max_value: -35
initial_value: -60
step: 1
entity_category: CONFIG
restore_value: true
update_interval: never
- platform: template
name: "RSSI Absence Level"
id: rssi_not_present
icon: "mdi:arrow-collapse-right"
optimistic: true
min_value: -100
max_value: -35
initial_value: -70
step: 1
entity_category: CONFIG
restore_value: true
update_interval: never
2. Create a sensor that stores and filters the presence value:
sensor:
- platform: template
id: room_presence_debounce
filters:
- sliding_window_moving_average:
window_size: 3
send_every: 1
3. Create a binary sensor that sends the filtered presence state to Home Assistant:
binary_sensor:
- platform: template
id: room_presence
name: "Apple Watch Presence"
device_class: occupancy
lambda: |-
if (id(room_presence_debounce).state > 0.99) {
return true;
} else if (id(room_presence_debounce).state < 0.01) {
return false;
} else {
return id(room_presence).state;
}
4. Replace the apple_watch_rssi sensor you created earlier with this version, which updates the presence value each time it receives a new RSSI value. It calls a presence_timeout script, which you'll find in the complete configuration below.
sensor:
- platform: template
id: apple_watch_rssi
name: "Apple Watch RSSI"
device_class: signal_strength
unit_of_measurement: dBm
accuracy_decimals: 0
filters:
- exponential_moving_average:
alpha: 0.3
send_every: 1
on_value:
then:
- lambda: |-
if (id(apple_watch_rssi).state > id(rssi_present).state) {
id(room_presence_debounce).publish_state(1);
} else if (id(apple_watch_rssi).state < id(rssi_not_present).state) {
id(room_presence_debounce).publish_state(0);
}
- script.execute: presence_timeout # Publish 0 if no rssi received
Install the ESPHome changes. On the device's page you can now set the dB levels for presence detection (RSSI Presence Level and RSSI Absence Level), and you see the presence sensor's state.
Complete configuration
Here is Jacob's complete configuration as an example. It uses his own device name, encryption key, and IDs (such as jacobs_watch_mac and device_tracker.jacob_s_apple_watch), so replace those with your own.
substitutions:
name: apollo-msr-1-6c7a64
friendly_name: Living Room Multisensor
roomname: Living Room
yourname: Jacob
packages:
ApolloAutomation.MSR-1: github://ApolloAutomation/MSR-1/Integrations/ESPHome/MSR-1.yaml
esphome:
name: ${name}
name_add_mac_suffix: false
friendly_name: ${friendly_name}
api:
encryption:
key: xxxxxxxxxxxxxxxxxxxxxxxxxxxxxxxxxxxxxxxxxx
esp32_ble_tracker:
scan_parameters:
interval: 1.2s
window: 500ms
active: false
on_ble_advertise:
- then:
- lambda: |-
for (auto data : x.get_manufacturer_datas()) {
if(x.address_str() == id(jacobs_watch_mac).state) {
id(apple_watch_rssi).publish_state(x.get_rssi());
}
}
text_sensor:
- platform: homeassistant
name: "Apple Watch Current MAC Address"
id: jacobs_watch_mac
entity_id: device_tracker.jacob_s_apple_watch
attribute: current_address
sensor:
- platform: template
id: apple_watch_rssi
name: "$yourname Apple Watch $roomname RSSI"
device_class: signal_strength
unit_of_measurement: dBm
accuracy_decimals: 0
filters:
- exponential_moving_average:
alpha: 0.3
send_every: 1
on_value:
then:
- lambda: |-
if (id(apple_watch_rssi).state > id(rssi_present).state) {
id(room_presence_debounce).publish_state(1);
} else if (id(apple_watch_rssi).state < id(rssi_not_present).state) {
id(room_presence_debounce).publish_state(0);
}
- script.execute: presence_timeout # Publish 0 if no rssi received
- platform: template
id: room_presence_debounce
filters:
- sliding_window_moving_average:
window_size: 3
send_every: 1
binary_sensor:
- platform: template
id: room_presence
name: "$yourname $roomname Presence"
device_class: occupancy
lambda: |-
if (id(room_presence_debounce).state > 0.99) {
return true;
} else if (id(room_presence_debounce).state < 0.01) {
return false;
} else {
return id(room_presence).state;
}
script:
# Publish event every 30 seconds when no rssi received
id: presence_timeout
mode: restart
then:
- delay: 30s
- lambda: |-
id(room_presence_debounce).publish_state(0);
- script.execute: presence_timeout
number:
- platform: template
name: "RSSI Presence Level"
id: rssi_present
icon: "mdi:arrow-collapse-right"
optimistic: true
min_value: -100
max_value: -35
initial_value: -60
step: 1
entity_category: CONFIG
restore_value: true
update_interval: never
- platform: template
name: "RSSI Absence Level"
id: rssi_not_present
icon: "mdi:arrow-collapse-right"
optimistic: true
min_value: -100
max_value: -35
initial_value: -70
step: 1
entity_category: CONFIG
restore_value: true
update_interval: never
wifi:
  power_save_mode: light
ssid: !secret wifi_ssid
password: !secret wifi_password
Android
An Android phone can act as an iBeacon through the BLE Transmitter sensor in the Home Assistant Companion app, and your MSR-1 can detect it. Follow these steps to set it up.
-
Install the iBeacon integration in Home Assistant. The iBeacon Install Guide walks you through it.
-
Install the Home Assistant Companion app on your phone, for Android or Apple.
-
In the app, open Settings.
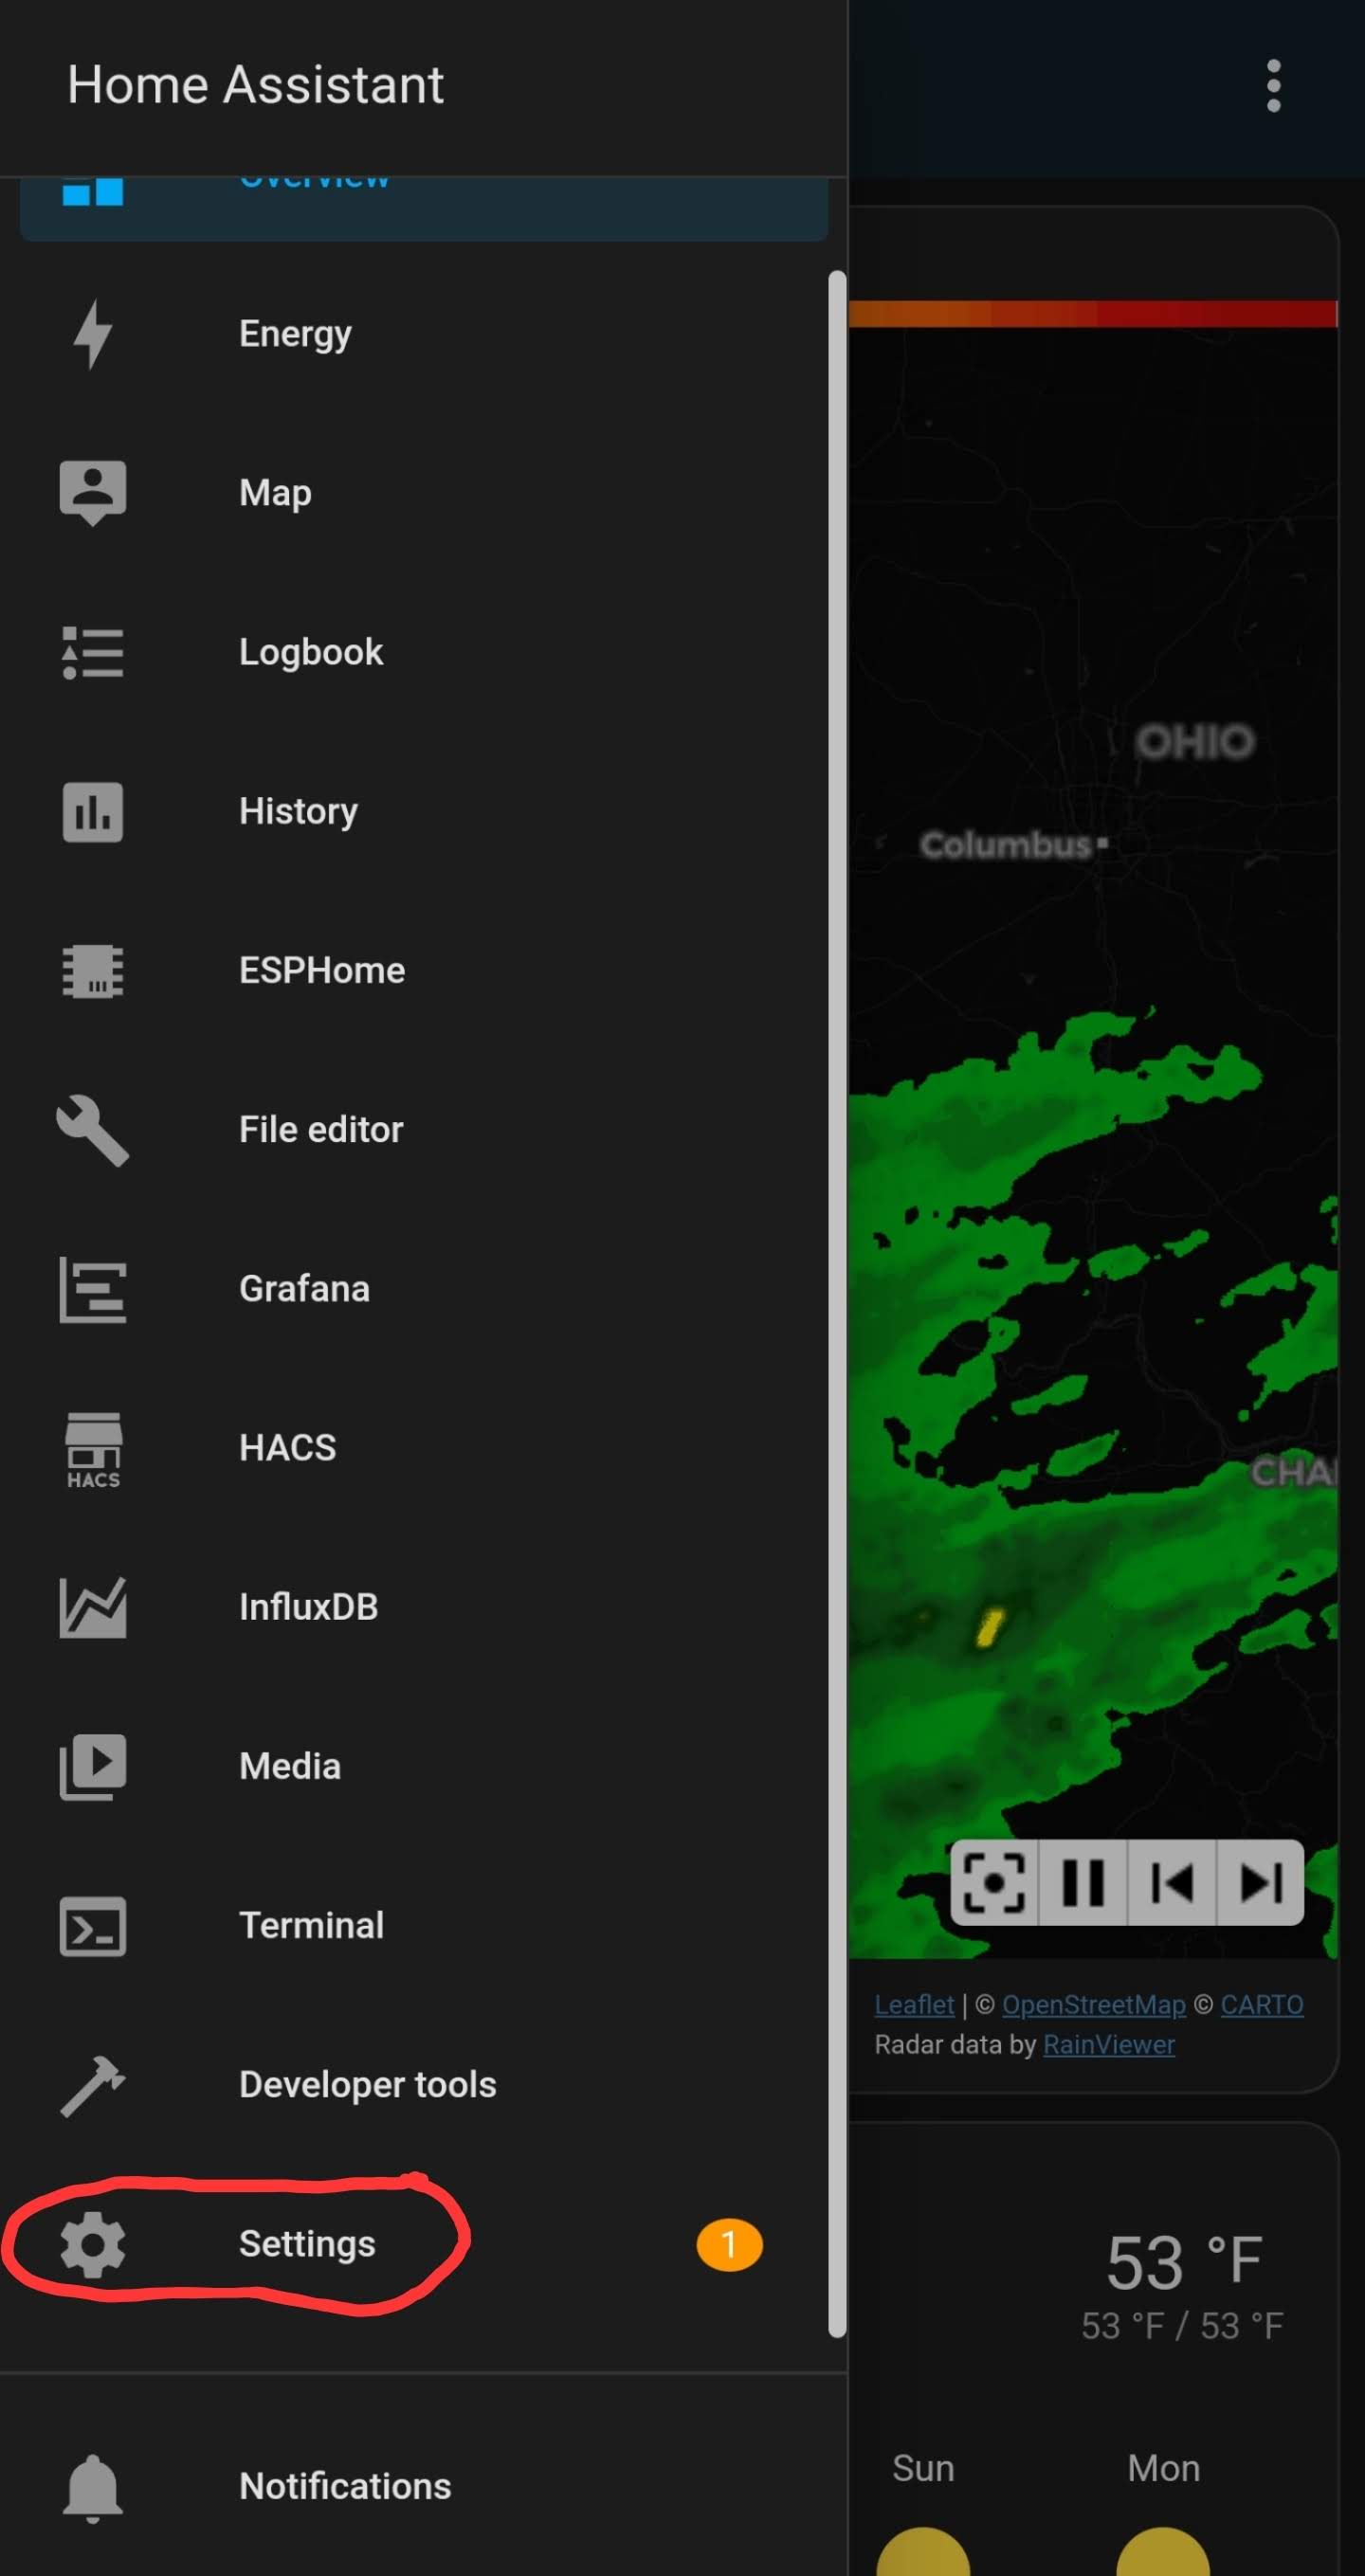
-
Select Companion app.
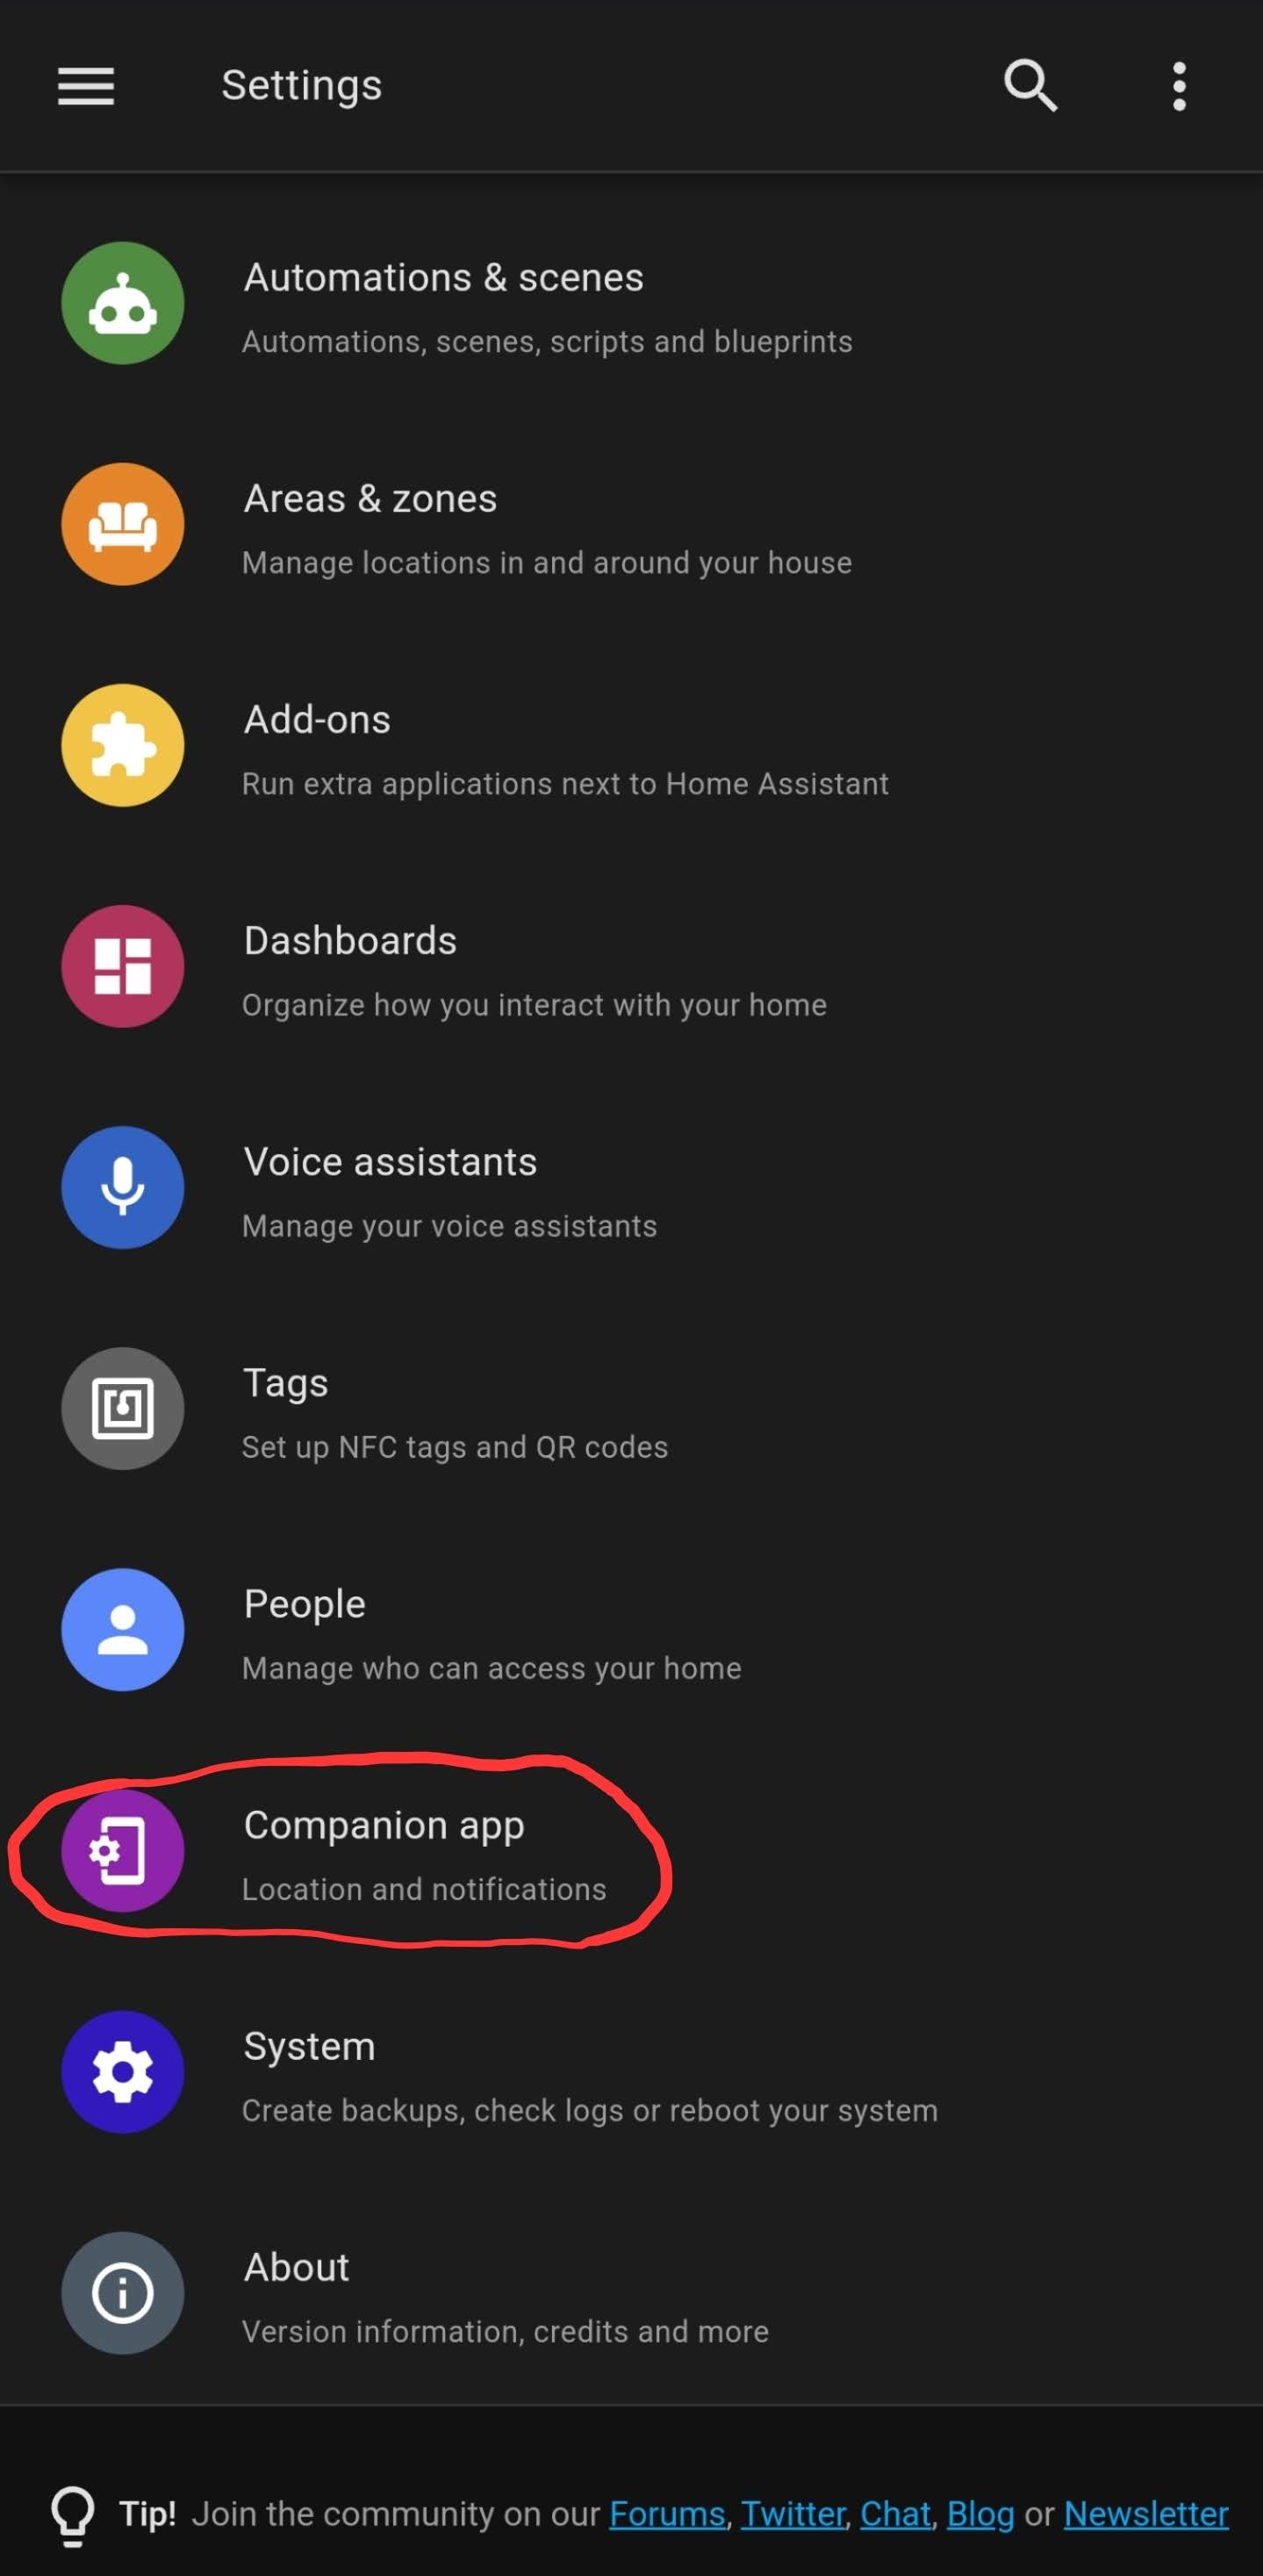
-
Select Manage sensors.
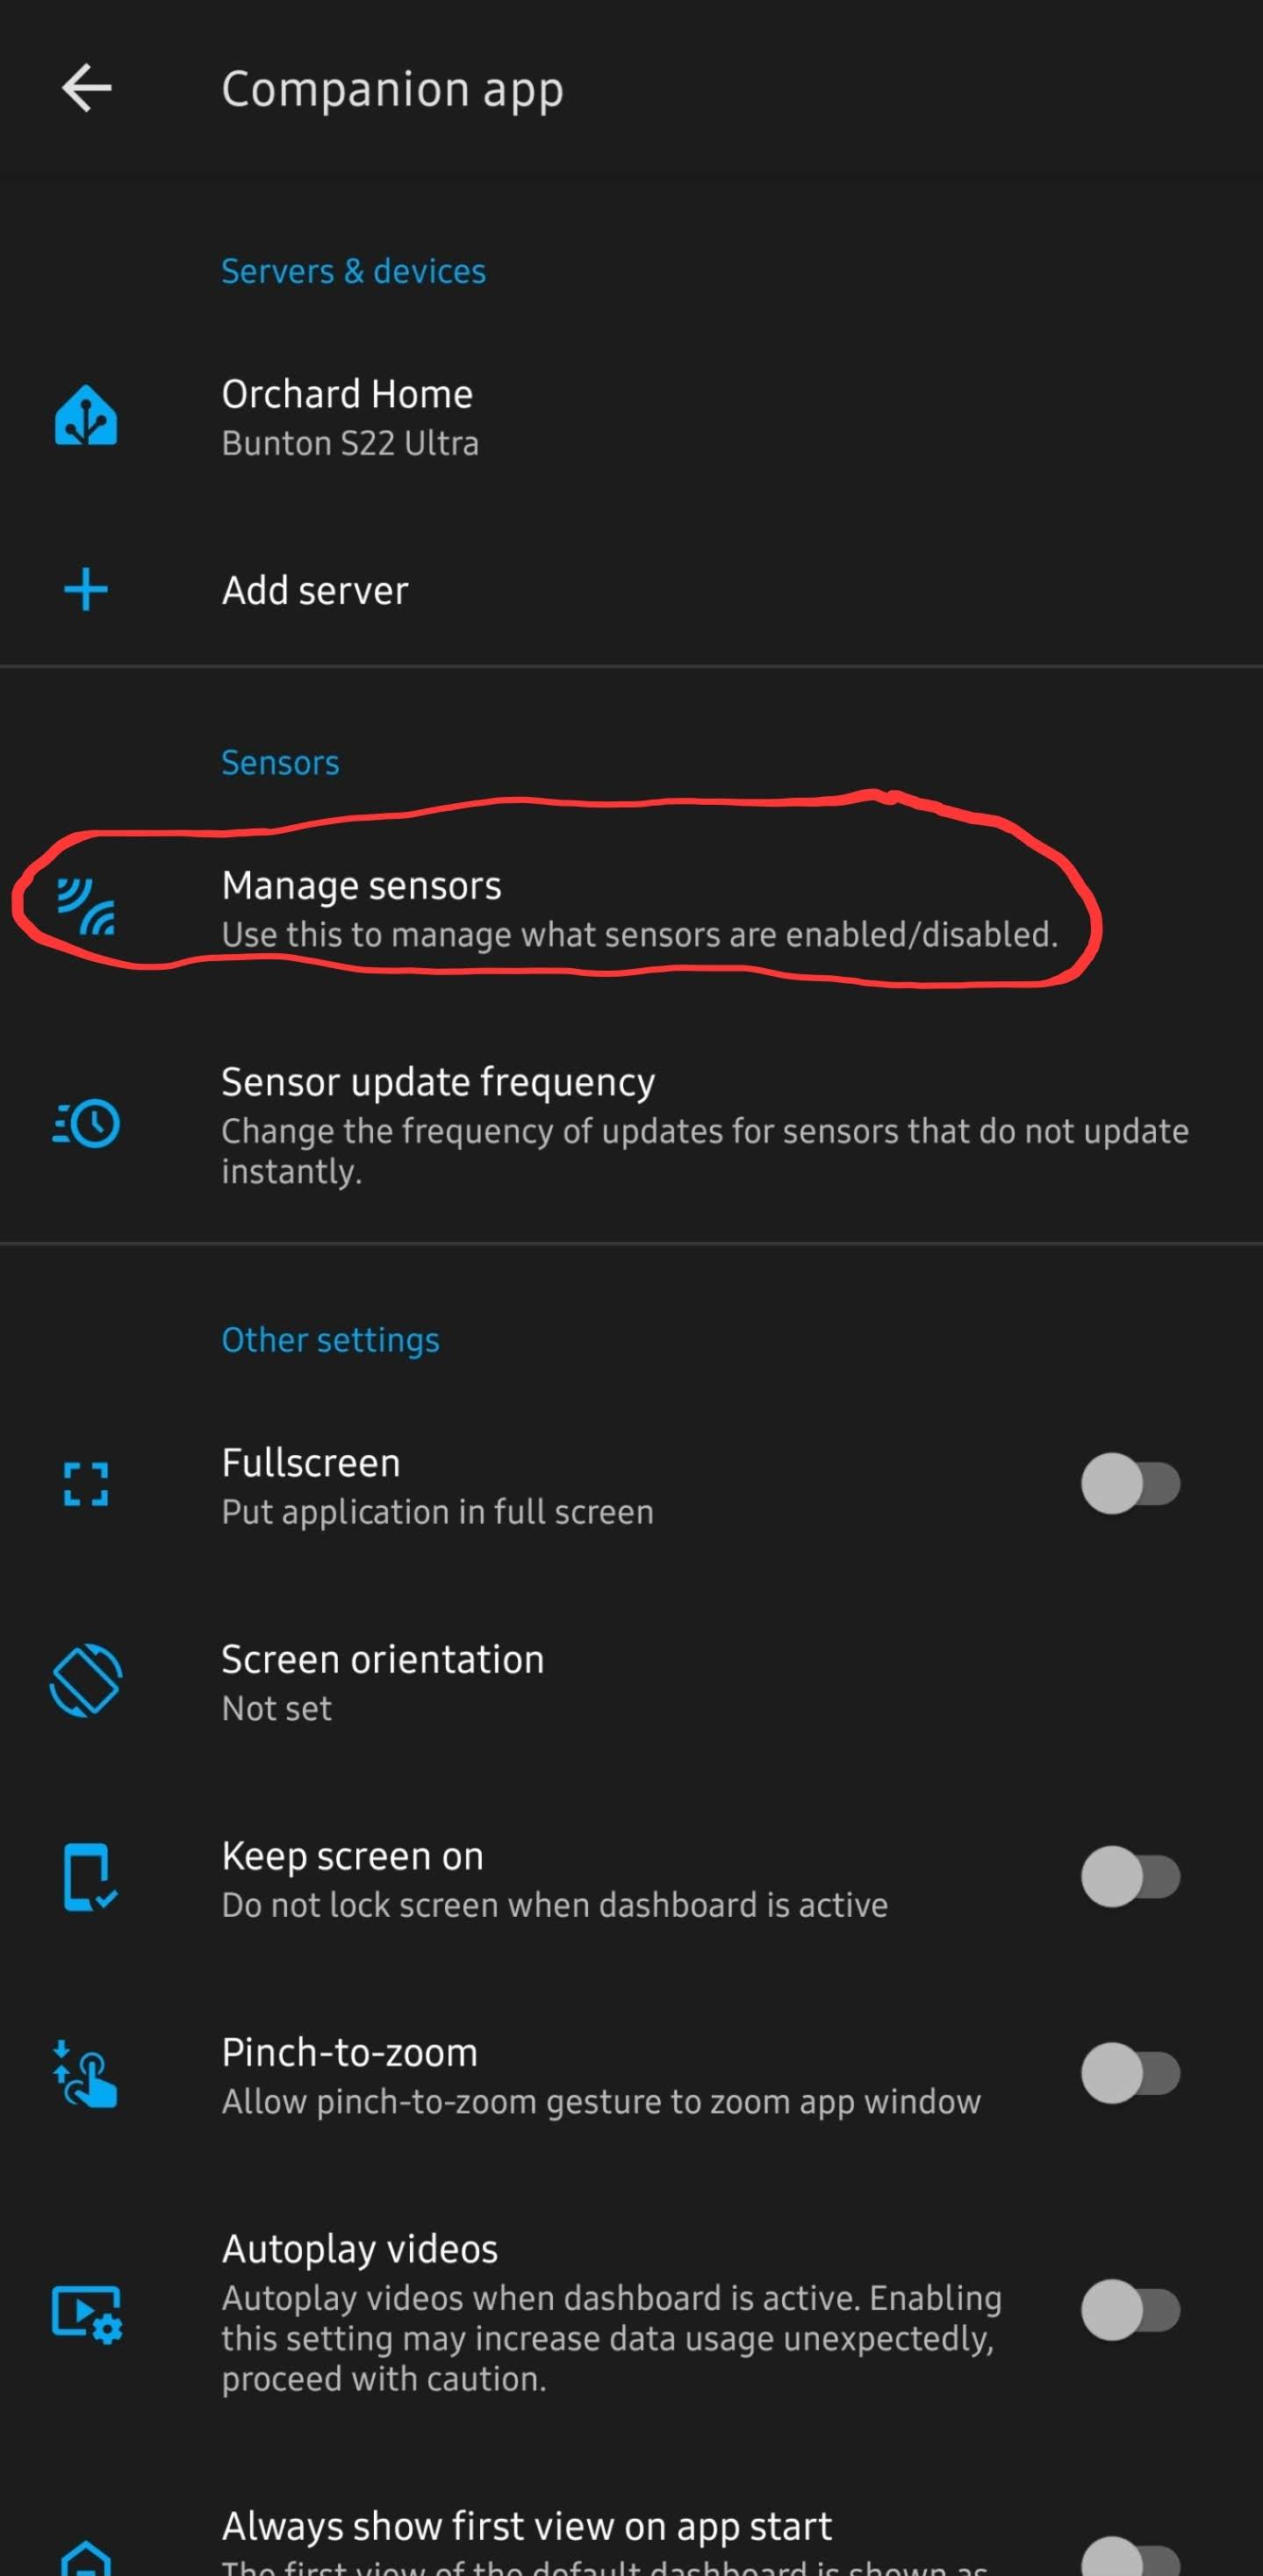
-
Open BLE Transmitter and turn it on.
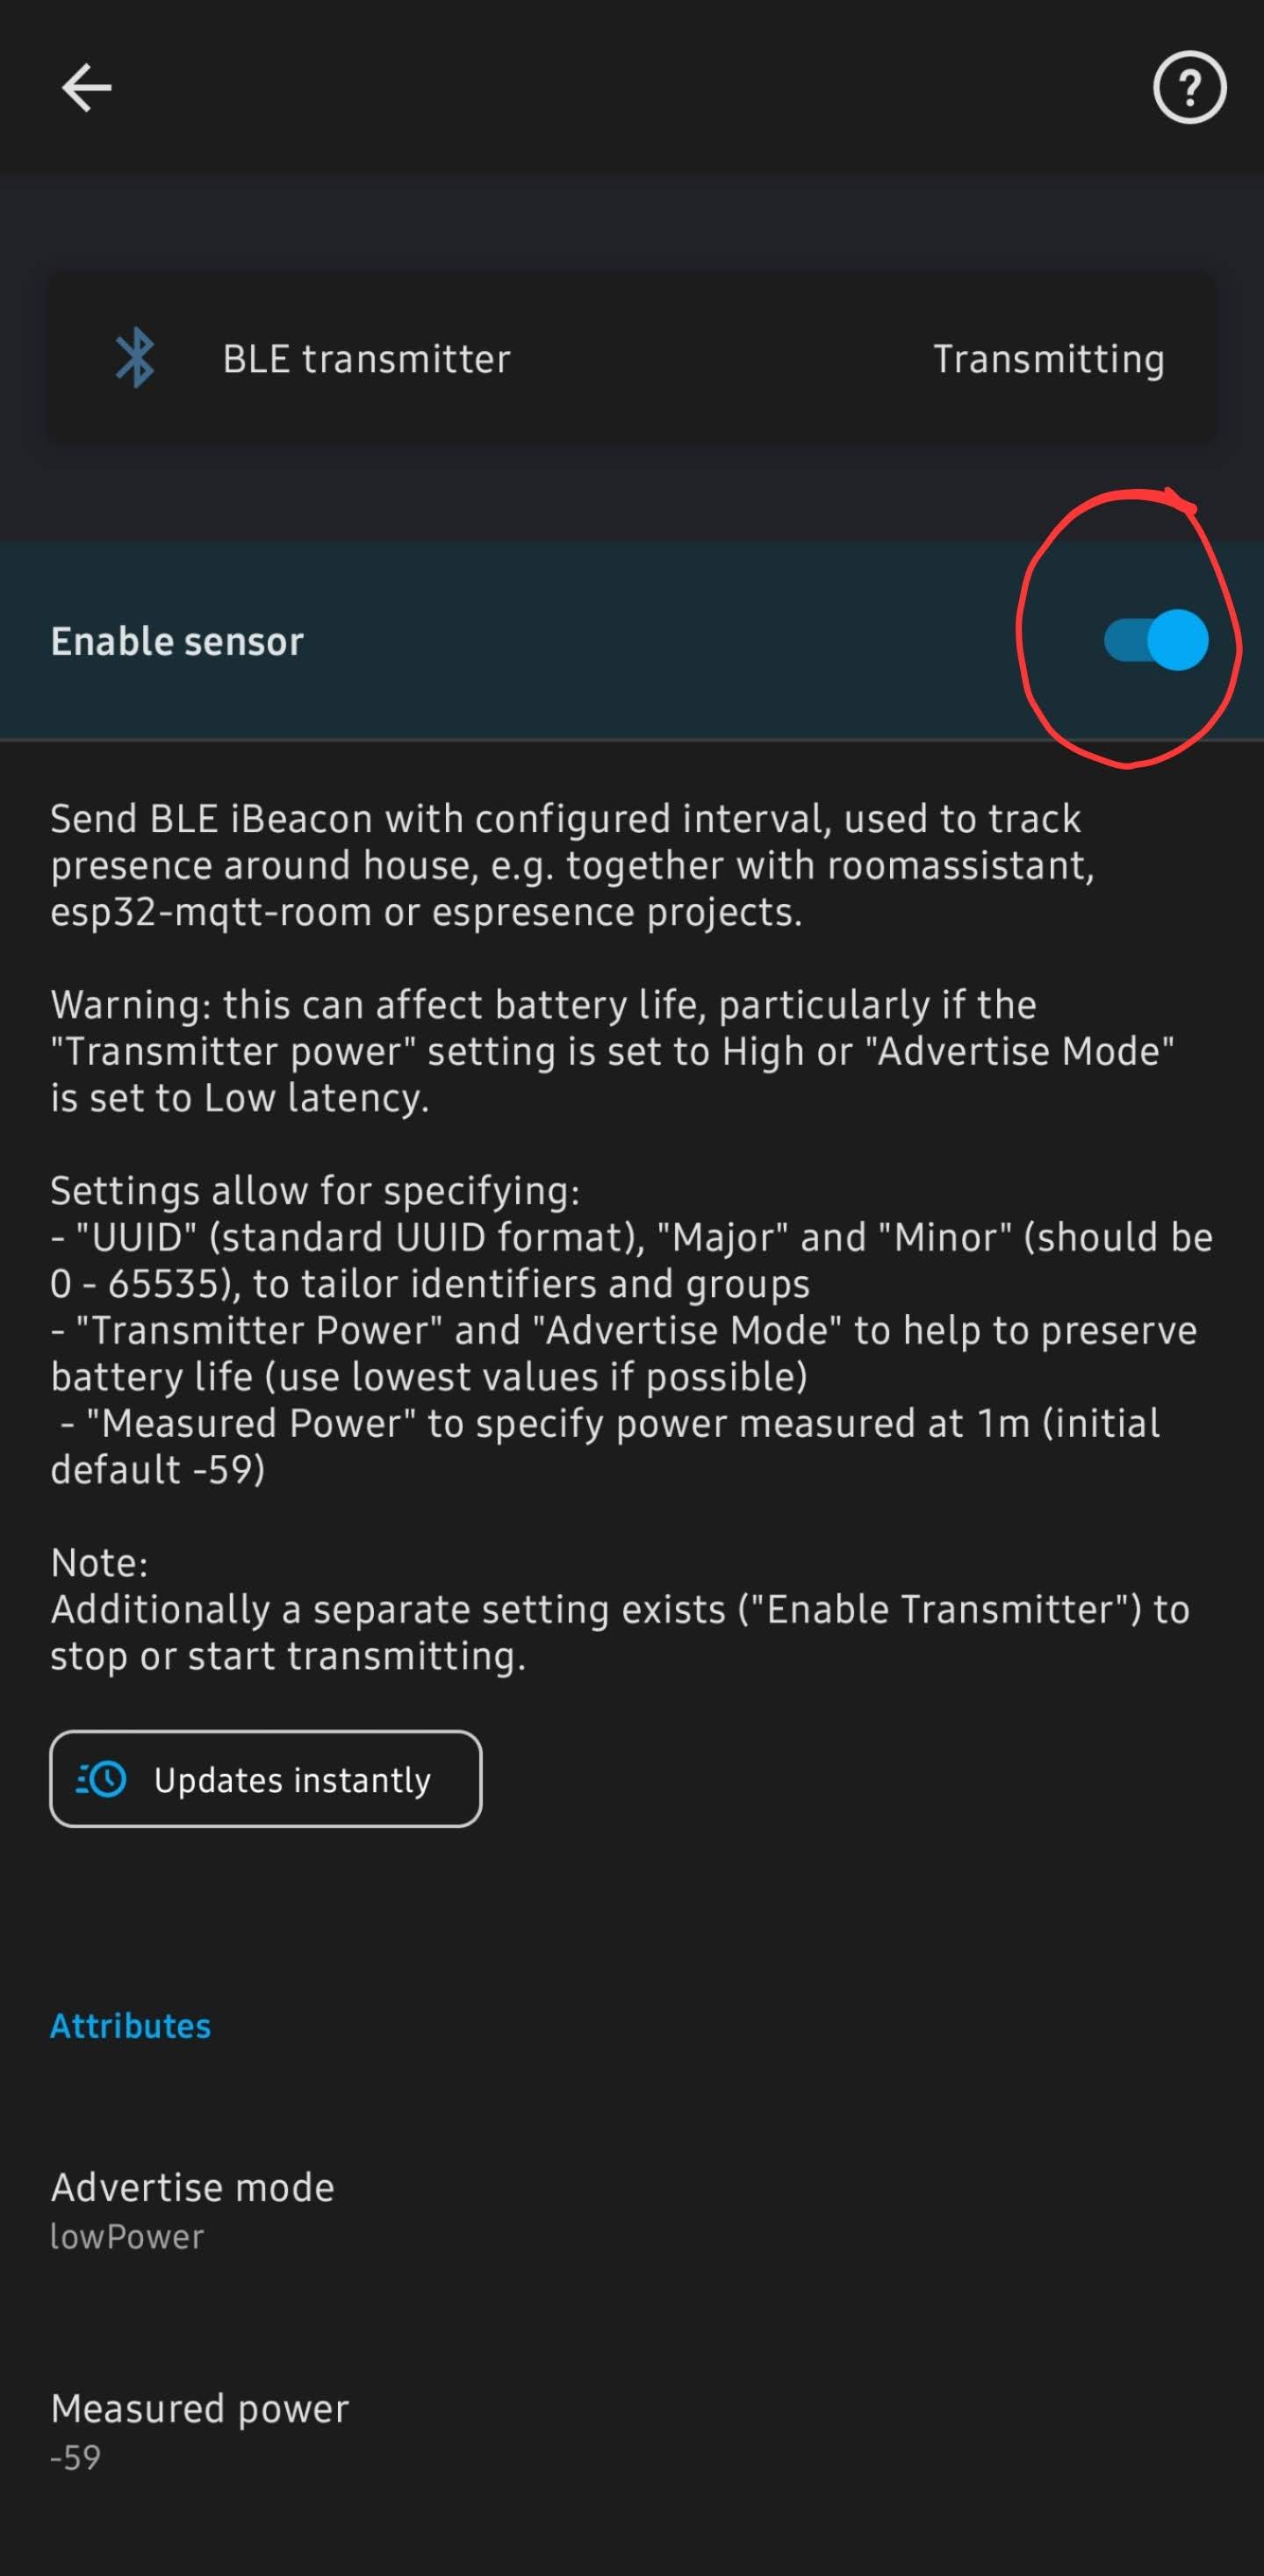
-
Scroll down to find the iBeacon unique ID.
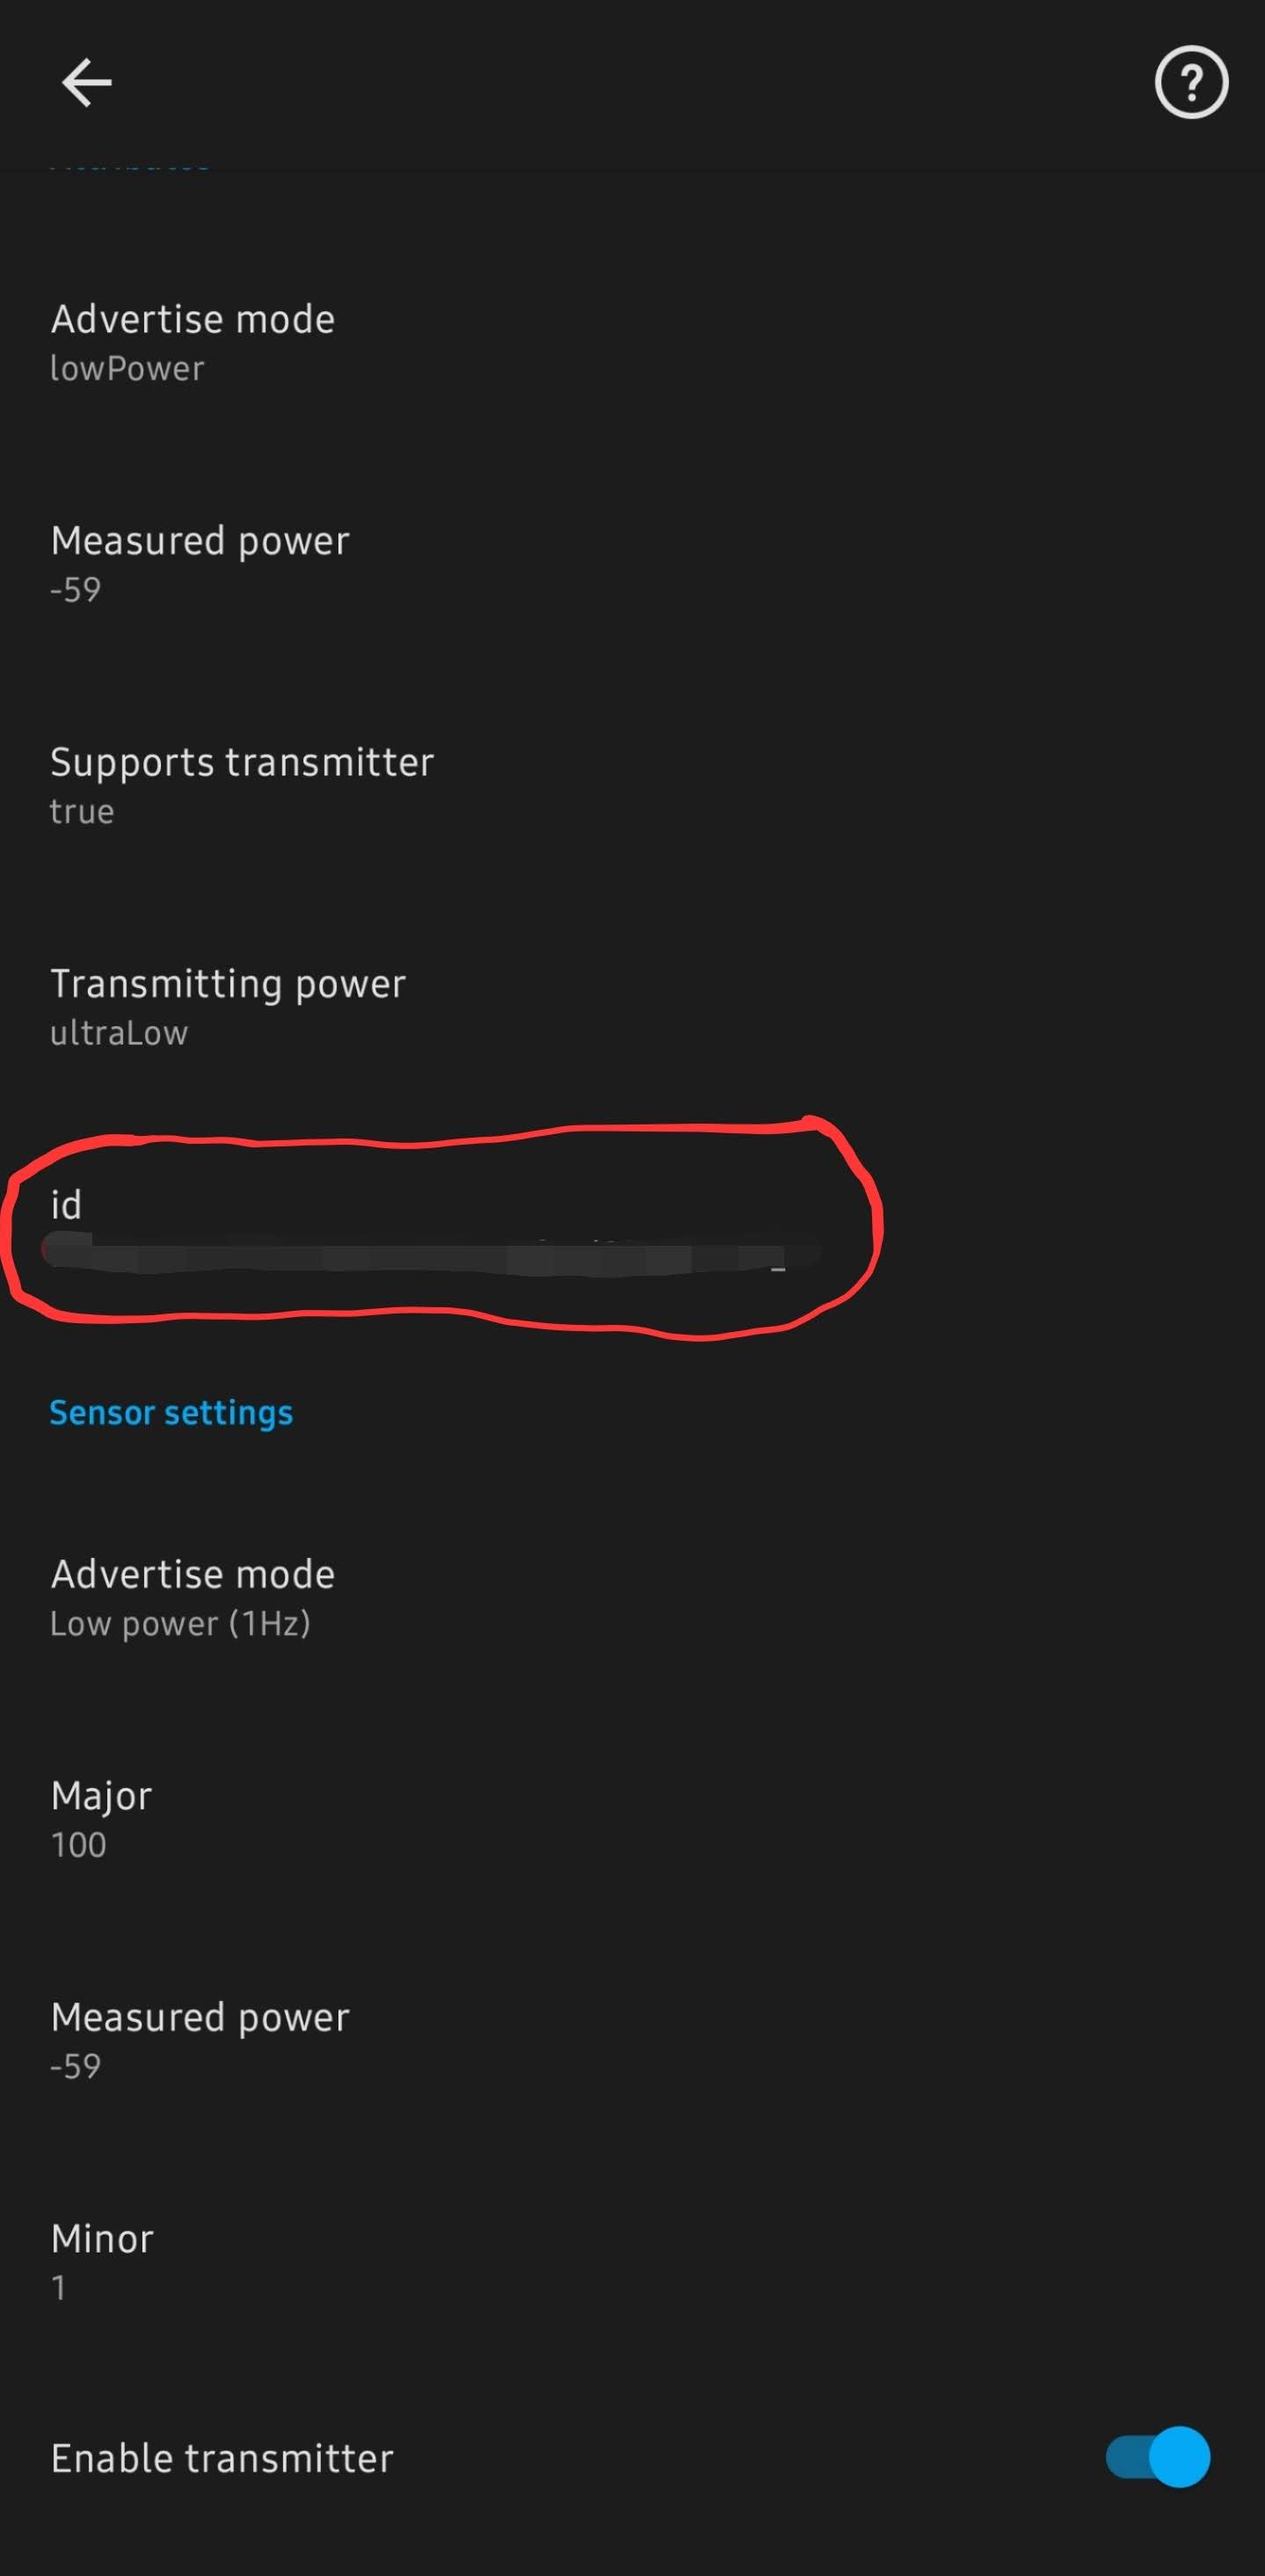
-
In ESPHome, click Edit on your MSR-1 and add the iBeacon unique ID to its YAML configuration. In the example in the next step, the ID goes in
ibeacon_uuid.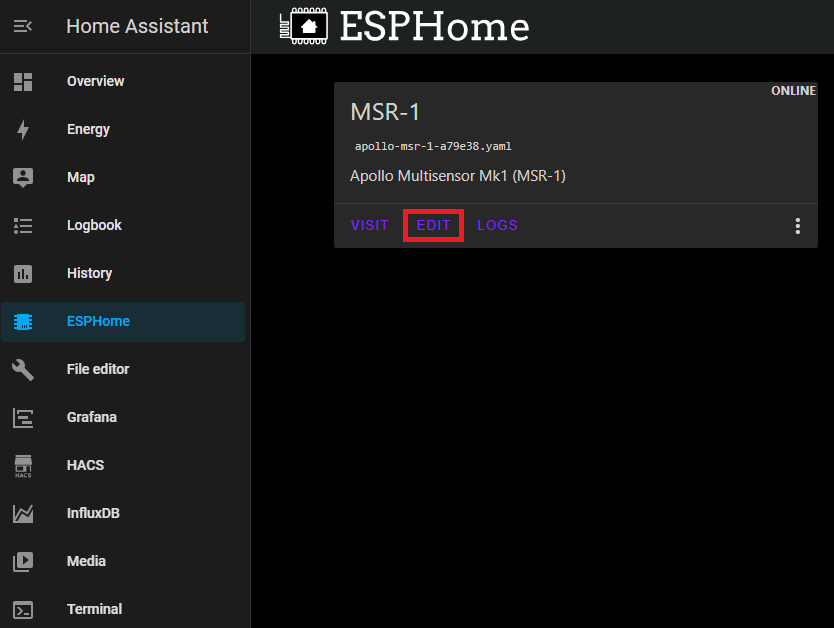
-
Make sure your
wifisection includespower_save_mode: LIGHT, as in this example:
You should now be all set: your MSR-1 can detect your phone through the ble_presence binary sensor.
For more detail, see:
- ESP32 Bluetooth Low Energy Tracker Hub
- iBeacon support for ble_presence
- ESP32 Bluetooth Low Energy Beacon
- iBeacon Region
Bluetooth proxy with active scanning
Thanks to Discord user albuquerquefx for this setup!
To use your MSR-1 as a Bluetooth proxy while it also actively scans for BLE devices, add the following to its ESPHome YAML file. This example uses a 1.5-second scan interval with a 750ms window for sensing BLE beacons.
esp32_ble_tracker:
  id: ${name}_ble_tracker
  scan_parameters:
    interval: 1500ms
    window: 750ms
    active: true

bluetooth_proxy:
  active: true
Also add power_save_mode: light to your existing Wi-Fi section.
After a few minutes near any iBeacon device within listening range of your MSR-1, Home Assistant announces a discovered iBeacon Tracker integration on your Settings page. Once it's installed, it starts sensing nearby devices.
Devices with a blank name
If a device has a blank name (for example, anything Android), click Configure and enter its UUID manually. Home Assistant doesn't allow devices with empty names, even though its own Companion app lets you turn an Android phone into an iBeacon without requiring a name.
If you don't know a device's IRK (Identity Resolving Key), you may have to wait about 300 seconds while your iBeacon Tracker processes 10 different versions of the same UUID, each with the last four characters randomly changed. Once ten have appeared, the integration should recognize they're all the same device and combine them into a single tracker element. It can be a bit frustrating, so be patient.